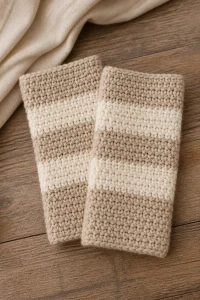
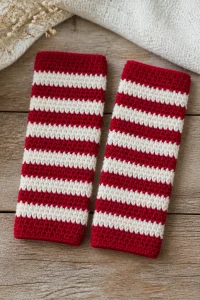
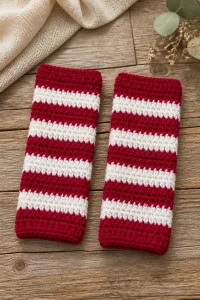
Crochet Soft Oatmeal Baby Burp Cloth

Affiliate disclosure: This post may contain affiliate links. I may earn a small commission at no extra cost to you. See our Privacy Policy for details HERE.
A crochet soft oatmeal baby burp cloth is one of those small projects that can feel both useful and special. I love how a gentle oatmeal shade gives a handmade cloth a calm, timeless look. It can also make a thoughtful baby shower gift or a handy addition to your own diaper bag.
This project usually uses a simple, close-knit stitch, such as single crochet, to create a soft, sturdy fabric that can handle everyday use. The stitch is beginner-friendly, and the neutral color pairs well with many nursery styles. For the best result, choose a smooth, washable yarn made for frequent laundering.
In this guide, you’ll learn how single crochet works, which yarn and hook choices suit a burp cloth, and how to keep your fabric even. You’ll also find practical care tips and common mistakes to avoid when making a crochet soft oatmeal baby burp cloth.
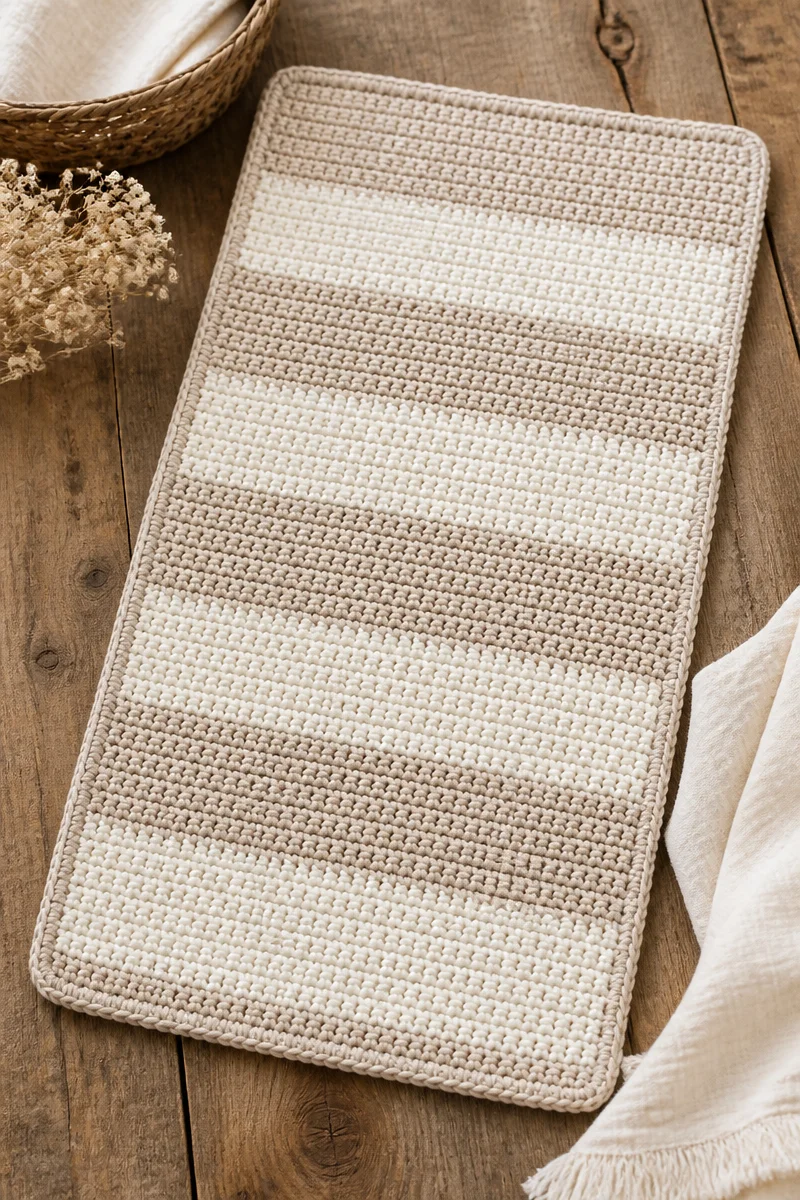
What Is the Single Crochet Stitch?
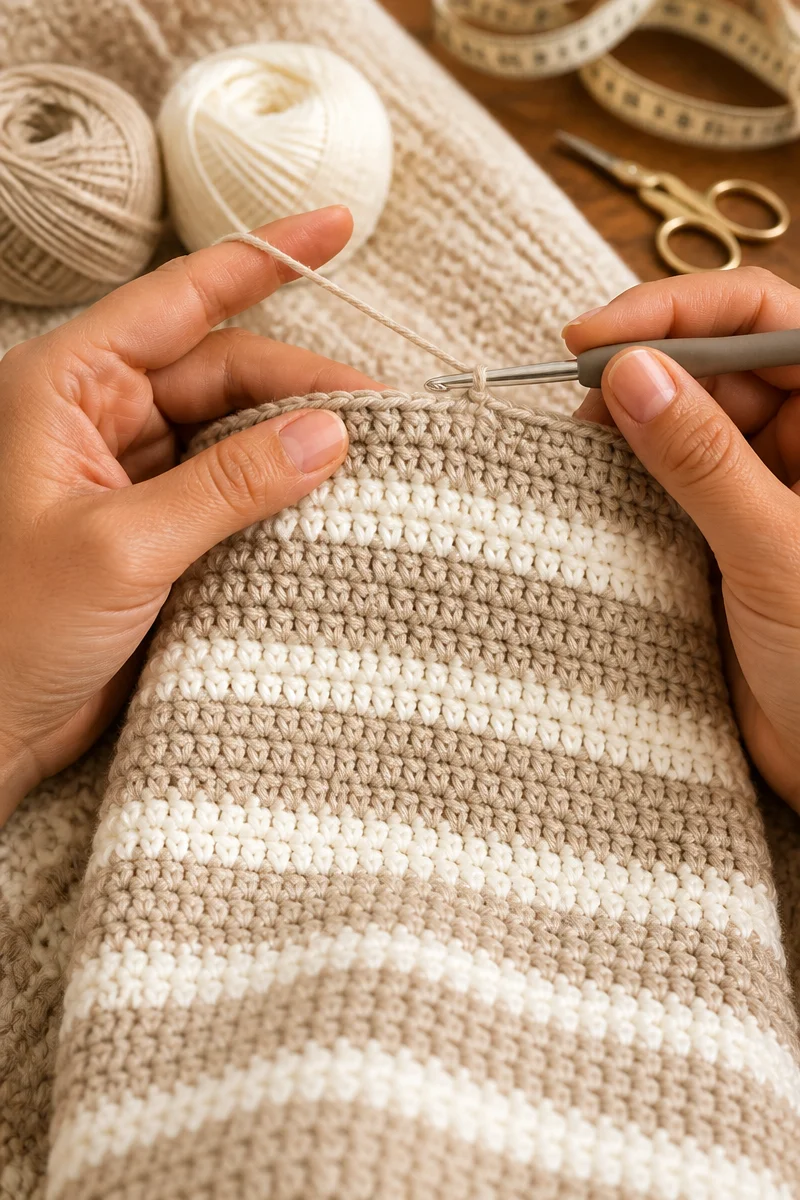
Single crochet is a basic crochet stitch that makes a compact fabric. To form it, insert the hook into a stitch, yarn over and pull up a loop, then yarn over again and pull through both loops on the hook. Repeating these steps across a row creates a firm, even surface.
Because single crochet has little open space between stitches, it works well for a burp cloth that needs a bit of structure. It also gives the fabric a neat, simple look that lets the oatmeal color stand out. However, the finished cloth should still feel soft and flexible, so use a yarn and hook combination that does not make the fabric too stiff.
Why This Is a Great Choice for a Baby Burp Cloth
- It creates a close fabric: Single crochet makes a dense surface that suits a practical cloth.
- It is easy to learn: New crocheters can practice one stitch at a time, while experienced makers can enjoy a relaxing project.
- It holds its shape well: The sturdy texture can help a cloth keep a neat outline through regular use.
- It suits a simple, classic look: Oatmeal yarn and tidy rows make a calm, easy-to-match design.
- It works well for small gifts: A burp cloth is a useful handmade item that can be personalized with a border or color detail.
Yarn and Hook Recommendations
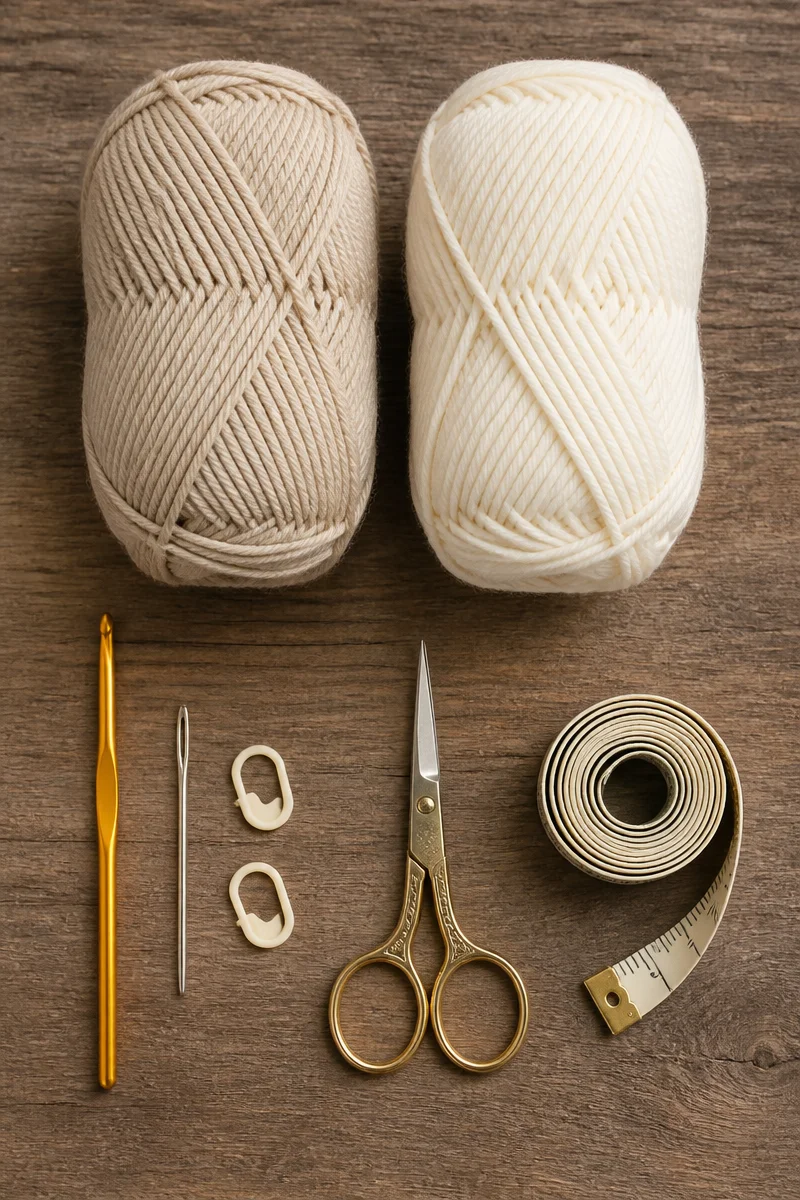
- Choose a washable yarn: Look for yarn labeled machine washable, since baby items often need frequent cleaning.
- Try cotton or a cotton blend: These fibers are often a practical choice for a cloth, and they feel smooth against the skin. Check the yarn label for care details.
- Consider light or medium weight: A yarn that is too thick can make the cloth bulky, while very fine yarn may take longer to work.
- Match the hook to your yarn: Check the ball band for a suggested hook size, then adjust if your stitches feel too tight or too loose.
- Use a hook that feels comfortable: A smooth hook with a comfortable handle can make repeated single crochet easier on your hands.
- Make a small test swatch: Crochet a few rows before starting the cloth. This helps you check the fabric’s softness, thickness, and drape.
Tips for Single Crochet Success
First, keep your tension relaxed and steady. If you pull each loop too tight, the fabric may feel stiff and become harder to work into. On the other hand, very loose stitches can leave uneven gaps. A small swatch helps you find a comfortable balance before you make the full crochet soft oatmeal baby burp cloth.
Next, count your stitches at the end of each row, especially while you are learning. Single crochet can make a tidy edge, but skipping the first or last stitch may slowly change the cloth’s shape. Also, use a stitch marker in the first or last stitch if you find row edges hard to spot. Take breaks as needed, and let the fabric grow at a pace that feels enjoyable.
Common Mistakes to Avoid
A common problem is changing tension from one row to the next. As a result, the cloth may look wavy or uneven. Try to hold the yarn the same way throughout, and pause now and then to check that the fabric lies flat.
Another pitfall is losing or adding stitches at the edges. This can make the burp cloth narrower at one end or wider at the other. Therefore, count each row and look closely at the first and last stitch before turning your work.
Yarn choice matters, too. A yarn that feels scratchy or becomes rough after washing may not be comfortable for a baby item. Before you begin, check the label and wash a small swatch according to its care instructions.
Finally, avoid making the fabric too dense. Tight stitches can turn a soft cloth into a stiff one, even when you use a suitable yarn. If the swatch feels rigid, try a larger hook and compare the results.
Care and Washing Instructions
Washing: Follow the yarn label first. Many cotton and cotton-blend yarns can go in the washing machine, but some blends need a gentler cycle or cool water. Use mild detergent, and wash the cloth before its first use.
Drying: Check the label for dryer guidance. If the yarn may shrink or lose its shape, lay the cloth flat on a clean towel and smooth it gently while damp. In addition, avoid high heat unless the yarn label says it is safe.
Blocking: Single crochet usually needs little blocking. However, if the edges curl or the cloth looks uneven, dampen it and shape it flat to dry. Avoid stretching it too much, since a burp cloth should keep a useful, sturdy shape.
More Ideas to Try
Once you enjoy making a crochet soft oatmeal baby burp cloth, try a half-double crochet cloth for a slightly taller stitch, a moss stitch version for a textured surface, or a simple single crochet border in a soft contrast color. You could also make a matching washcloth or a small baby blanket using the same yarn shade.
Conclusion
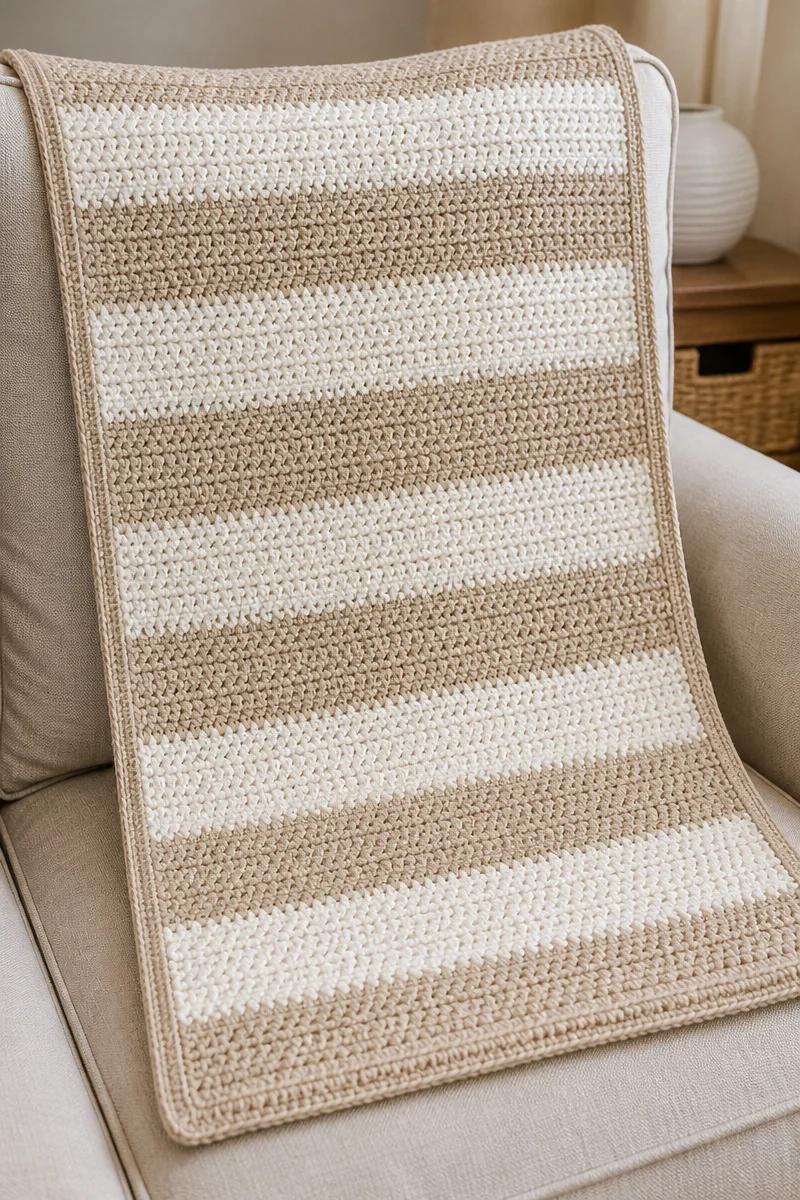
A crochet soft oatmeal baby burp cloth is a practical project with a gentle, classic look. Single crochet is easy to learn, creates a close fabric, and gives you room to focus on even edges and comfortable tension. Choose a soft, washable yarn, test your hook size, and follow the yarn label when washing and drying.
Now gather your yarn and try a small swatch. When your cloth is finished, share how it turned out or explore another simple crochet guide on the blog.