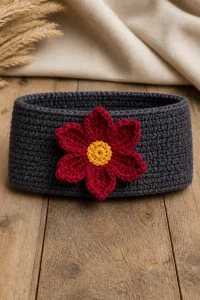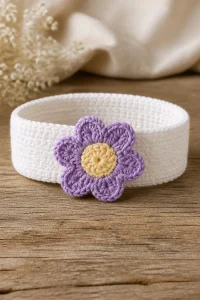
Crochet Ribbed Ear Warmer Headband

Affiliate disclosure: This post may contain affiliate links. I may earn a small commission at no extra cost to you. See our Privacy Policy for details HERE.
Crochet ear warmers are one of those small projects that feel extra rewarding. They work up fast, they use very little yarn, and they give you that cozy, handmade comfort right when the weather turns cold. I especially love a crochet ribbed ear warmer headband because it looks polished, yet it is simple enough for many crocheters to enjoy.
What makes this project so special is the ribbed texture. It gives the headband a stretchy fit, a clean look, and a soft feel against the skin. In addition, ribbing is often made with easy stitches, so it is a great choice for beginners who want a useful project without too much stress. It is also a smart option for gifts because it feels thoughtful and practical at the same time.
In this guide, you will learn what ribbing means in crochet, why it works so well for ear warmers, and how to choose the best yarn and hook. You will also find helpful tips, common mistakes to avoid, and care advice so your finished crochet ribbed ear warmer headband lasts a long time and keeps its shape.
What Is the Ribbed Stitch Technique?
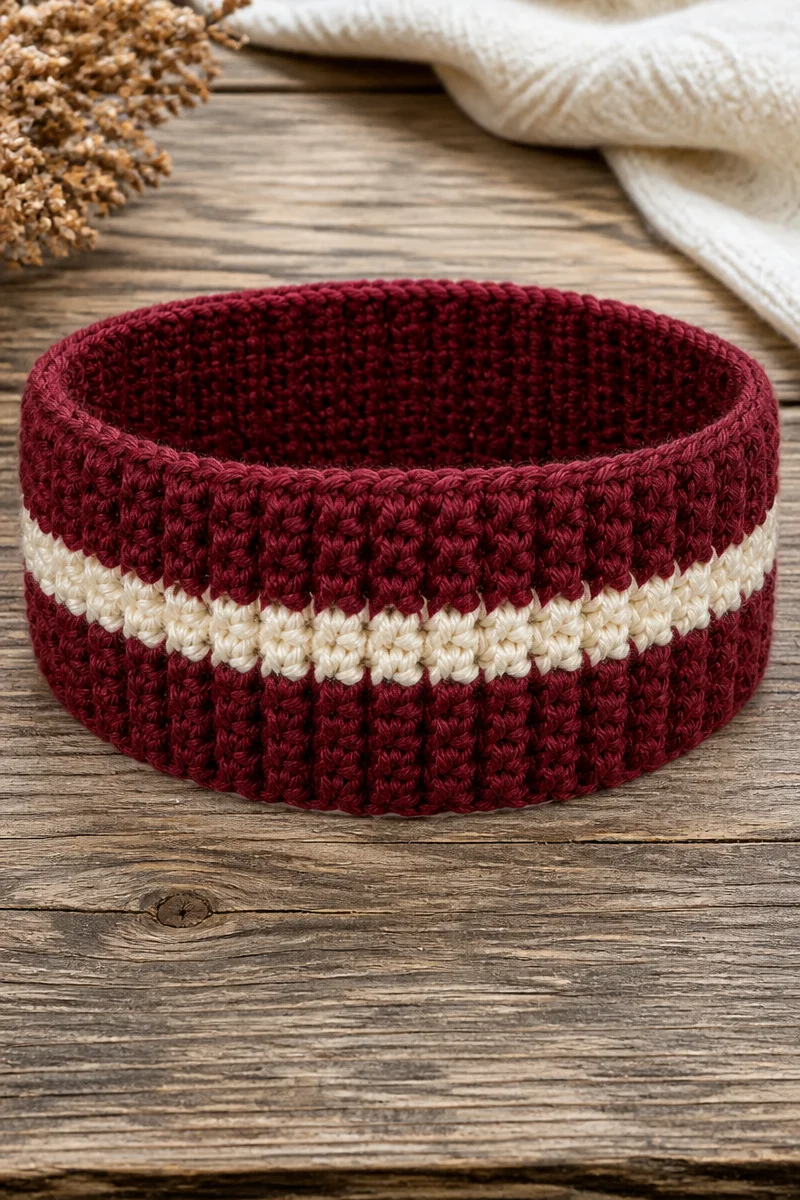
The ribbed stitch in crochet is a texture that creates raised lines and soft valleys, much like the ribs you see in knit fabric. Usually, crocheters make this look by working into the back loop only, using post stitches, or alternating stitch placement in a way that adds stretch and structure. As a result, the fabric looks neat, flexible, and tidy.
Many crocheters like this technique because it gives a project a snug fit without feeling stiff. Also, ribbing adds natural elasticity, which is very helpful for a crochet ribbed ear warmer headband. Since it hugs the head well, it helps keep ears warm while still feeling comfortable. In addition, the texture looks classic, so the finished piece often appears more polished than a plain band.
Why This Is a Great Choice for Crochet Ribbed Ear Warmer Headband
- It stretches well. Ribbing gives the headband a flexible fit, so it can feel snug without being too tight.
- It looks neat and finished. The lines of the ribbed texture create a clean style that works for casual wear or gifts.
- It works up quickly. Since ear warmers are small, this project is perfect when you want a fast win.
- It uses little yarn. That makes it a great stash-busting project and a budget-friendly one too.
- It is beginner friendly. Many ribbed ear warmers use simple stitches, so new crocheters can build confidence.
- It is easy to personalize. You can change width, color, or texture to make each crochet ribbed ear warmer headband unique.
Yarn and Hook Recommendations
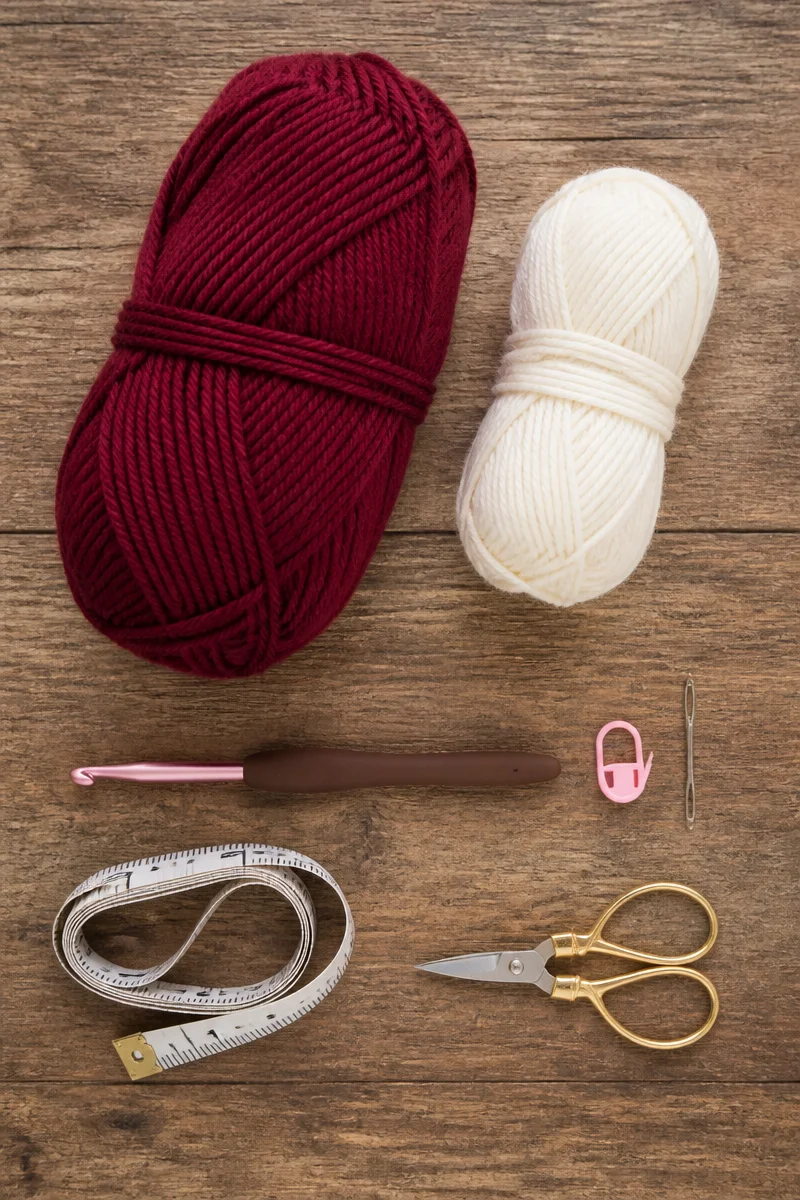
- Worsted weight yarn is a strong choice because it gives warmth, structure, and a clear ribbed look.
- Bulky yarn works well if you want a thicker, cozier ear warmer that works up even faster.
- Soft acrylic yarn is practical because it is easy to wash, affordable, and great for everyday wear.
- Wool or wool blend yarn adds warmth and bounce, so it is a smart choice for cold weather projects.
- Cotton yarn can work for milder weather, although it may feel less stretchy than wool or acrylic.
- A smaller hook than the yarn label suggests often helps the ribbing stay firm and defined, which is useful for a snug crochet ribbed ear warmer headband.
Tips for Ribbed Stitch Success
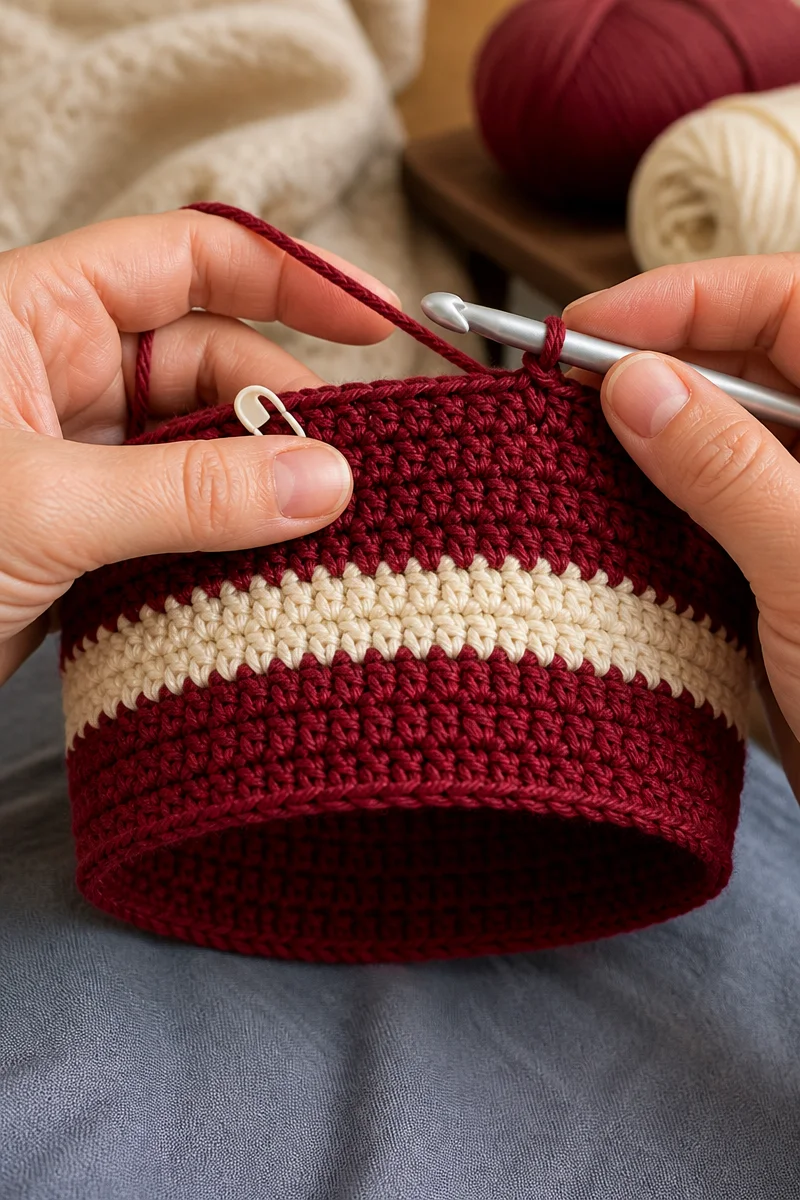
First, keep your tension even. Ribbing can look uneven if some rows are tight and others are loose. Therefore, try to relax your hands and settle into a steady rhythm. This helps the raised lines stay crisp and the band stay comfortable.
Second, count your stitches often. Ribbed projects can hide stitch placement, especially when you are working into the back loop only or repeating short rows. So, it helps to check your count at the end of each row. Also, read the pattern carefully before you begin, because small changes in stitch placement can affect the stretch and width of the finished headband.
Common Mistakes to Avoid
One common mistake is making the stitches too tight. When that happens, the headband may lose stretch and feel stiff on the head. Instead, aim for a firm but relaxed fabric. That way, your crochet ribbed ear warmer headband will hold its shape and still feel comfortable.
Another issue is miscounting rows or stitches. Because ribbing often looks repetitive, it is easy to lose track. Therefore, use stitch markers if needed, and take a quick count after each repeat. This small habit can save time later.
A third mistake is choosing yarn that is too slippery or too thin for the look you want. While some lightweight yarns can work, they may not give enough warmth or structure. As a result, the ear warmer may not stay in place well. For best results, choose a yarn that matches the cozy, supportive feel you want.
Also, curling or twisting can happen if the starting chain is too tight or the edges are not even. So, take care with your foundation row. In addition, lay the piece flat now and then while you work. This helps you catch shape issues early, before they become hard to fix.
Care and Washing Instructions
Washing: In general, follow the care label for your yarn. For most crochet ribbed ear warmer headband projects made with acrylic or superwash wool, gentle machine washing may be fine. However, hand washing is often the safest choice if you want to protect the shape and texture. Use cool or lukewarm water and a mild soap.
Drying: Lay the headband flat to dry. This helps keep the edges smooth and prevents stretching. Also, avoid high heat, since heat can damage some fibers and change the fit.
Blocking: Light blocking can help if the ear warmer looks uneven or curls at the edges. In many cases, a ribbed headband benefits from gentle shaping more than heavy blocking. So, use a soft touch and keep the fabric’s natural stretch in mind.
More Ideas to Try
If you enjoy a crochet ribbed ear warmer headband, you may also like ribbed beanies, wrist warmers, or simple scarves with the same texture. In addition, you could try back loop only hats, twisted headbands, or chunky winter cowls. Each one gives you more practice with stretch, texture, and clean finishing.
Conclusion
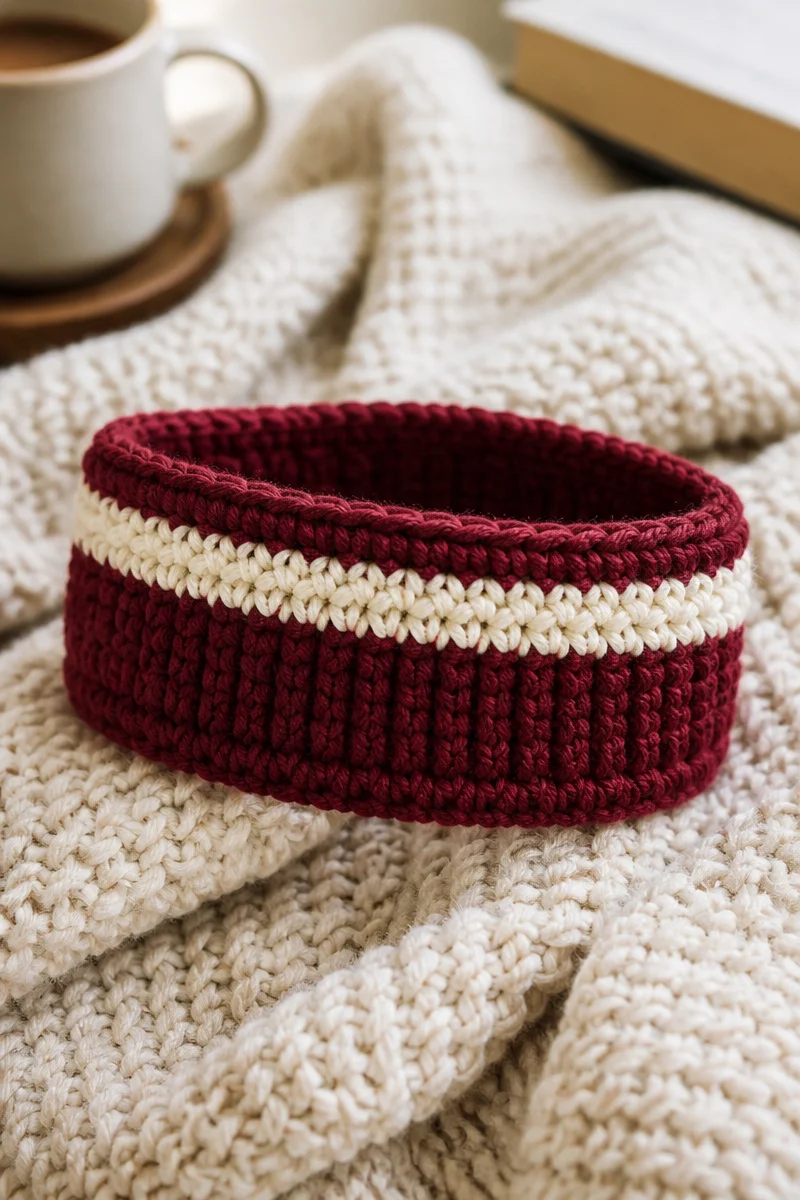
A crochet ribbed ear warmer headband is a smart, cozy project that offers style, comfort, and quick results. It is easy to love because it uses simple stitches, creates a stretchy fit, and works well with many yarn choices. Moreover, it is a great project for gifts, stash yarn, or a fast handmade accessory for cold days.
If you are ready, give this texture a try and see how satisfying ribbing can be. Then, share your finished headband with family, friends, or your online crochet group. And if you want more cozy ideas, keep exploring related crochet guides on the blog for your next warm and beautiful make.