Crochet Baby Milestone Card Set
Affiliate disclosure: This post may contain affiliate links. I may earn a small commission at no extra cost to you. See our Privacy Policy for details HERE.
- Why Handmade Milestone Cards Make a Meaningful Keepsake Gift
- Materials Needed (pastel cotton yarn, felt numbers, 3.5mm hook)
- Skill Level and Time to Complete
- Step-by-Step Instructions
- Photo Styling Ideas for Monthly Updates
- Personalization Options for Baby Showers
- FAQ (how many cards to make, best way to number them)
- Pin This Pattern for Later
- Common Questions
- And There You Have It… Your Own Heirloom in the Making
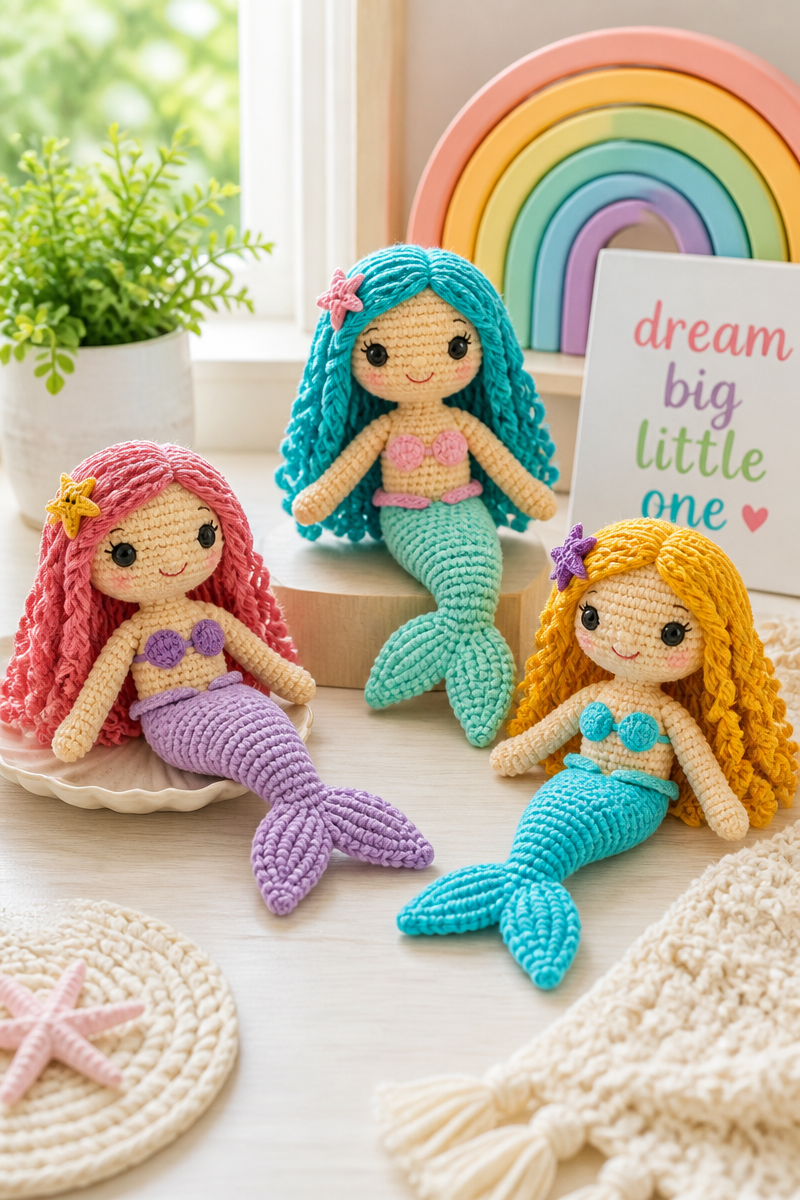
Ever tried to photograph your baby next to one of those store-bought month markers and just cringed a little at how bland it looks? Crochet milestone card sets save the day—seriously, they’re adorable, soft, and actually fun to make. We’re talking real, cozy, hand-made vibes instead of the usual stuff you find at big box stores. And it’s surprisingly easy, even if you’ve got mild craft anxiety. (Plus they make every photo instantly cuter, no filter necessary.)
Crochet Baby Milestone Card Set
Why Handmade Milestone Cards Make a Meaningful Keepsake Gift
Look, most people just pick up paper cards and call it a day, but a crochet milestone card? Whole different level.
- The texture’s cozy, so baby can grab without papercuts—can I get an amen?
- 100% keepsake material. These’ll last decades.
- You can match your yarn to the nursery or baby shower theme.
- Way more heartfelt than a mall gift. I mean, who’s actually keeping those paper ones?
“I made a set for my niece, and my sister-in-law teared up! She still keeps them in the memory box.” – Jamie, actual handcrafter
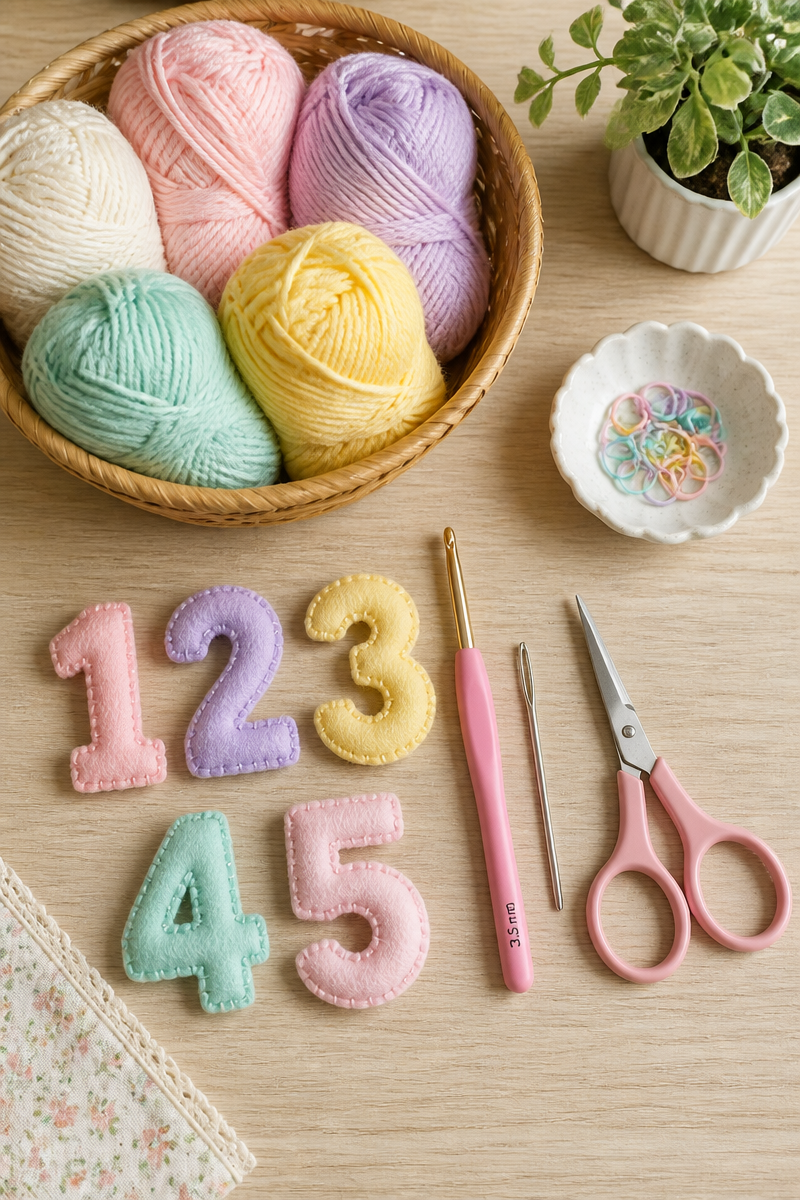
Materials Needed (pastel cotton yarn, felt numbers, 3.5mm hook)
No wild shopping list here—just a handful of basics:
- Pastel cotton yarn (soft is best; don’t cheap out, trust me)
- Felt numbers (pre-cut saves time, or grab a sheet and some scissors)
- 3.5mm crochet hook (Goldilocks size—not too big, not too tiny)
- Yarn needle for weaving and sewing felt
- Scissors—sharp ones, not those junk drawer “maybe scissors”
Pro tip: If you’ve got leftover yarn rolls from other projects, now’s your moment.
Skill Level and Time to Complete
Honestly? You don’t have to be a crochet wizard.
- Beginner-friendly, but patience helps (kids are chaos, crafts soothe)
- Each card takes about 30–40 minutes, less if you’re speedy
- Might need a little more time if you stop to scroll your phone between steps
Perfect Saturday project while binge-watching some comfort show.
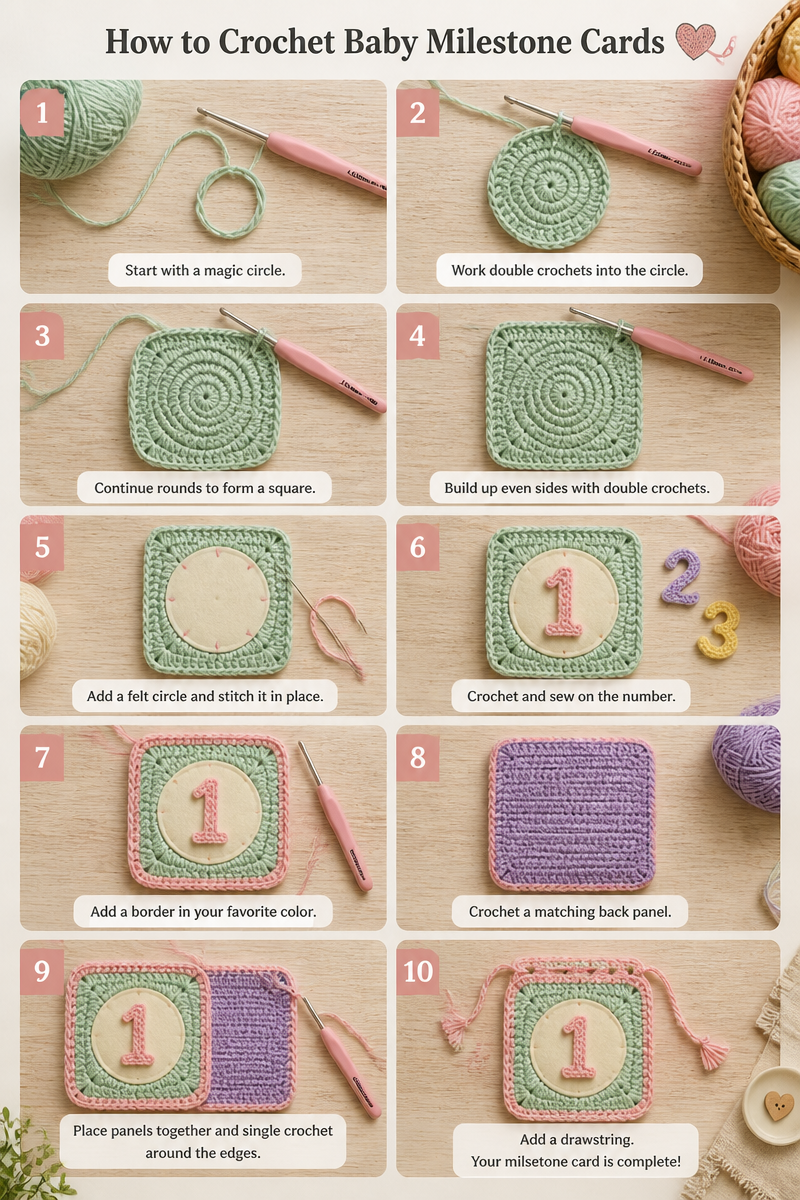
Step-by-Step Instructions
Okay, let’s get to the (good) stuff.
Crocheting Each Scalloped Card
- Start with a magic circle—six single crochets.
- Increase evenly to make a flat round (think small coaster).
- Add a scalloped edge: double crochet twice in one stitch, skip one, single crochet, repeat.
- Fasten off. Weave in ends and—poof—you’re onto the next.
Don’t stress if your circles look wobbly—real life ain’t Pinterest perfect.
Attaching the Felt Numbers
- Lay your felt number in the center.
- Hand stitch with matching thread or hot glue (if you’re in a “get it done now” mood).
- Make sure it’s secure—babies love yanking things.
Making a Storage Pouch
- Chain enough for the width of your cards, maybe 25 stitches.
- Half double crochet rows ‘til you get a rectangle.
- Fold, seam the sides, and add a drawstring.
There, now you can show off the whole set without losing a single one.
Photo Styling Ideas for Monthly Updates
Want those five-star-restaurant-level baby photos? Here’s what works:
- Lay a cozy blanket as a backdrop (rustic wood floors—bonus points!)
- Add a sprig of eucalyptus or a little stuffed animal for flair
- Angle the card so it doesn’t cover baby’s cutie face
- Use natural light (by the window!) for soft, dreamy pics
Personal favorites: theme each month (floral for May, pumpkins for October). The iPhone just can’t get enough.
Personalization Options for Baby Showers
Kick it up a notch with custom touches—they’ll talk about it for ages.
- Embroider the baby’s name on the pouch, or initials on each card
- Choose unique color combos: all rainbow or classic neutrals
- Add mini crochet bows or tiny animal appliqué (if you feeling extra)
And if you really wanna blow minds? Wrap the set in tissue with matching ribbon. Aunt-of-the-year status, guaranteed.
FAQ (how many cards to make, best way to number them)
- How many cards do I need? Usually 13: “Hello World” plus months 1–12.
- Do I need to sew numbers on both sides? Nope, just one is fine—you’re taking pics, not flashcards.
- Any tricks for perfect circles? Use a stitch marker, and block the circles when you’re done.
- Best yarn for sensitive skin? 100% cotton labeled “baby soft”—I love Paintbox and Rico.
- Should I pre-wash my set? Always! Some yarns shrink or fuzz.
Pin This Pattern for Later
Don’t let your hard work vanish into the digital void! Add it to your Pinterest board, or email yourself the link. If you’re like me, you’ll forget which blog you saw it on by tomorrow.
Common Questions
What’s the easiest way to keep my cards clean?
Just toss them gently in a mesh laundry bag, cold wash, air dry. Don’t fry ‘em in the dryer.
Can I use acrylic yarn?
Sure, but cotton’s just nicer for baby skin. No judgment though—use what you’ve got.
How early should I start this project?
A month before due date’s smart—but look, I made my set during naps and panic-sprinted to finish before the first photo.
Is glue safe for attaching felt numbers?
For photos, sure. If baby’s chewing, stick with hand stitching instead.
Can I sell the sets I make from this pattern?
Of course—just don’t claim the idea as entirely your own if you’re using this tutorial.
And There You Have It… Your Own Heirloom in the Making
So, whether you’re wild for DIY or just need an easy, personal baby gift, crochet milestone cards are a total win. They’re quick to whip up, meaningful as heck, and guaranteed to be loved way longer than most baby toys. Go ahead—try making a set. You’ll thank yourself every time you snap a new photo, and hey, you might even end up inspiring a fellow crafter or two (shout-out to Pinterest). Now get crocheting, and if you want more crafty ideas, check out this helpful resource.