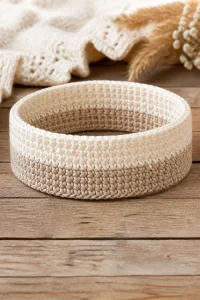
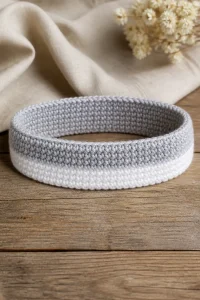
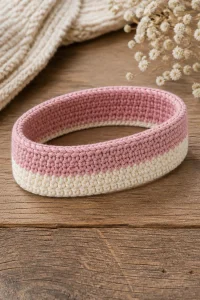
Crochet Snowdrift Ear Warmer Headband

Affiliate disclosure: This post may contain affiliate links. I may earn a small commission at no extra cost to you. See our Privacy Policy for details HERE.
An ear warmer is one of those small winter projects that can make chilly days feel cozier. I especially like the Crochet Snowdrift Ear Warmer Headband because it combines practical warmth with a soft, textured look. It is also a lovely project for using a favorite skein of yarn or making a thoughtful handmade gift.
The Snowdrift style is built around a raised, ridged texture that brings to mind fresh snow piled in gentle layers. The finished band can look detailed, but the basic crochet work is approachable for many skill levels. Since an ear warmer is smaller than a scarf or hat, it can also be a satisfying project to work on between larger makes.
In this guide, you will learn what creates the Snowdrift texture and why it works well for a headband. You will also find yarn and hook tips, advice for keeping your stitches even, and ways to care for the finished piece. Along the way, we will cover a few common mistakes so you can avoid needless frustration.
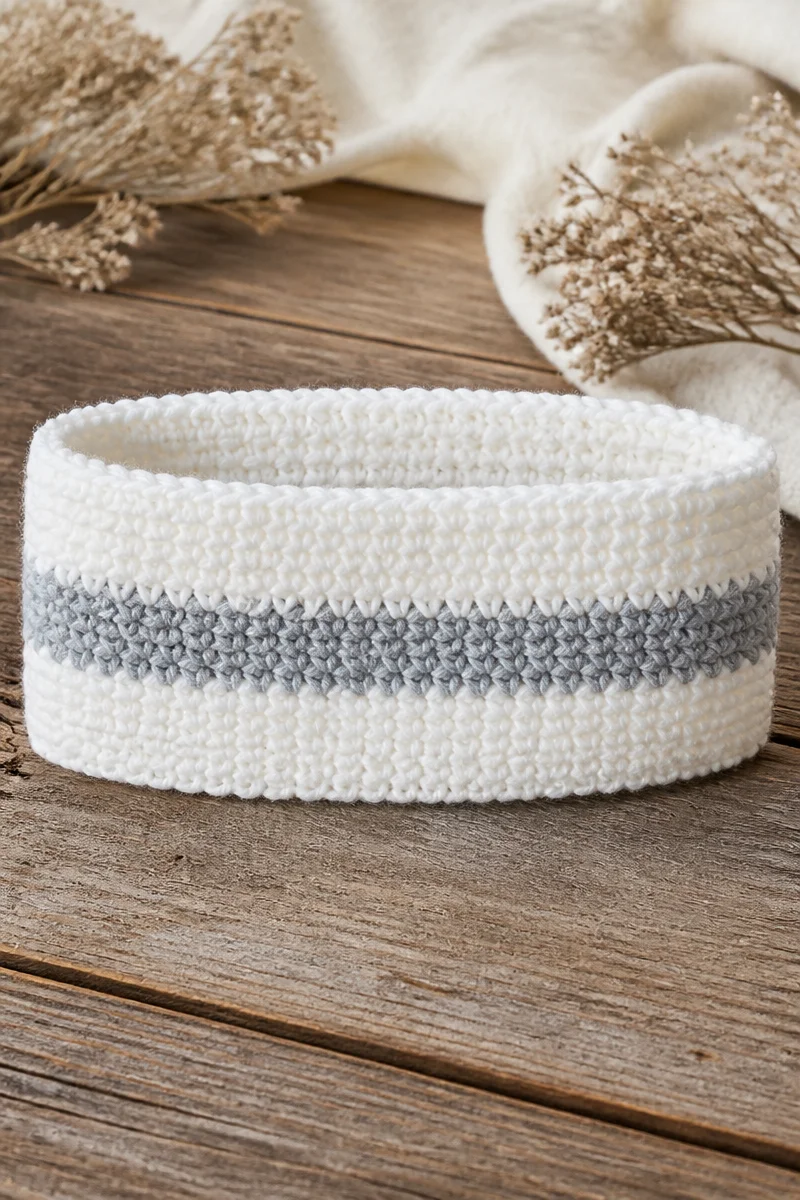
What Is the Snowdrift Stitch?
The Snowdrift stitch is a descriptive name for a textured crochet fabric made with a repeating pattern of raised and recessed stitches. The name can refer to different stitch combinations in different designs, so check the specific pattern for its exact stitch sequence. In a Snowdrift ear warmer, the key feature is the soft, layered surface rather than one universal set of instructions.
Typically, the texture comes from working stitches into particular loops or spaces, or by alternating stitch heights and placements. This creates ridges that stand out from the fabric. As a result, the headband looks more dimensional than a plain strip of single crochet, while still feeling soft and comfortable.
Crocheters enjoy this kind of texture because it adds visual interest without requiring color changes or complicated shaping. Also, the raised surface can make a simple ear warmer look special enough to give as a gift. If you are new to textured stitches, work a small swatch first and follow the stitch notes in your chosen pattern.
Why This Is a Great Choice for an Ear Warmer Headband
- It adds cozy texture. The raised ridges give the band a warm, inviting look.
- It suits a small project. An ear warmer is compact, so you can enjoy the stitch pattern without committing to a large item.
- It can be made in many colors. A solid shade shows the texture clearly, while a subtle variegated yarn adds a different look.
- It works well for gifts. The practical shape and handmade detail make a headband a thoughtful winter present.
- It offers room to personalize. You can adjust the width, length, color, or finishing style to suit the wearer.
Yarn and Hook Recommendations
- Worsted-weight yarn: This is a popular choice for ear warmers because it makes a warm, sturdy fabric. It also helps the textured stitches stand out.
- Aran-weight yarn: This slightly heavier option can create a thick, cozy band. However, check the finished fabric so it does not feel stiff.
- Soft acrylic: Acrylic is easy to find, often machine washable, and available in many colors. Choose a soft yarn that feels comfortable against the skin.
- Wool or a wool blend: Wool offers warmth and a springy feel. A blend may be easier to care for, but check the yarn label before washing.
- Cotton or a cotton blend: Cotton can suit mild weather and sensitive skin, although it may feel less warm and stretchy than wool or acrylic.
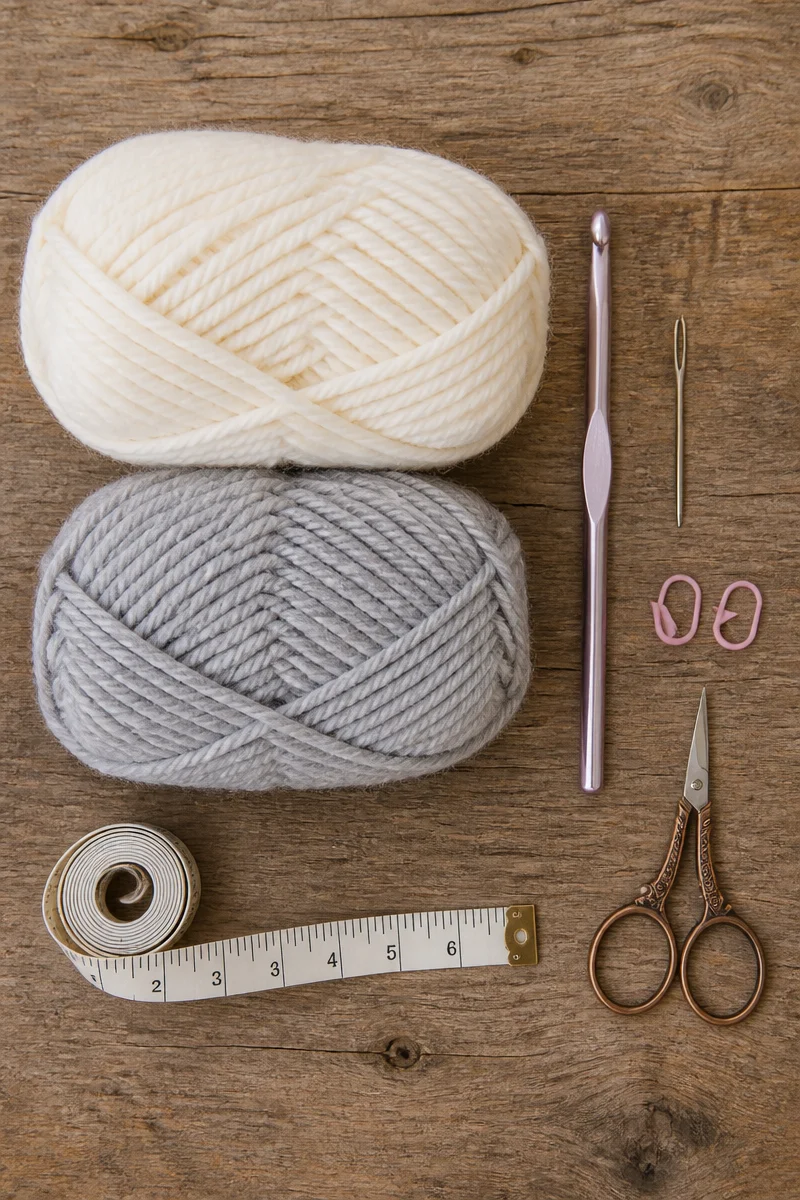
- A hook that matches your yarn and gauge: Start with the size suggested on the yarn label or pattern. Then make a swatch, since a slightly different hook size may help you achieve a fabric that is warm but still flexible.
Tips for Snowdrift Stitch Success
First, check the pattern’s stitch notes before you begin. The name Snowdrift stitch can describe a general textured look, so the exact placement of each stitch may vary. Then make a small swatch to see how your yarn and hook work together. This also helps you judge whether the fabric feels soft enough for a headband.
Keep your tension steady, but do not pull the yarn too tightly. Textured stitches need room to form their ridges, and a tight fabric may feel uncomfortable around the head. In addition, count your stitches at the end of each row or round. If the pattern asks you to work into a certain loop or space, pause and check your placement before moving on.
Common Mistakes to Avoid
One common problem is working into the wrong loop or space. Because textured stitches may use less familiar placements, it is easy to miss the detail that creates the ridge. Read each row carefully, and use a stitch marker or a quick note to keep track of where the next row begins.
Uneven tension can also make the texture look inconsistent. If some stitches are tight and others are loose, the ridges may vary in height. Instead, relax your hands and keep a steady pace. If the fabric feels stiff, try a larger hook and make another swatch before continuing.
Another pitfall is choosing yarn that is too bulky or rough for the wearer. A thick yarn may make the headband heavy, while scratchy fibers can bother the skin. Before you commit, feel the yarn against your forehead or inner wrist. Also consider whether the finished band will stretch enough to fit comfortably.
Finally, avoid guessing at the headband’s length. A band that is too short may feel tight, while one that is too long may slip. Check the pattern’s sizing guidance, and account for stretch in the yarn and stitch pattern. If you are making a gift, compare the finished length with a headband that fits the person well.
Care and Washing Instructions
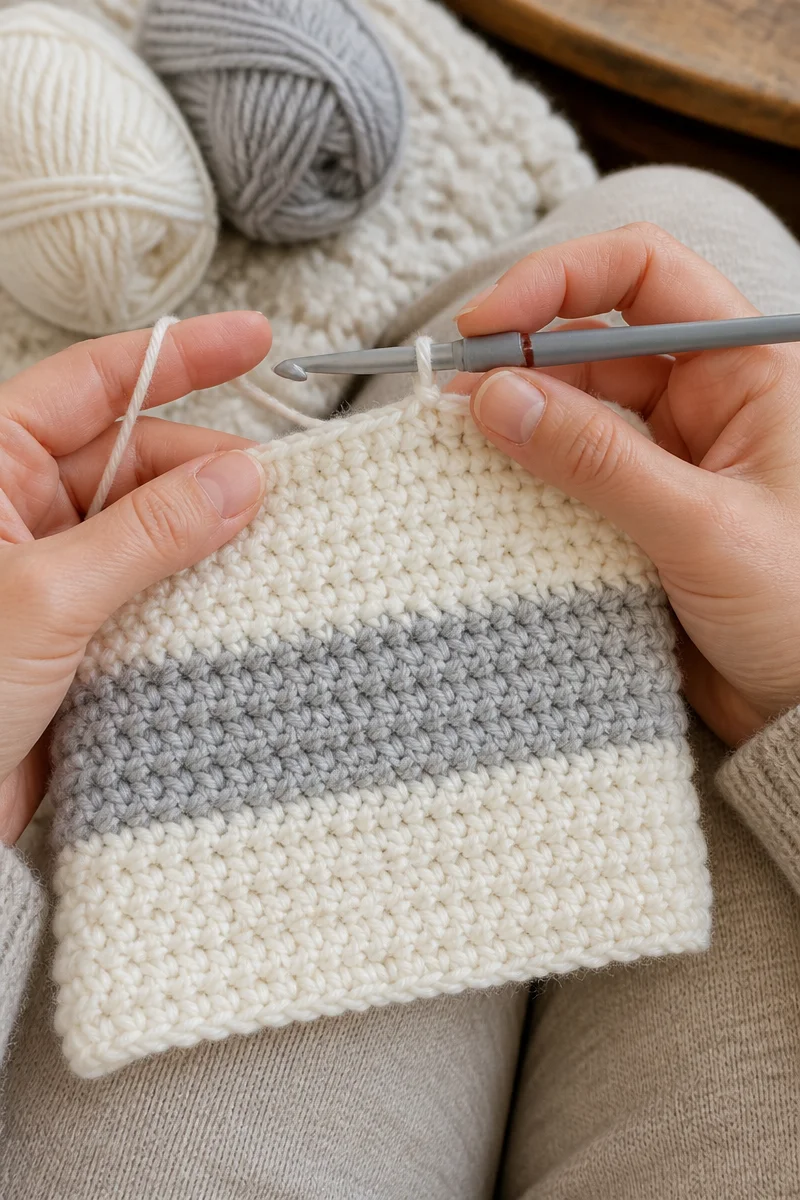
Washing: Follow the yarn label first. Many acrylic yarns can be washed in cool water on a gentle cycle, while wool often needs hand washing or a wool-safe setting. If you are unsure, hand wash the ear warmer gently with mild soap and avoid rubbing the textured stitches.
Drying: Press out extra water with a clean towel, but do not wring the fabric. Then reshape the headband and lay it flat to dry. This helps it keep its shape and reduces stretching.
Blocking: A Snowdrift ear warmer usually needs little blocking. However, gentle blocking can smooth the edges and help the band lie flat. Use a method that suits the yarn, and avoid stretching the headband too much.
More Ideas to Try
If you enjoy the raised texture of a Crochet Snowdrift Ear Warmer Headband, you might like trying the basketweave stitch for a bold woven look, the ribbed crochet stitch for a stretchy hat brim, or the moss stitch for a flatter, pebbled fabric. You could also make a matching cowl or a wider headband with a decorative twist at the front.
Conclusion
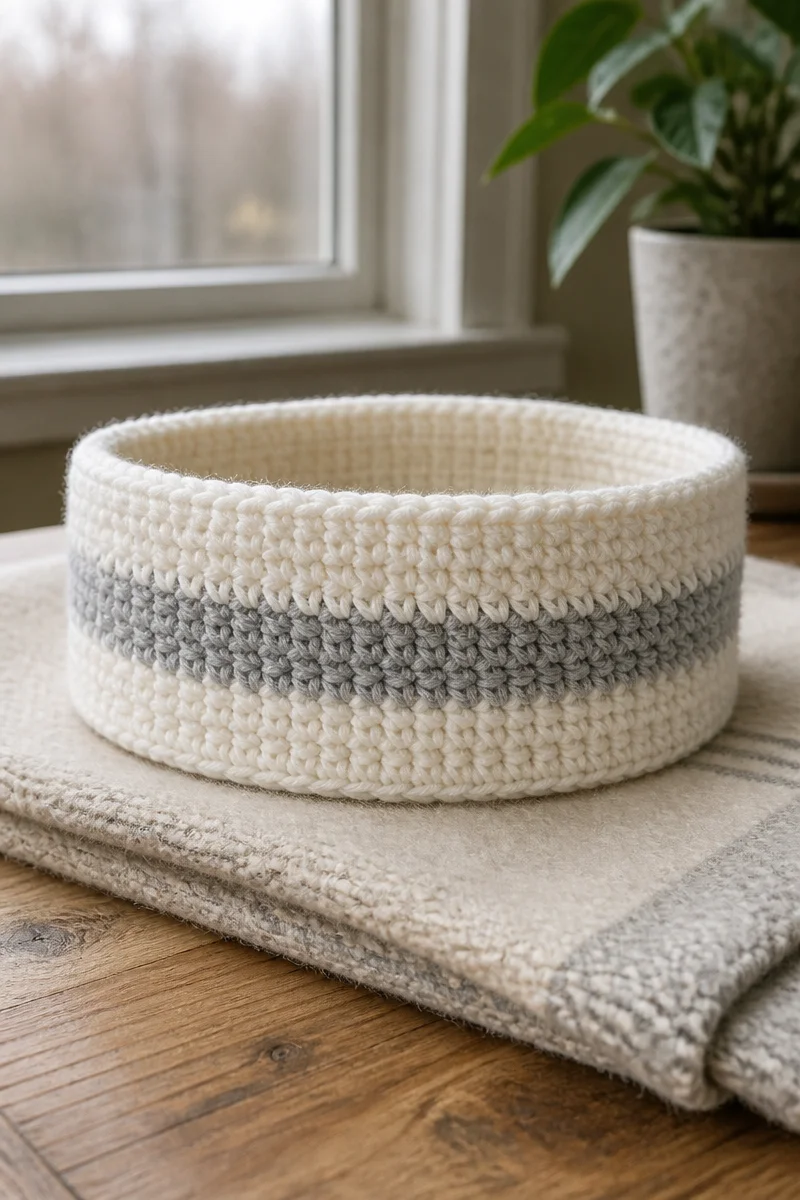
The Crochet Snowdrift Ear Warmer Headband brings together warmth, texture, and a manageable project size. To get the best results, check the exact stitch sequence in your pattern, choose a soft yarn, and keep your tension relaxed and even. A small swatch can help you feel confident before you begin.
Now gather a favorite yarn and give the textured stitch a try. When your ear warmer is finished, share how it turned out or explore another cozy crochet guide on the blog.