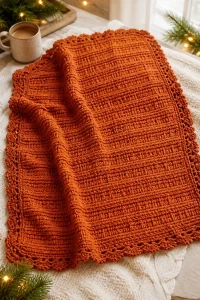
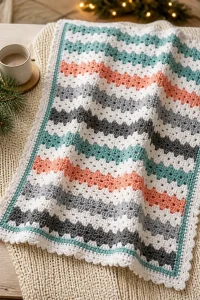
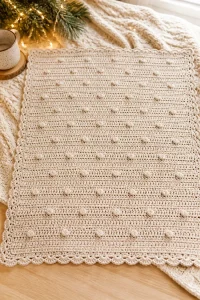
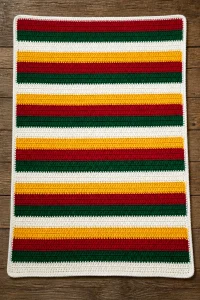
Cozy Christmas V-Stitch Crochet Throw

Affiliate disclosure: This post may contain affiliate links. I may earn a small commission at no extra cost to you. See our Privacy Policy for details HERE.
- What Is a Crochet Throw?
- Why This Is a Great Choice for a Crochet Throw
- Before You Start
- Yarn and Hook Recommendations
- Materials
- Cozy Christmas V-Stitch Crochet Throw Instructions
- Tips for a Crochet Throw Success
- Common Mistakes to Avoid
- Ways to Make It Your Own
- Care and Washing Instructions
- Frequently Asked Questions
- More Ideas to Try
- Conclusion
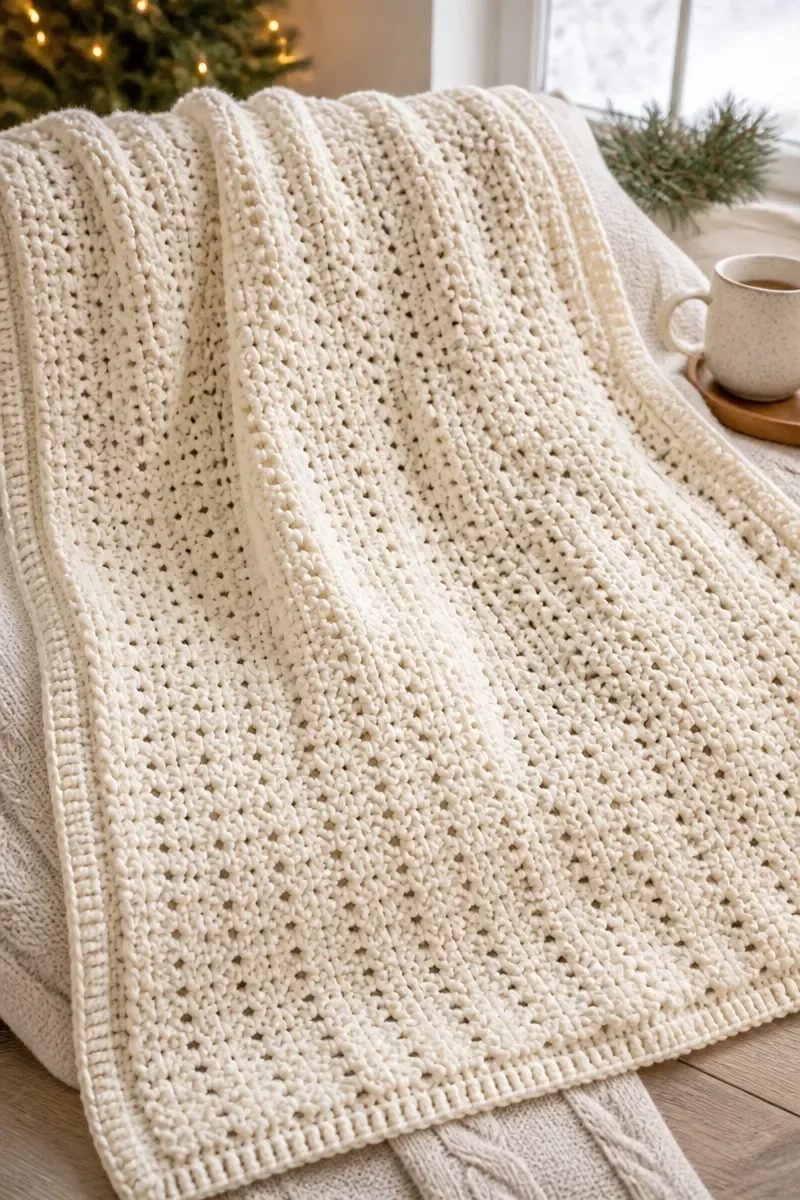
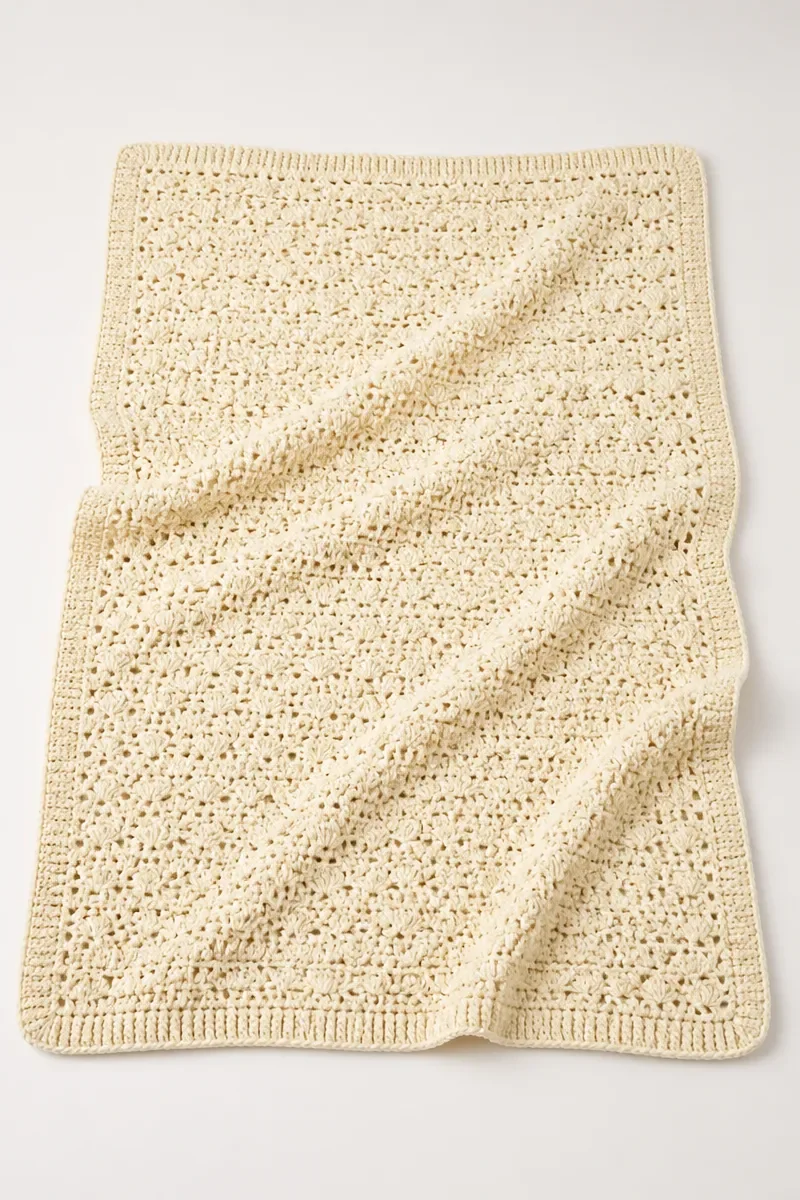
Cozy Christmas V-Stitch Crochet Throw is a crochet throw project for making a useful, handmade piece for the home. It offers a satisfying way to spend time with yarn and create something intended for everyday comfort.
This project can suit makers who enjoy a steady, hands-on activity and people looking for a thoughtful handmade present. The finished throw can be kept nearby for relaxing at home or shared with someone who appreciates a practical gift.
Making a larger handmade item encourages patience and attention as you work toward a lasting result. It can also build confidence with a sustained project and offer the pleasure of giving something made with care.
What Is a Crochet Throw?
A crochet throw is a flexible textile made to rest across a lap, chair, or bed. It is generally smaller and easier to move around than a full bed covering, making it useful in different rooms and settings.
Throws can be made in many types of yarn and in a wide range of textures and visual styles. Their fabric may feel light and drapey or dense and warm, depending on the materials and construction choices. That range makes the form adaptable to personal taste and household needs.
People enjoy making throws because the project offers room for steady practice and a useful result. A completed throw can add a handmade touch to a living space, provide comfort during quiet moments, or become a meaningful present. Its broad, practical form also gives makers a chance to settle into a repeated rhythm while working.
Why This Is a Great Choice for a Crochet Throw
-
Useful at home: A throw is easy to keep within reach in a living area or bedroom. Its everyday purpose makes the time spent crafting something that can be enjoyed often.
-
Personal and thoughtful: Handmade home textiles can carry a sense of care that a store-bought present may not. A throw can be suited to someone’s preferences and routines.
-
A steady project: Working toward a larger finished item gives you space to settle into a comfortable pace. The ongoing process can make a relaxing companion to quiet time.
-
Room for practice: A substantial crochet project lets you grow more familiar with managing yarn and maintaining consistent work. Repeated practice can make your hands feel more assured.
-
Lasting satisfaction: Completing a useful item offers a clear sense of progress. Seeing the finished throw in use can make the effort feel worthwhile long after the making is done.
Before You Start
-
Make a gauge swatch using the yarn and hook you plan to use. Check its measurements after it rests, since this helps you judge whether your working tension matches the intended fabric.
-
Read through every part of the project before beginning. Becoming familiar with the overall sequence helps you prepare for transitions and recognize where you may want to pause.
-
Keep a notebook or tally sheet nearby for recording your progress and any useful observations. A written note makes it easier to resume after setting your work aside.
-
Arrange your yarn so it feeds freely, and wind any loose skeins before beginning. A tidy working area helps prevent tangles and keeps your attention on the craft.
Yarn and Hook Recommendations
-
Choose a fiber that suits the way you expect to use the finished item. Cotton can feel breathable, while wool often provides warmth; blends may offer a balance of qualities.
-
Match the yarn weight to the fabric you want. A thicker yarn creates a heavier textile, while a lighter option can produce a more flexible result.
-
Look for smooth yarn if you want clear, well-defined texture. Very fuzzy or highly textured yarn can make it harder to see where to place the hook.
-
Select a color with enough contrast against your surroundings to make the fabric easy to inspect. Subtle shades can be lovely, though good lighting helps you see your work.
-
Start with the hook size suggested for your chosen yarn, then use a gauge swatch to assess the fabric. Adjusting the hook can change both drape and density.
-
Keep your hook comfortable in your hand during longer sessions. A suitable grip and a smooth working rhythm can help reduce strain and support consistent tension.
Materials
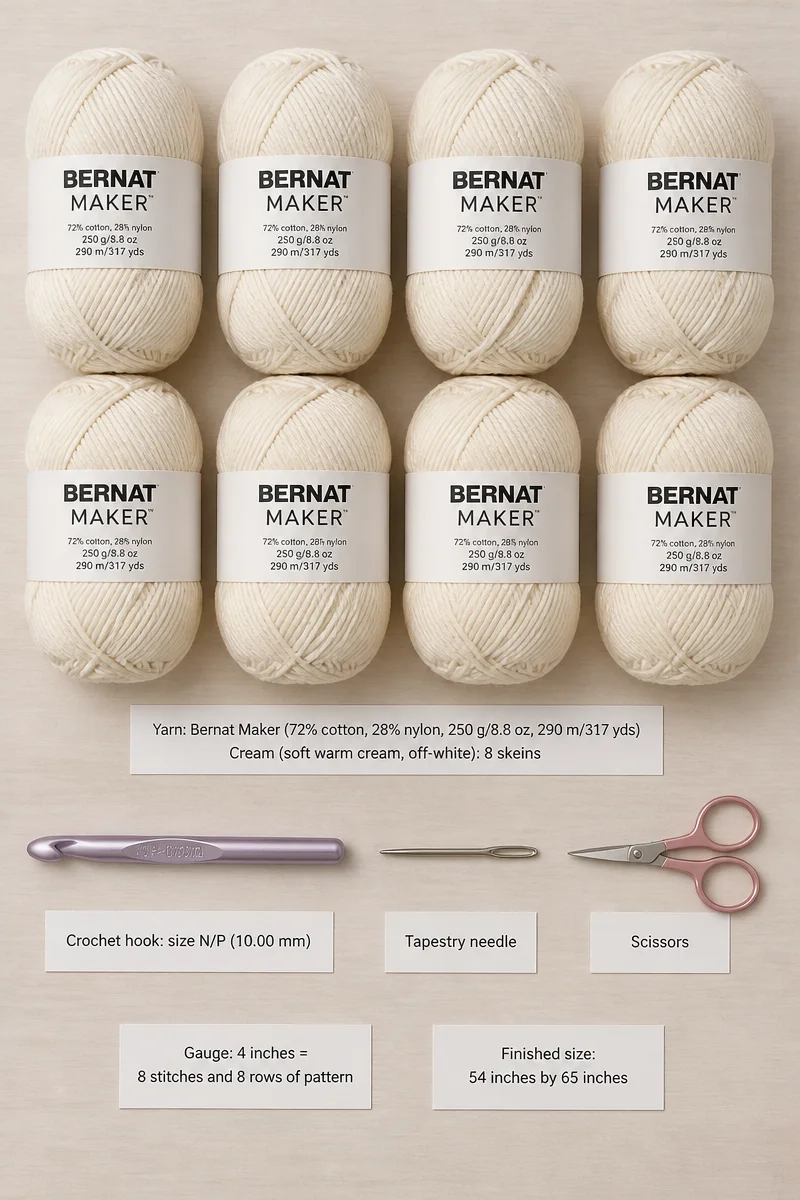
- Yarn: Bernat Maker (72% cotton, 28% nylon, 250 g/8.8 oz, 290 m/317 yds)
- Cream (soft warm cream, off-white): 8 skeins
- Crochet hook: size N/P (10.00 mm)
- Tapestry needle
- Scissors
- Gauge: 4 inches = 8 stitches and 8 rows of pattern
- Finished size: 54 inches by 65 inches
Cozy Christmas V-Stitch Crochet Throw Instructions
Color key
Cream = soft warm cream, off-white.
Abbreviations
ch = chain; HDC = half double crochet; sc = single crochet; sl st = slip stitch; yo = yarn over.
HDC
Yo, insert the hook, yo and pull up a loop, then yo and pull through 3 loops on the hook.
Large HDC cluster
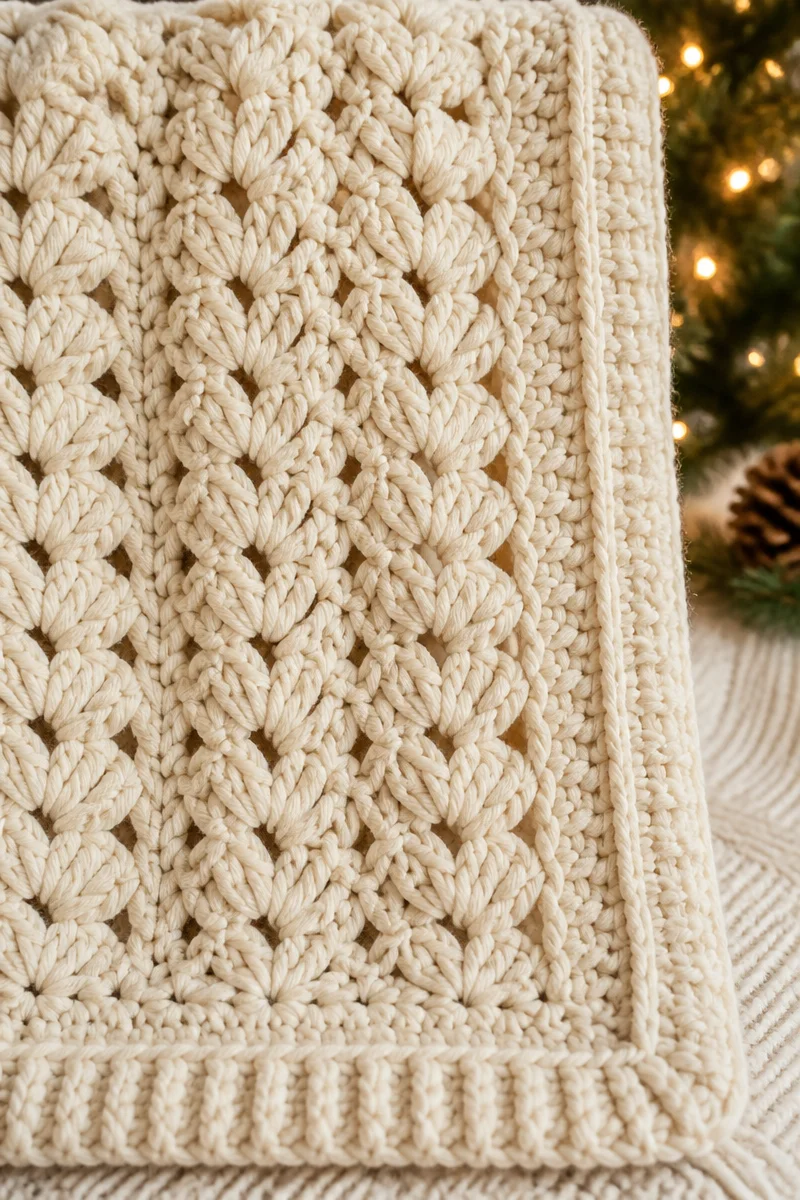
*Yo, insert the hook, yo and pull up a loop. Repeat from * 2 more times, inserting the hook into the same space each time. Then yo and pull through all 7 loops on the hook.
Small HDC cluster
*Yo, insert the hook, yo and pull up a loop. Repeat from * 1 more time, inserting the hook into the same space. Then yo and pull through all 5 loops on the hook.
SC
Insert the hook, yo and pull up a loop, then yo and pull through 2 loops on the hook.
Slip stitch
Insert the hook, yo, pull up a loop, and pull it directly through the loop on the hook.
Blanket Body
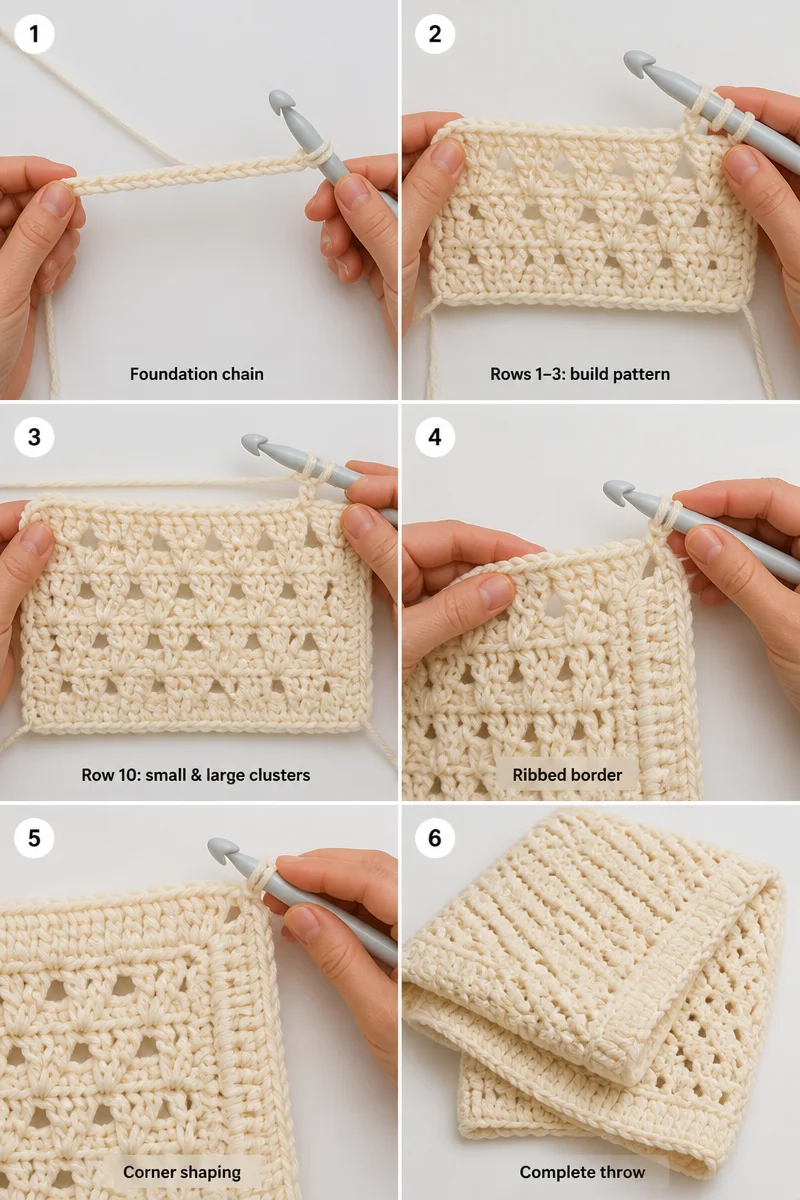
- Ch 102 (the pattern repeat is an even number x 10, plus 2).
- Row 1: Work 2 HDC in the 4th ch from the hook. *Skip 1 ch, then work 2 HDC in the next ch. Repeat from * across the row. At the end of the row, work 1 HDC in the last ch. Ch 2, turn.
- Row 2: Work 2 HDC between each of the first 4 pairs of HDC from the previous row. *Work 2 large HDC clusters between the next pair of HDC. Then work 2 HDC between each of the next 4 pairs of HDC. Repeat from * across the row. At the end of the row, work 1 HDC in the top of the turning ch. Ch 2, turn.
- Row 3: Work 2 HDC between each pair of HDC and HDC clusters from the previous row. At the end of the row, work 1 HDC in the top of the turning ch. Ch 2, turn.
- Row 4: Repeat Row 2.
- Row 5: Repeat Row 3.
- Row 6: Repeat Row 2.
- Row 7: Repeat Row 3.
- Row 8: Repeat Row 2.
- Row 9: Repeat Row 3.
- Row 10: Work 2 small HDC clusters between each of the first 4 pairs of HDC from the previous row. *Work 2 large HDC clusters between the next pair of HDC. Then work 2 small HDC clusters between each of the next 4 pairs of HDC. Repeat from * across the row. At the end of the row, work 1 HDC in the top of the turning ch. Ch 2, turn.
- Row 11: Repeat Row 3.
- Repeat Rows 2 through 11 nine more times, then repeat Rows 2 through 9 to finish the blanket.
Border
- At the end of the last row, you can turn and start the border right away. Or you can fasten off, weave in the ends, and pull up a loop in a corner later to begin the border. You can also work 1 round of sc or HDC around the blanket before starting the ribbed border.
- After the last st, ch 5. Starting in the 2nd ch from the hook, work a sc in each of the 4 chs back toward the edge of the blanket. Sl st in the next space and in the next space after that (try to use the spaces that line up with the end of each v-stitch row). Turn and work in the back loops of each of the 4 sc you just made. Ch 1 and turn. Work back down and sc in the back loops only (be careful not to miss the 4th st, which can pull tight and be hard to see). Keep repeating around the blanket.
- Corners: *Sl st only once into the corner, then turn and work back loop sc back up to the top of the border. Return and sl st into the corner space. Repeat from * 2 more times so the border fans neatly around the corner. Then continue around the blanket as before.
- When you reach the corner you started in, work the corner the same way as the other corners. Fasten off at the top of the border, leaving a long tail. Use the tail and a tapestry needle to sew the sides of the corners together. Fasten off and weave in the ends.
Tips for a Crochet Throw Success
Set up comfortably
Sit with your shoulders relaxed and your wrists in a neutral position. Support your forearms when possible, and shift your posture now and then instead of leaning toward the work for long stretches.
Good lighting makes it easier to see the yarn and the fabric clearly. Position a lamp so your hands do not cast a shadow over your work, and take a short pause if your eyes feel tired.
Keep tension steady
Let the yarn pass through your fingers without gripping it tightly. A firm, comfortable hold helps you form consistent fabric while avoiding unnecessary strain in your hand.
If your work begins to feel stiff or your fingers tense up, stop and relax your grip before continuing. Consistent movement matters more than trying to pull each loop tight.
Track your place
Use a written tally to record where you are, especially when the project contains a sequence that changes over time. Mark each completed section as soon as you finish it, rather than relying on memory.
If you pause in the middle of a section, jot down a brief note about your location and what comes next. This small habit can save time and help you return with confidence.
Check as you go
Pause occasionally to look at the overall fabric rather than focusing only on the hook. Notice whether the edges remain even and the fabric feels consistent in your hands.
A brief visual check can help you notice a skipped or misplaced stitch before it becomes difficult to correct. If something looks unusual, compare nearby areas and carefully identify the source.
Common Mistakes to Avoid
Skipping the swatch
A swatch is easy to dismiss when you are eager to begin, but different hands can produce different fabric with the same yarn and hook. That variation can affect the finished measurements and drape.
Take time to make and measure a sample before committing to the full project. If the fabric differs from your goal, adjust your hook or tension and make another sample to compare.
Pulling too tightly
Tight yarn tension often comes from gripping the strand or drawing each loop snug after it is made. The resulting fabric may feel firm and make it harder to insert the hook comfortably.
Let the yarn glide through your fingers, and aim for loops that sit evenly on the hook without being stretched. A relaxed hand supports smoother movement and a more flexible fabric.
Miscounting stitches
Losing track can happen when you are interrupted, distracted, or working while tired. An unnoticed counting error may gradually change the shape or width of your work.
Count at sensible checkpoints and use a tally sheet to note your progress. If a count seems off, recount carefully before continuing, while the area is still easy to inspect.
Leaving short ends
Cutting yarn tails too close can make them difficult to secure neatly. Short ends may also work loose with handling, so leave enough length to weave each one into the fabric securely.
When changing or joining yarn, plan for a tail that gives you room to work comfortably with your tapestry needle. Secure it through the fabric without pulling hard enough to distort the surrounding area.
Switching materials midway
Changing yarn or hook partway through can alter the fabric’s feel and appearance, even when the replacement seems similar. Differences in thickness, texture, or hook size can make sections look uneven together.
Before substituting, compare the new yarn and hook with your current materials by making a small sample. Keeping the same materials throughout helps maintain a more consistent result.
Ways to Make It Your Own
-
Choose a palette that suits the recipient’s home or your own taste. A coordinated set of shades can feel calm, while a lively mix can bring more energy to the room.
-
Try a different yarn in the same weight if you prefer another fiber or surface feel. Check that it works comfortably with your hook and produces a fabric you enjoy.
-
Make a matching second project for a coordinated set. Pairing related handmade items can create a thoughtful present for a home or a useful collection for your own space.
-
Include a handwritten note with a gift, sharing why you chose to make it and how you hope it will be enjoyed. A personal message can make the present feel especially warm.
-
Present the finished piece in reusable wrapping or a simple gift bag. Add a small care note so the recipient has helpful information close at hand.
Care and Washing Instructions
Washing: Follow the yarn label for cleaning guidance, since care needs can vary by fiber and construction. When the label allows washing, handle the fabric gently and avoid rough agitation that might stretch or distort it.
Drying: Support the fabric while moving it from the wash, because wet crochet can become heavier and stretch under its own weight. Lay it flat on a clean, dry surface and reshape it gently as it dries.
Blocking: Gentle blocking can help even out the fabric and encourage a more regular outline. Use a method suitable for the yarn, handle the work with care, and let it dry fully before folding or storing.
Frequently Asked Questions
Can I use a different yarn?
Yes, another yarn can work if it produces a fabric with a similar weight and drape. Make a sample first to assess how the substitute behaves. Remember that fiber content can affect softness, warmth, stretch, and washing needs.
How can I keep my work even?
Use a relaxed, repeatable grip so the yarn feeds smoothly through your fingers. Keep your hands and hook moving at a comfortable pace. Regularly compare the fabric’s feel and appearance to catch tension changes early.
What is a reliable way to count?
Choose a consistent point to pause and count, then record your progress on paper. Use a tally mark each time you complete a section. If you lose your place, recount from a clear starting point before continuing.
What if the finished piece looks different than expected?
First, check whether the difference comes from tension, yarn texture, or lighting. Compare several areas rather than judging from one spot. If the result remains appealing and usable, small variations can be part of its handmade character.
How long should yarn tails be?
Leave a tail long enough to thread comfortably through your tapestry needle and weave securely into the fabric. The exact length depends on your handling and the fabric’s thickness. Avoid trimming an end until it feels firmly secured.
More Ideas to Try
If you enjoy making useful crochet gifts, consider a cushion cover, a table runner, a market bag, or a simple scarf. These projects offer different ways to practice planning, handling yarn, and creating handmade items for daily life. Choose one that suits your available materials and the person who might enjoy receiving it, or make something just for your own home.
Conclusion
Settle in with your yarn and enjoy the satisfaction of making a handmade piece for your home or someone you care about. Take your time, trust your growing confidence, and let the process be as rewarding as the finished result. When you are ready for another project, explore more crochet ideas on the blog and find a new way to put your creativity to use.