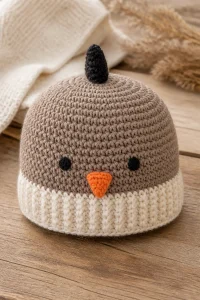
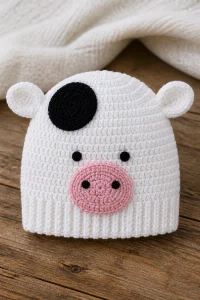
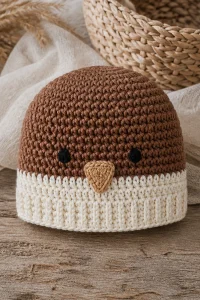
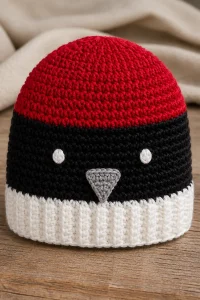
Crochet Yeti Baby Hat Beanie

Affiliate disclosure: This post may contain affiliate links. I may earn a small commission at no extra cost to you. See our Privacy Policy for details HERE.
A Crochet Yeti Baby Hat Beanie is the kind of project that brings smiles before you even finish the last stitch. I love how a simple baby hat can turn into a playful little costume with soft fur, earflaps, and a friendly yeti face. It is a fun choice for a handmade gift, a winter photo, or a cozy day out.
The hat usually starts with a basic beanie shape, then gains its yeti look through fluffy yarn, textured stitches, or added details such as horns, ears, and eyes. The basic hat is approachable for many crocheters, while shaping and sewing on the extras may take a little more care. Because babies have sensitive skin, comfort and secure details matter just as much as appearance.
In this guide, you will learn what makes a Crochet Yeti Baby Hat Beanie, which stitches and materials work well, and how to make the project comfortable and sturdy. You will also find practical tips for shaping, care, and common mistakes to avoid. This is an informational guide rather than a fixed pattern, so you can adapt the design to your yarn, baby’s size, and preferred style.
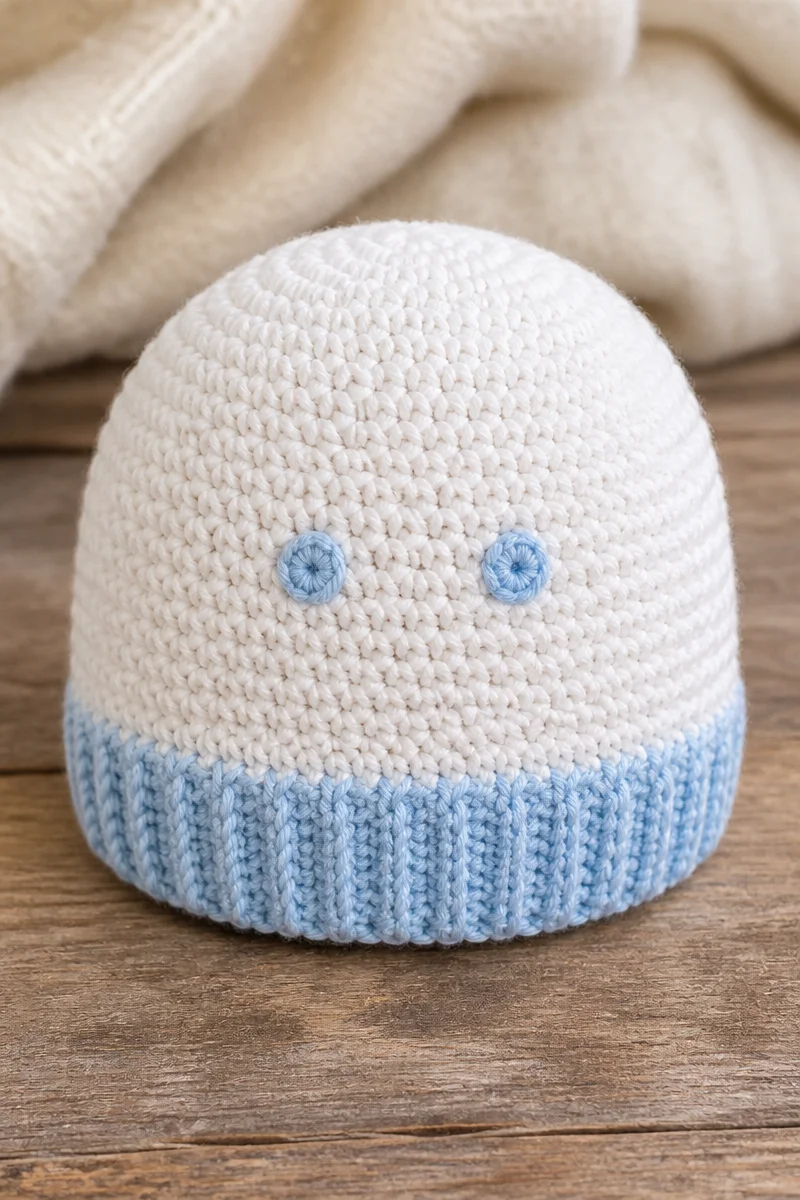
What Is the Crochet Yeti Baby Hat Beanie Technique?
A Crochet Yeti Baby Hat Beanie is a crochet project type, not a single named stitch. Most designs use basic stitches to create a rounded beanie, then add a furry or textured finish to suggest a yeti’s coat. The hat may be worked in joined rounds or continuous spirals, depending on the pattern.
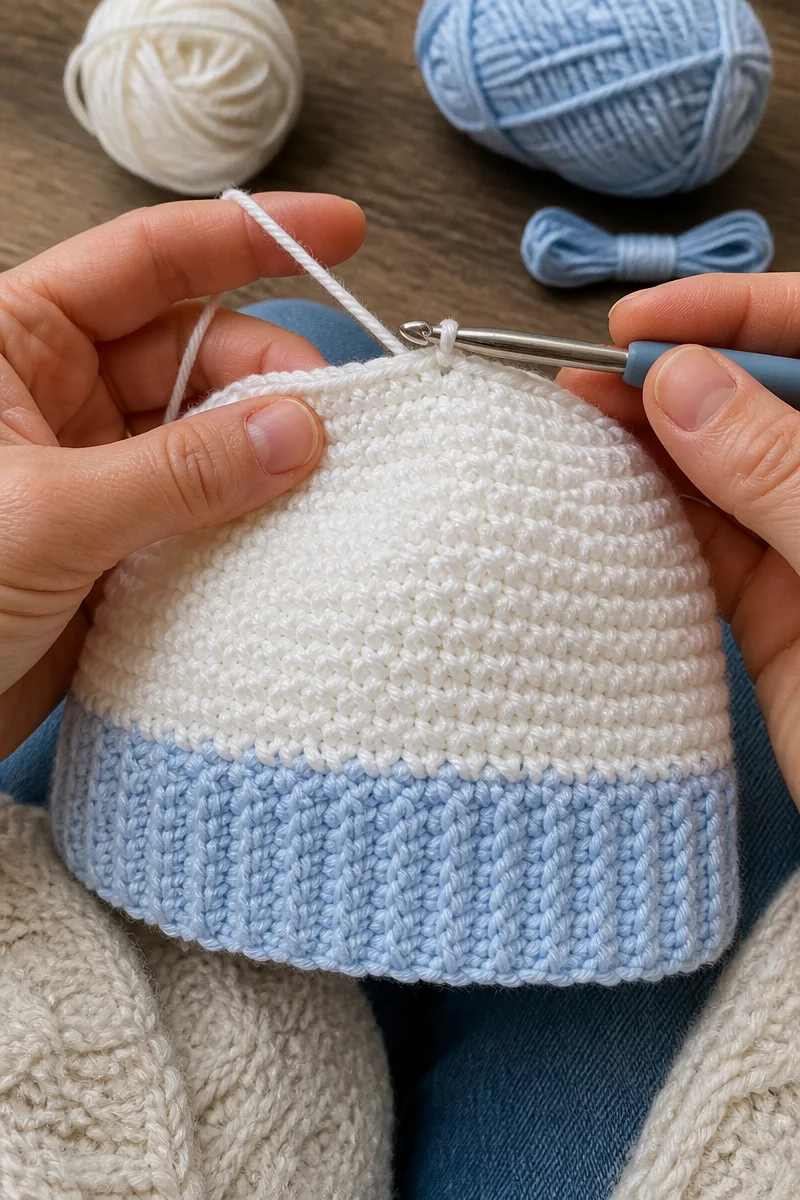
For the main hat, crocheters often use single crochet for a dense, warm fabric or half double crochet for a softer fabric that works up more quickly. The crown grows with increases, then the sides continue downward until the hat reaches the desired length. After that, makers can add earflaps, braids, facial features, or a fluffy border.
The yeti effect comes from the yarn and finishing details. For example, faux-fur yarn can make the hat look shaggy, while fluffy white yarn or a brushed texture can create a softer, more subtle finish. Since textured yarn can hide individual stitches, many crocheters make the basic hat in smooth yarn and add fur only where they want it.
Why This Is a Great Choice for Baby Hats
- It makes a memorable gift. A Crochet Yeti Baby Hat Beanie feels personal and playful, so it is a lovely choice for a baby shower or winter present.
- It offers room for creativity. You can change the colors, face, horns, or earflaps to give each hat its own character.
- The basic shape is familiar. A simple beanie uses common crochet techniques, so you can focus on fit and decoration one part at a time.
- It can be warm and cozy. A suitable soft yarn and a close-fitting fabric help keep a baby’s head comfortable in cool weather.
- It is easy to personalize. You can adjust the length, add ties or braids, or choose a different texture to suit the recipient and the season.
Yarn and Hook Recommendations
- Choose soft, washable yarn. Baby hats need frequent cleaning, so a smooth acrylic or machine-washable blend can be practical. Check the yarn label before you begin.
- Consider worsted-weight yarn for structure. This common medium weight can create a warm hat with clear shaping. However, use a gentle fiber that feels comfortable against skin.
- Try light or bulky yarn for a different look. Lighter yarn makes a thinner hat, while bulky yarn can create a plush, costume-like finish. Check the finished size because yarn weight changes the fit.
- Use faux-fur yarn sparingly. It can give a Crochet Yeti Baby Hat Beanie a shaggy look, but it may be difficult to see the stitches. Add it as trim or accents if you are new to working with textured yarn.
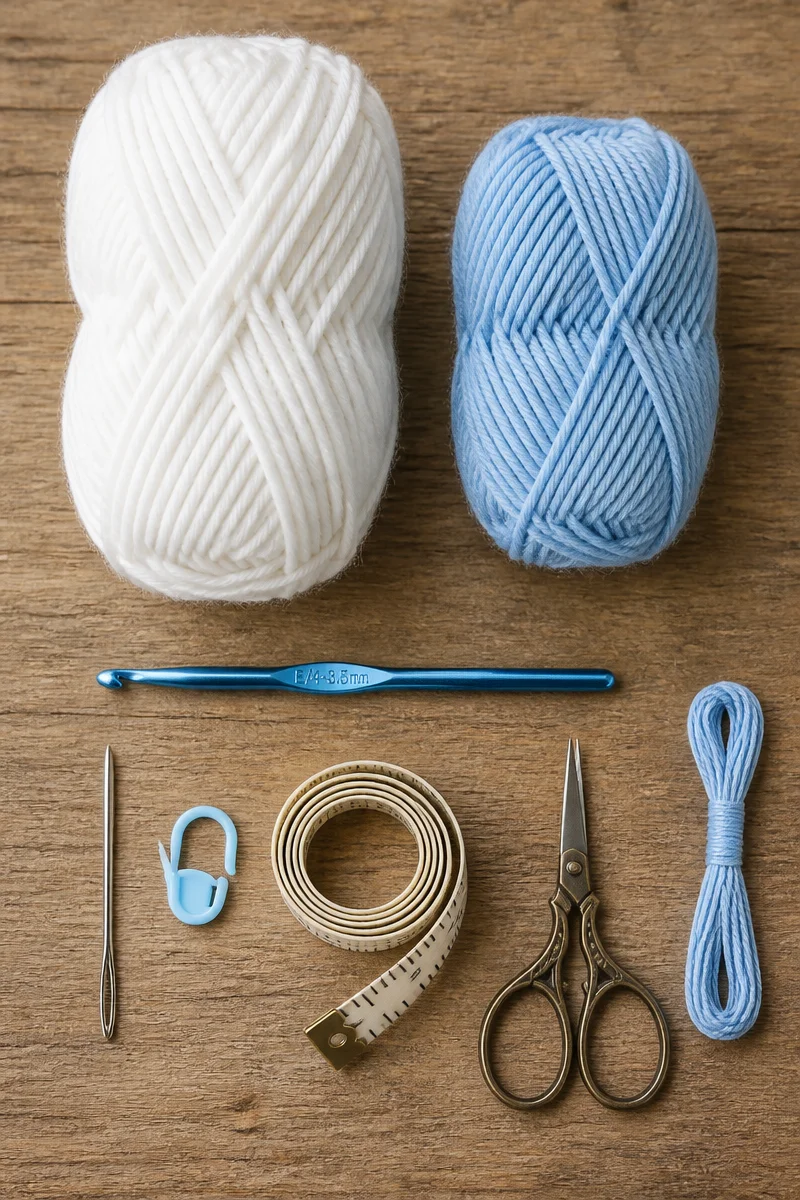
- Match the hook to the yarn and your gauge. Many worsted-weight yarns use a hook around 4.5 to 5.5 mm, but the yarn label and pattern guidance should come first. A smaller hook makes a firmer fabric, while a larger hook makes it looser.
- Make a small test swatch. This helps you check the fabric’s feel and size before you crochet the full hat. For baby wear, aim for a fabric that feels soft and flexible without large gaps.
Tips for Crochet Yeti Baby Hat Beanie Success
First, check the hat’s sizing guidance and measure the baby’s head when possible. Since babies grow quickly, avoid making the hat too tight, and remember that a stretchy fabric may fit differently from a firm one. Also, keep track of your rounds with a stitch marker, especially if you work in a spiral.
Next, use a smooth yarn for the main hat if you want to see each stitch clearly. Then add fluffy yarn or decorative details after the basic shape is complete. Take your time when attaching eyes, horns, or other pieces. For a baby’s safety, sew every detail firmly, avoid loose parts, and do not use small decorations that could come off.
Common Mistakes to Avoid
One common problem is choosing yarn only for its appearance. A scratchy or stiff yarn may irritate a baby’s skin, even if it looks wonderfully furry. Instead, feel the yarn first and check its care instructions. If you are unsure, use a soft base yarn and add texture in a small area.
Another mistake is losing track of increases or rounds. This can make the crown uneven or change the hat’s size. So, use a stitch marker and count at the end of each round. If the hat begins to lean or pucker, pause and check your stitch count before continuing.
It is also easy to make the hat too tight or too deep. A snug fit may be uncomfortable, while excess length can cover the baby’s eyes. Therefore, compare your work with the intended measurements as you go, and allow for a comfortable fit without relying on guesswork.
Finally, textured yarn can hide mistakes and make sewing details harder. Do not rush through the finishing. Use a smooth yarn for parts that need careful shaping, and check every attachment for security before the hat is worn.
Care and Washing Instructions
Washing: Follow the yarn label first. Many acrylic yarns can be machine washed on a gentle cycle, but hand washing may be kinder to delicate fibers and decorative details. Use mild detergent, and place the hat in a mesh laundry bag if the label allows machine washing.
Drying: Press out extra water with a clean towel rather than twisting the hat. Then reshape it and lay it flat to dry. Avoid hanging it, since the weight of wet yarn can stretch the beanie.
Blocking: A shaped hat usually needs little or no blocking. If the brim or crown looks uneven, gently reshape the damp hat by hand and let it dry flat. Avoid stretching the fabric, and do not use heat on yarn that may melt or lose its texture.
More Ideas to Try
If you enjoy making a Crochet Yeti Baby Hat Beanie, you might also try a basic animal-ear beanie, a textured bear hat, a soft pom-pom hat, or a matching baby bootie set. You can also explore ribbed stitches for a stretchy brim or simple color changes for a striped monster hat.
Conclusion
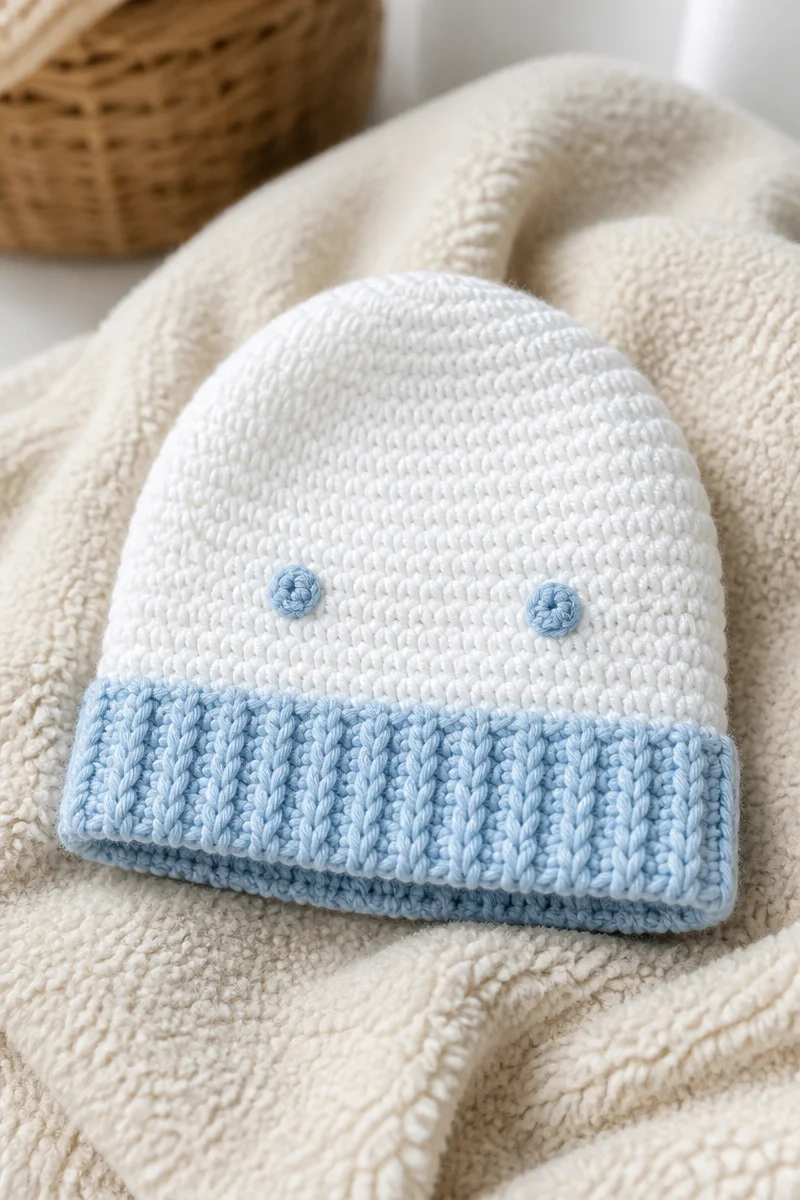
A Crochet Yeti Baby Hat Beanie combines a familiar beanie shape with soft texture and playful details. Choose comfortable, washable yarn, check the fit as you work, and attach every decoration securely. Most of all, take your time and make the design your own. Try a version in your favorite colors, share your finished hat with fellow crocheters, or explore another baby-hat guide on the blog next.