Crochet Little Whale Baby Soft Toy

Affiliate disclosure: This post may contain affiliate links. I may earn a small commission at no extra cost to you. See our Privacy Policy for details HERE.
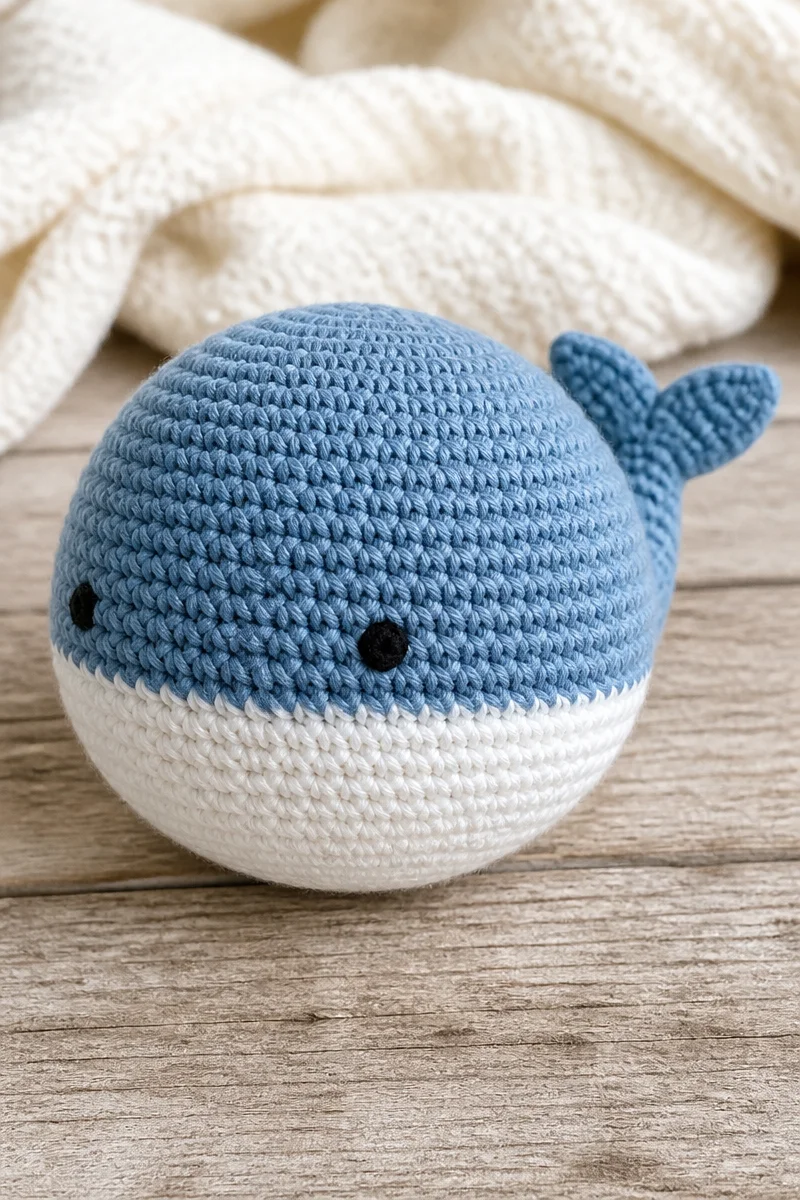
A crochet little whale baby soft toy makes a sweet handmade gift and a cuddly friend for a nursery. I love how a few simple shapes can become a charming whale, complete with a rounded body and a little tail. The finished toy feels personal, too, because you can choose its colors and details.
This project is usually made with amigurumi, the crochet technique for creating small, stuffed figures. Most of the whale takes shape in the round, using tight stitches to form a smooth, firm body. It is a fun project for crocheters with some basic skills, and a small whale can be a satisfying choice when you want a toy-sized make.
In this guide, you’ll learn how amigurumi works, what yarn and hook choices can help, and how to make the process smoother. You’ll also find tips for keeping your stitches even, avoiding common problems, and caring for the finished toy.
What Is the Amigurumi Stitch?
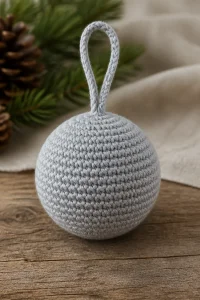
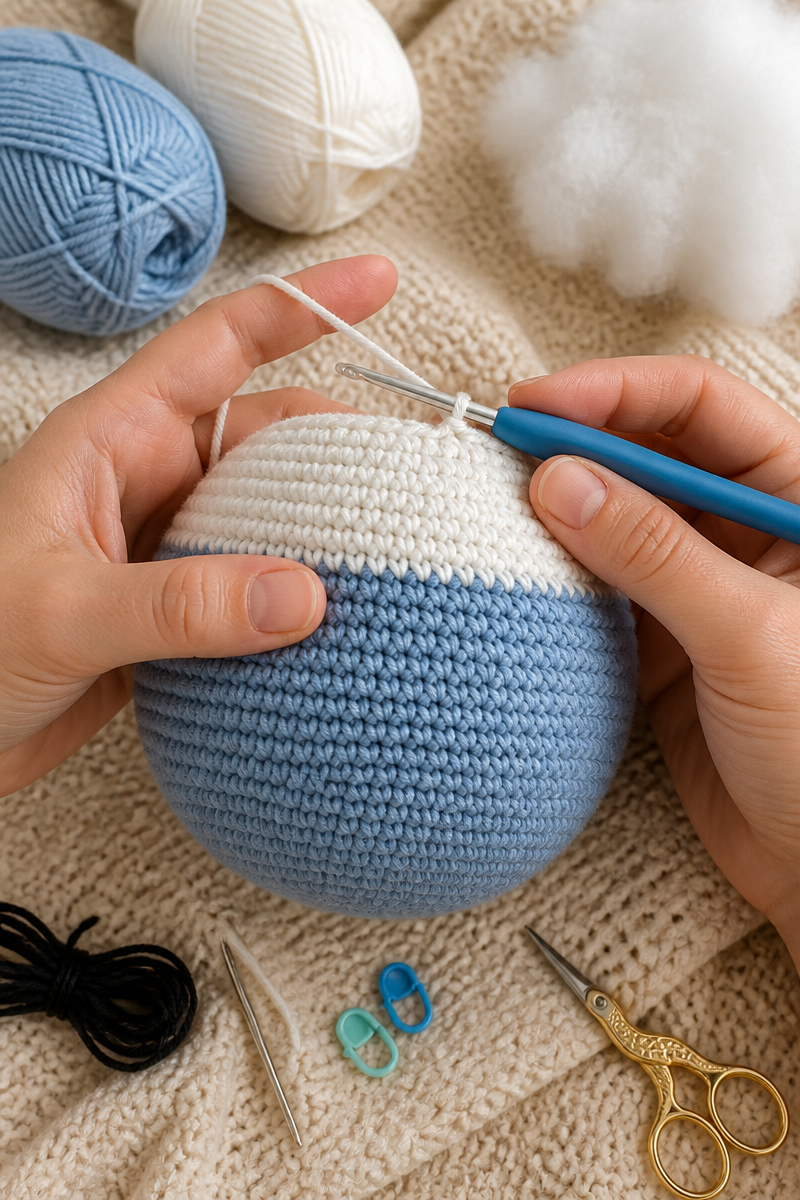
Amigurumi is a crochet technique for making stuffed toys and small figures. It is not one special stitch. Instead, crocheters commonly use single crochet stitches worked in a continuous spiral or joined rounds. Increases add stitches to widen the shape, while decreases bring the shape in.
The fabric looks smooth and firm when you work with even tension and a hook that suits your yarn. For a crochet little whale baby soft toy, this helps the body hold its shape and keeps stuffing from showing through. Crocheters enjoy amigurumi because it turns simple stitches into playful three-dimensional creations.
Why This Is a Great Choice for a Crochet Baby Toy
- Small and giftable: A little whale is easy to give for a baby shower or nursery gift.
- A clear, rounded shape: Amigurumi techniques help form the whale’s body, fins, and tail.
- Easy to personalize: You can choose soft colors, add a simple smile, or change the whale’s size.
- A useful skill-building project: The toy offers practice with single crochet, increases, decreases, and shaping.
- Portable to work on: Since the whale is small, you can often crochet it in short sessions.
Yarn and Hook Recommendations
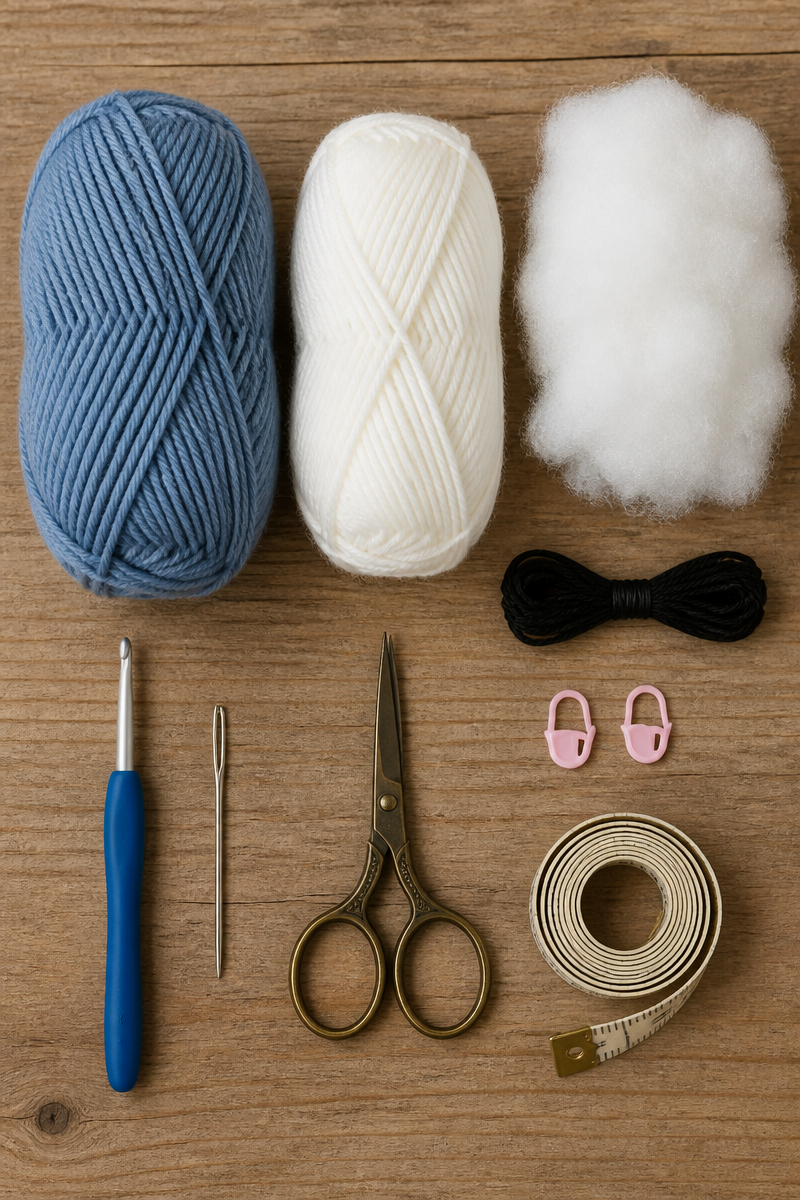
- Choose a smooth yarn: A smooth, light-colored yarn makes it easier to see your stitches and check your shaping.
- Try a worsted-weight yarn: This weight is widely available in the United States and can make a sturdy, easy-to-handle toy.
- Consider cotton or acrylic: Cotton offers a defined stitch look, while soft acrylic is light and often easy to wash. Check the yarn label for care guidance.
- Use a smaller hook than the yarn label suggests: Amigurumi often calls for a snug fabric. Follow your pattern’s recommendation, then check that stuffing does not show through.
- Match the hook to your tension: If your stitches look loose, try a smaller hook. If they feel hard to work, try a slightly larger one while keeping the fabric firm.
- Choose baby-safe details: For a toy intended for a baby, embroidered features are often a better option than small parts that could come loose. Always follow age and safety guidance for the finished toy.
Tips for Amigurumi Success
First, use a stitch marker to show where each round begins, especially if you crochet in a spiral. Then count your stitches often. A missed increase or decrease can change the whale’s shape, so it helps to check your count before moving on.
Also, keep your tension steady and work at a comfortable pace. If the stitches feel too tight to enter, loosen your grip rather than forcing the hook. As you stuff the body, add small amounts at a time and shape them gently. That way, the whale stays rounded without becoming lumpy.
Common Mistakes to Avoid
Loose stitches can leave gaps where stuffing shows through. If that happens, try a smaller hook or adjust your tension. However, avoid pulling the yarn so tightly that your hands become uncomfortable or the hook is hard to move.
It is also easy to lose track of rounds when working in a spiral. Use a stitch marker and check each round’s stitch count. If the whale begins to look uneven, pause and compare your work with the pattern before continuing.
Using a yarn that differs greatly from the pattern’s suggested weight can change the toy’s size and shape. A thicker yarn usually makes a larger whale, while a thinner yarn makes a smaller one. Therefore, check the pattern details and make sure your hook creates a firm fabric.
Finally, avoid overstuffing. Too much filling can stretch the stitches and distort the shape. Add stuffing gradually, then smooth it with your fingers before closing the opening.
Care and Washing Instructions
Washing: Check the yarn label first. Many acrylic yarns can be gently machine washed, but hand washing in cool water is a cautious option for a handmade toy. Use mild detergent and avoid rough scrubbing.
Drying: Press out extra water with a clean towel, but do not wring the toy. Then reshape it and let it dry flat. Make sure the inside dries fully before storing or returning it to a baby.
Blocking: A stuffed amigurumi toy usually does not need formal blocking. Instead, shape the body by hand while you add stuffing and again after washing. If a separate fin or tail looks uneven, gently adjust it while damp and let it dry flat.
More Ideas to Try
Once you’ve made a crochet little whale baby soft toy, you might enjoy crocheting a turtle, a simple octopus, or a small fish with the same amigurumi method. You could also try a textured stitch for a blanket or make a whale in a different color palette. These projects offer more practice with shaping while keeping the work playful.
Conclusion
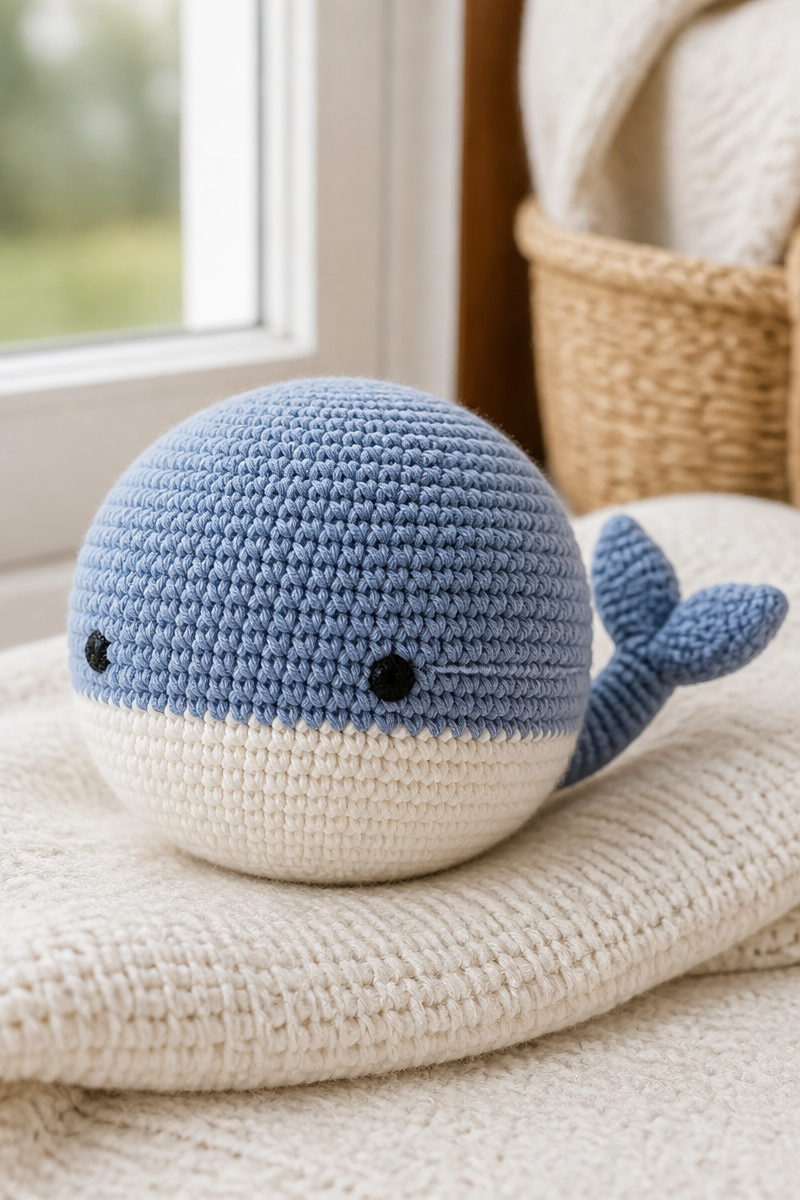
A crochet little whale baby soft toy is a charming way to practice amigurumi and make a personal handmade gift. With snug stitches, careful counting, and gradual stuffing, you can create a whale that holds its shape and feels ready for a cuddle. Choose a yarn you enjoy working with, take your time, and give this little project a try. When you finish, share your whale’s colors and details, or explore another toy-making guide on the blog.