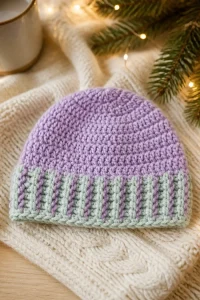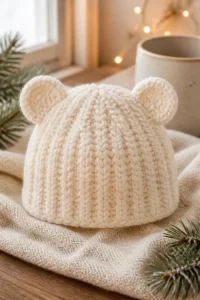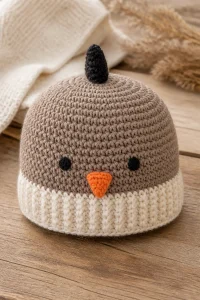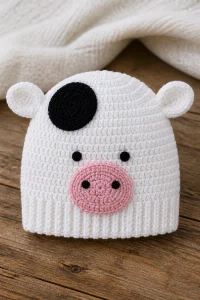
Squishy Front Post Crochet Baby Hat
Affiliate disclosure: This post may contain affiliate links. I may earn a small commission at no extra cost to you. See our Privacy Policy for details HERE.
- What Is a Baby Hat?
- Why This Is a Great Choice for a Baby Hat
- Before You Start
- Yarn and Hook Recommendations
- Materials
- Squishy Front Post Crochet Baby Hat Instructions
- Tips for Baby Hat Success
- Common Mistakes to Avoid
- Ways to Make It Your Own
- Care and Washing Instructions
- Frequently Asked Questions
- More Ideas to Try
- Conclusion
The Squishy Front Post Crochet Baby Hat is a crochet project for making a handmade baby accessory. Its approachable scale offers a satisfying way to turn yarn into something useful, whether you are crafting for a new arrival or adding a personal touch to a thoughtful present.
This project may appeal to crocheters who enjoy making practical items and to newer makers looking for a focused way to practice. The finished piece can be given at a baby shower, welcomed into a nursery collection, or kept as a keepsake for a family member.
Making something by hand invites patience and care, from preparing supplies to taking time with small details. Completing the project can also build confidence, strengthen your attention to consistent work, and make giving a handmade gift feel especially meaningful.
What Is a Baby Hat?
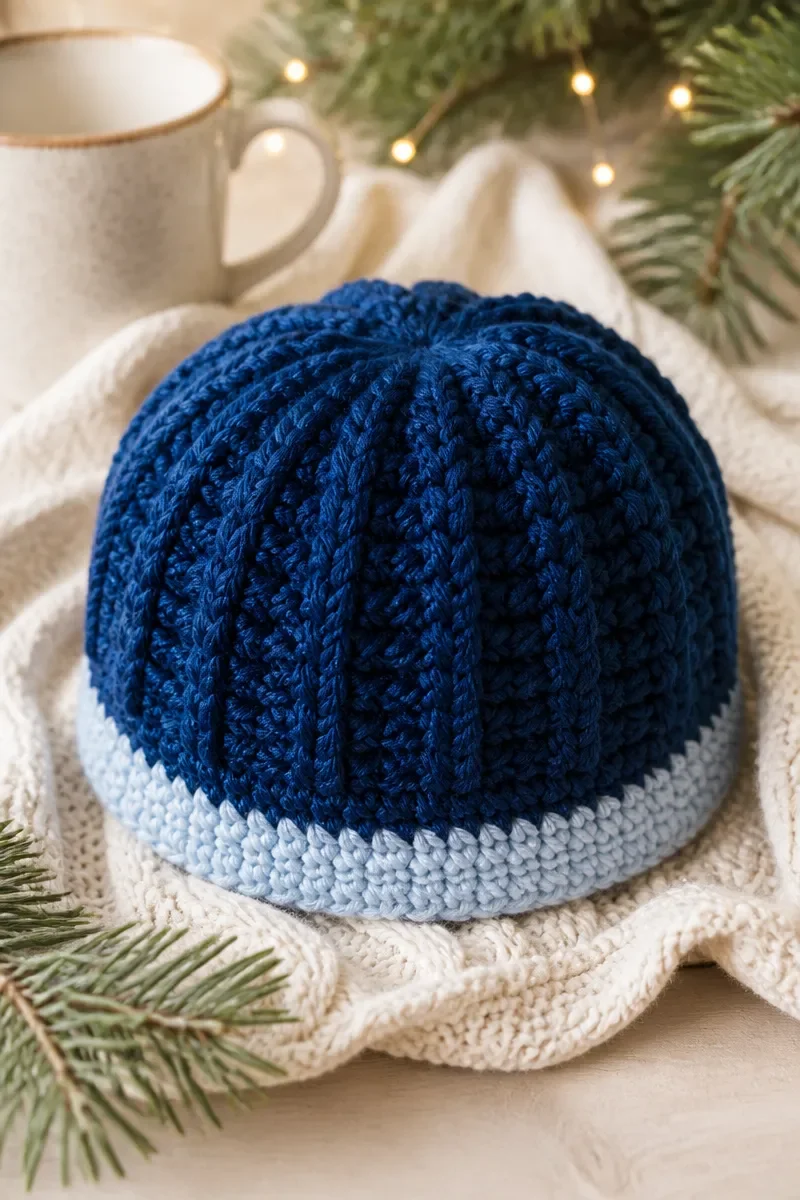
A baby hat is a small wearable crochet project made to cover a young child’s head. It is often valued for being useful as well as personal: handmade fabric can bring a warm, thoughtful touch to everyday family life and gift giving.
Because this project type is compact, it can suit a range of makers, from someone building a handmade collection to a crocheter who wants a manageable present. Its modest scale also makes it convenient to carry along, so a few minutes of crafting can fit into a quiet break.
Baby hats are popular because they combine practical purpose with room for personal taste. Makers can choose materials and a palette that suit the recipient, while a carefully completed piece feels individual in a way a mass-produced item may not. As with any handmade baby item, caregivers should decide when and how it is suitable for use.
Why This Is a Great Choice for a Baby Hat
- Useful handmade gift: A baby hat is a practical choice for welcoming a new child, and its handmade quality adds a personal touch. It can be offered on its own or included in a larger gift.
- Manageable project: The compact nature of this project makes it a reasonable choice for a focused crafting session. It can offer a satisfying sense of progress without requiring a large amount of space.
- Personal expression: A handmade baby hat gives the maker a chance to choose materials and an overall look that feel right for the recipient. Small choices can make a present feel especially thoughtful.
- A keepsake with purpose: Families may value handmade items for both their everyday usefulness and the care behind them. A finished hat can become a lasting reminder of the person who made it.
- Room to practice: Making a useful item lets you focus on steady work and careful attention while creating something with a clear purpose. That combination can make the experience rewarding for newer and experienced makers alike.
Before You Start
- Make a gauge swatch with your chosen yarn and hook, then measure it calmly. Swatching helps you see how your natural tension affects the fabric before you invest time in the full project.
- Read the whole project information before beginning. This gives you a clear sense of the materials, the overall sequence, and any points where you may want to pause and prepare.
- Keep a notebook or tally sheet handy for brief notes. You can record where you stopped, observations about your tension, and details that may help if you make another version.
- Wind and organize your yarn before you begin. Keeping strands easy to reach and free of tangles helps you stay focused on the work instead of untangling as you go.
Yarn and Hook Recommendations
- Choose a soft fiber that feels comfortable against sensitive skin. Acrylic, cotton, or a blend can each be suitable, depending on the yarn’s feel and the care routine you prefer.
- Use a yarn weight that gives the fabric enough substance without making it feel stiff. A consistent weight helps produce an even surface and makes it easier to keep your tension steady.
- Smooth yarn makes individual loops easier to see and handle. A highly textured strand can hide details, so it may be less comfortable to work with when accuracy matters.
- Consider clear contrast if the design uses more than one shade. Distinct tones make visual transitions easier to notice, while a quieter palette can create a more blended appearance.
- Select a hook that feels comfortable in your hand and works well with your yarn. Hook material and handle shape can affect grip, so comfort matters during repeated movements.
- Treat the suggested hook as a starting point rather than a guarantee of gauge. Compare a swatch with the target measurement, then adjust hook size if your fabric comes out too large or small.
Materials
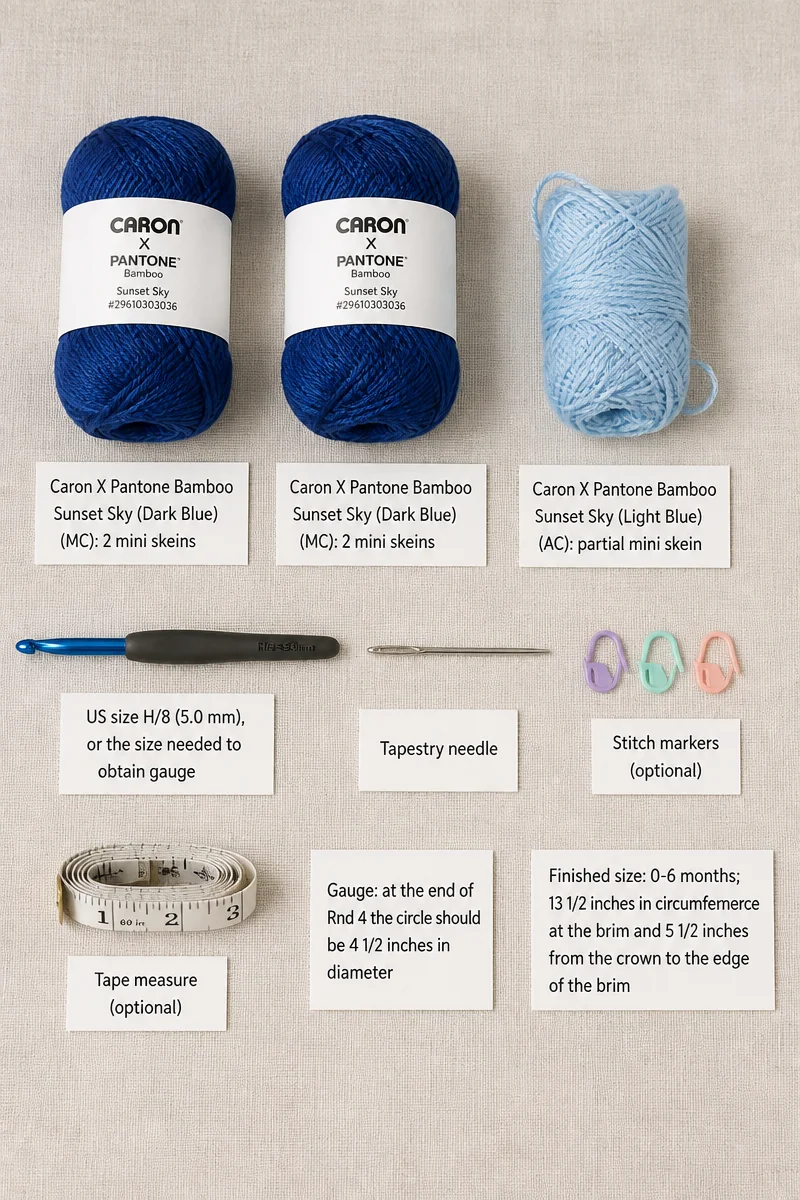
- Yarn: worsted weight (#4 medium)
- Main color (MC): Dark Blue (deep saturated blue), about 70 yards
- Accent color (AC): Light Blue (soft pale sky blue), about 20 yards
- Yarn shown: Caron X Pantone Bamboo (60% acrylic, 20% nylon, 20% viscose), 180 yd [165 m] / 3.5 oz [100 g], #29610303036 Sunset Sky: 2 mini skeins in dark blue (MC) and a partial mini skein in light blue (AC)
- Crochet hook: US size H/8 (5.0 mm), or the size needed to obtain gauge
- Tapestry needle
- Optional: stitch markers; tape measure
- Gauge: at the end of Rnd 4 the circle should be 4 1/2 inches in diameter
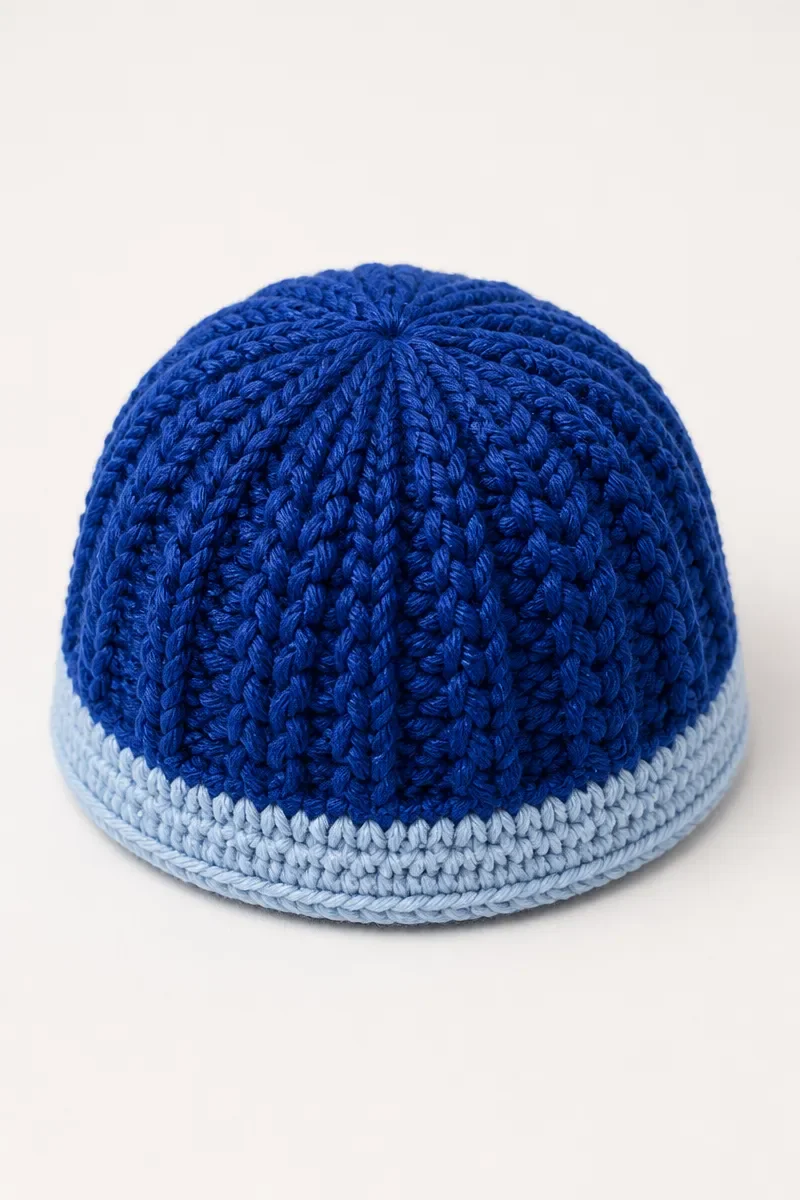
- Finished size: 0-6 months; 13 1/2 inches in circumference at the brim and 5 1/2 inches from the crown to the edge of the brim
Squishy Front Post Crochet Baby Hat Instructions
Color key: Dark Blue (MC) = deep saturated blue; Light Blue (AC) = soft pale sky blue.
-
Abbreviations: ch = chain; sl st = slip stitch; st = stitch; sc = single crochet; dc = double crochet; fpdc = front post double crochet; beg = beginning; rnd = round; MC = main color; AC = accent color.
-
Notes: Beginning chains of each round do not count as stitches. It helps to mark the first and last st of each round with optional stitch markers.
Hat
-
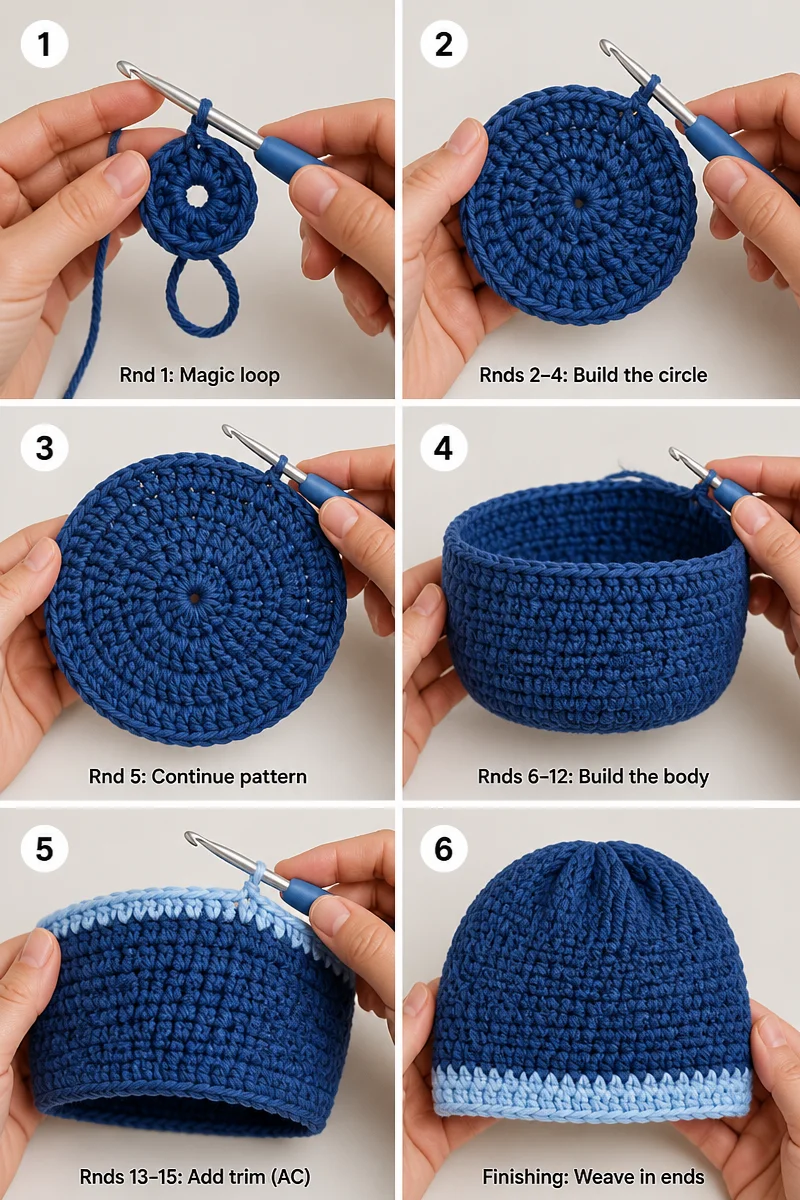
With MC, begin with a magic loop.
-
Rnd 1: Ch 2 (beginning chains do not count as stitches in this round), work 12 dc in the magic loop, sl st in the beg dc to join. (12 dc)
-
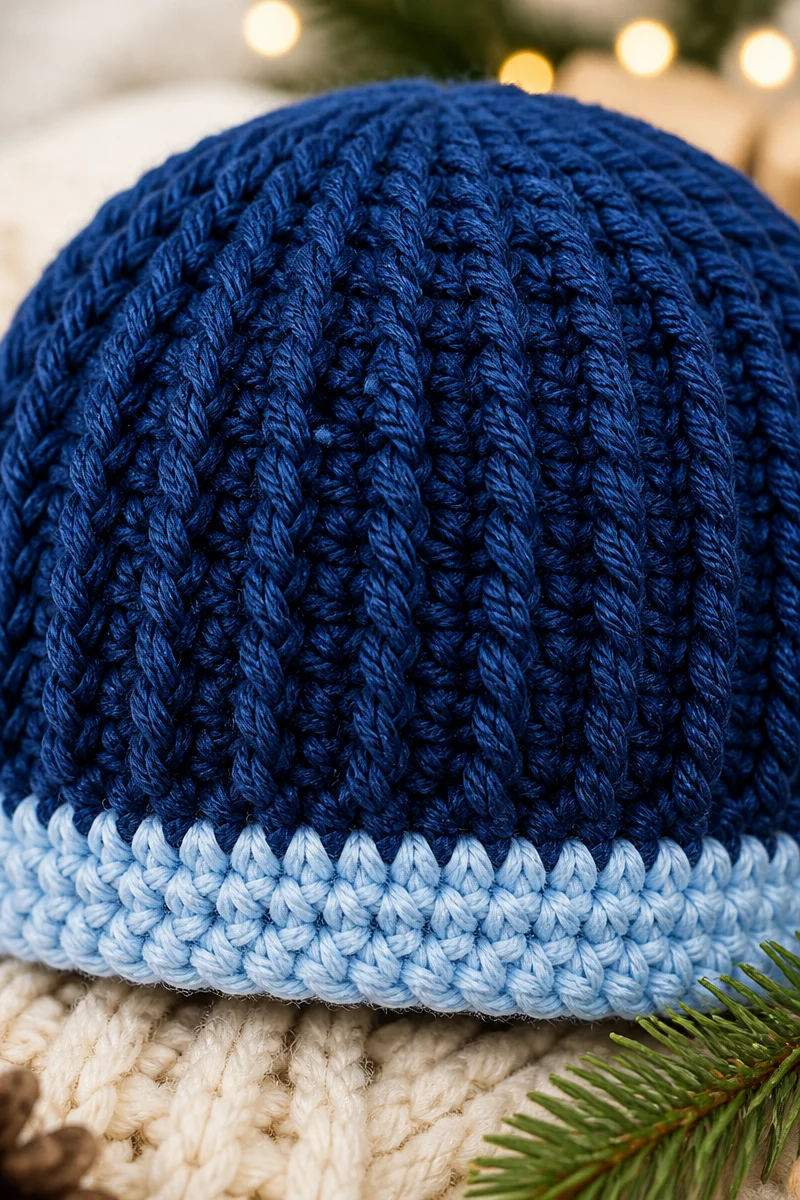
Rnd 2: Ch 2 (does not count as a st), dc in the same st and 1 fpdc around the same st, *[1 dc in and 1 fpdc around the next st]; repeat from * around, sl st in the top of the beg dc to join. (12 dc and 12 fpdc)
-
Rnd 3: Ch 2 (does not count as a st), fpdc around the same st, [1 dc in and 1 fpdc around the next st], *fpdc around the next st, [1 dc in and 1 fpdc around the next st]; repeat from * around, sl st in the top of the beg fpdc to join. (12 dc and 24 fpdc)
-
Rnd 4: Ch 2 (does not count as a st), [1 dc in and 1 fpdc around the same st], dc in the next st, fpdc around the next st, *[1 dc in and 1 fpdc around the next st], dc in the next st, fpdc around the next st; repeat from * around, sl st in the top of the beg dc to join. (24 dc and 24 fpdc)
-
Check gauge: the circle should now be 4 1/2 inches in diameter.
-
Rnd 5: Ch 2 (does not count as a st), dc in the same st, fpdc around the next st, *dc in the next st, fpdc around the next st; repeat from * around, sl st in the top of the beg dc to join. (24 dc and 24 fpdc)
-
Rnds 6-12: Repeat Rnd 5. Fasten off with an invisible join.
-
Rnd 13: Join AC with a sl st anywhere along the edge of the hat, ch 1 (does not count as a st), sc in the same st and in each st around.
-
Rnds 14-15: Continue in a spiral (do not join or turn), working sc in each st around. Fasten off with an invisible join.
-
Finishing: Weave in the ends.
Tips for Baby Hat Success
Set Up Your Space
Choose a comfortable chair and support your arms so your shoulders do not creep upward as you work. Bright, even lighting helps you see individual loops clearly and reduces eye strain, especially when working in the evening.
Keep your yarn and hook within easy reach, with enough room to move your hands freely. A relaxed setup helps you notice discomfort early and take a short pause before fatigue affects your attention.
Keep Tension Steady
Let the yarn move smoothly through your fingers rather than gripping it tightly. A relaxed hold makes it easier to form loops consistently and can reduce hand fatigue during a longer crafting session.
If your hands become tense, set the work down and gently relax your fingers before continuing. Returning to a comfortable rhythm is more useful than trying to force the same pace.
Track Your Place
Use a simple tally sheet to mark progress as you work, and make a note whenever you pause. This gives you a reliable reminder of where you are without having to reconstruct your place from memory.
If you prefer a notebook, keep brief notes about anything you want to remember for later. Clear, short records are easier to use than lengthy descriptions when you return to a project.
Review as You Go
Pause occasionally to look over your recent work with fresh eyes. Small irregularities are easier to notice while they are still close to your current working point, rather than after a long stretch.
Compare the fabric’s appearance and feel across the area you have made. If something seems unexpectedly loose or dense, stop to inspect your handling before continuing further.
Common Mistakes to Avoid
Skipping the Swatch
It is tempting to start right away, especially when the project looks approachable. Without a swatch, though, you have little evidence that your yarn and hook combination will produce the fabric you expect.
Make a small sample first and measure it without stretching. If its gauge differs from the target, try a different hook size and make another sample before continuing.
Pulling Too Tight
Tight tension can make it difficult to insert the hook and may create a firm fabric that does not behave as expected. This often happens when a maker grips the yarn or hook too firmly.
Let the working yarn glide through your fingers and form loops without tugging them small. If the fabric feels rigid, loosen your grip and check that your hook moves through each loop comfortably.
Miscounting Stitches
Losing track of stitches is easy when you pause mid-project or become distracted. An overlooked increase or skipped stitch can affect the shape and make later counting more confusing.
Count at natural stopping points and use the optional markers as reminders of where a round begins or ends. If a total seems wrong, recount before continuing so you can locate the source while it is nearby.
Leaving Ends Too Short
Short yarn tails can be difficult to secure neatly, and they may work loose if there is too little length to weave through the fabric. Cutting close too early is a common source of frustration.
Leave a generous tail when fastening off, then use the tapestry needle to weave it through several nearby loops. Trim only after the tail feels secure and lies flat.
Changing Yarn or Hook Midway
Switching materials during a project can change the feel and appearance of the fabric. Even yarns with similar labels may differ in thickness, twist, or stretch, while a different hook can affect loop size.
If a replacement is necessary, make a fresh swatch with the new yarn and hook before returning to the full project. This lets you compare the fabric and make a considered choice rather than guessing.
Ways to Make It Your Own
- Choose a palette that suits the recipient’s taste or the season. A calm combination can feel understated, while contrasting tones create a more playful impression without changing the project’s purpose.
- Try another yarn with the same weight if you prefer a different feel. Check its softness and care needs, then make a swatch to see how it behaves before deciding.
- Make a coordinating second project to create a thoughtful set. Keeping a shared palette or material choice can help separate handmade pieces feel connected without making them identical.
- Include a handwritten note with your gift. A few personal words can explain who made it and why, adding warmth without taking attention away from the handmade item.
- Present it in a reusable fabric bag or a small keepsake box. A simple presentation makes the gift feel considered and gives the recipient something useful for storage afterward.
Care and Washing Instructions
Washing: Follow the yarn label for washing guidance, since fiber blends can have different care needs. Use a gentle approach when the label allows, and avoid rough handling that could stretch or distort handmade fabric.
Drying: Check the label for suitable drying methods before exposing the item to heat. When air drying is appropriate, support the fabric and let it dry fully in a clean place rather than hanging it where its own weight could pull it out of shape.
Storing: Keep the finished item clean and completely dry before putting it away. Store it in a cool, dry place, away from direct sunlight and anything that could snag the yarn, and avoid crushing it beneath heavy objects.
Frequently Asked Questions
Can I Use Different Yarn?
Yes, another yarn can work if it has a similar weight and produces a fabric you like. Fiber content can change softness, stretch, and care requirements, so compare the label carefully. Make a swatch before beginning to check both the fabric and gauge.
How Can I Keep My Work Even?
Aim for a relaxed grip and let the yarn feed smoothly through your fingers. Try to form each loop at a similar height instead of tightening one more than another. Taking short breaks can help you notice tension changes before they affect much of your work.
What Is a Reliable Way to Count?
Count completed sections as you go rather than relying on memory at the end. A tally sheet or notebook can record progress, while a marker can help identify a useful reference point. If your count seems off, pause and recount before adding more work.
What If It Looks Different Than Expected?
First, compare your gauge and fabric with the project’s target measurements. Differences can come from yarn, hook, tension, or measuring under uneven pressure, so check each calmly. If you are uncertain, make a small sample and adjust your materials before continuing.
How Long Should Yarn Tails Be?
Leave enough yarn to thread comfortably through a tapestry needle and weave through nearby loops. A longer tail is easier to handle than one cut too close, and it can be trimmed once secured. Keep the woven tail smooth so it does not create a bulky spot.
More Ideas to Try
If you enjoy making useful handmade gifts, consider exploring a baby blanket, a soft toy, a pair of booties, or a nursery storage basket. These related project types can suit different crafting moods and give you new ways to use yarn, while still leaving plenty of room to choose materials that feel right for the recipient.
Conclusion
Give the Squishy Front Post Crochet Baby Hat a try when you are ready to make a thoughtful handmade gift or add a useful item to your crochet projects. Take pleasure in the care you bring to the work, and enjoy choosing materials that feel comfortable to handle. When you are ready for another idea, explore more crochet projects on the blog.