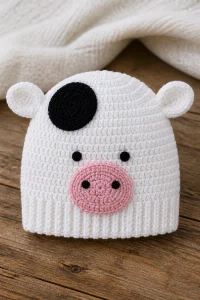
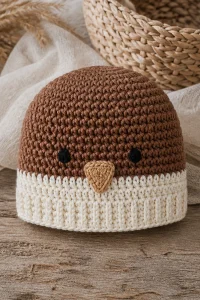
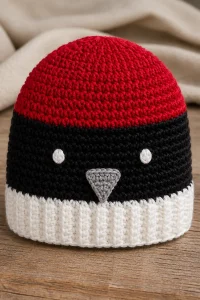
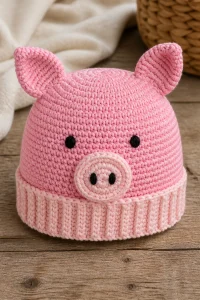
Crochet Quail Baby Hat Beanie

Affiliate disclosure: This post may contain affiliate links. I may earn a small commission at no extra cost to you. See our Privacy Policy for details HERE.
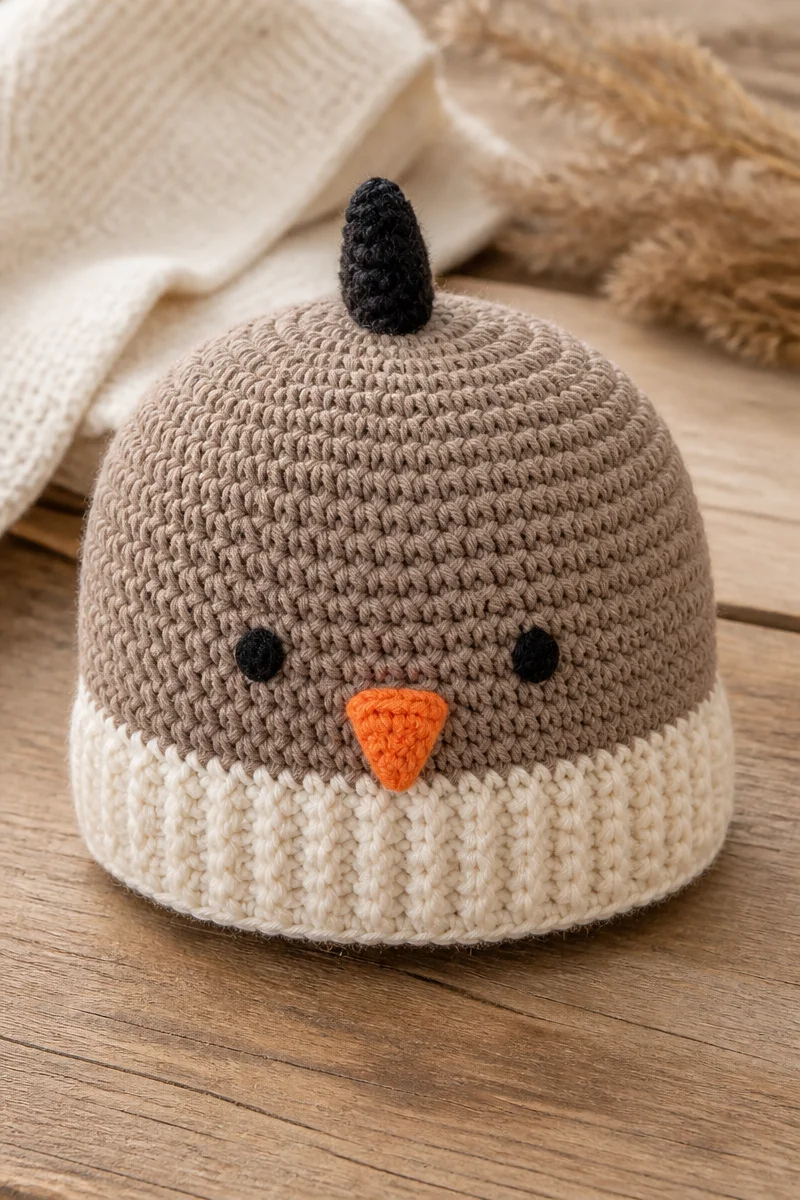
A Crochet Quail Baby Hat Beanie is a sweet way to make a tiny hat feel special. I love the playful quail theme because it adds a touch of woodland charm without making the hat look fussy. It can be a thoughtful handmade gift for a new baby, a photo prop, or a cozy extra for a little one’s wardrobe.
This project combines a basic crochet beanie with small details inspired by a quail, such as a rounded crown, soft color changes, or a little top tuft. The hat itself can be simple enough for a newer crocheter, while the decorative details offer room to add personality. Since babies have delicate skin, comfort and fit matter just as much as the design.
In this guide, you’ll learn what makes a Crochet Quail Baby Hat Beanie work, how to choose yarn and a hook, and how to handle the finishing details. You’ll also find practical tips for fit and care, plus common mistakes to avoid. This is an educational overview, not a fixed pattern, so you can adapt the idea to your preferred design.
What Is the Crochet Quail Baby Hat Beanie Technique?
A Crochet Quail Baby Hat Beanie is a small, rounded hat made by crocheting a beanie and adding details that suggest a quail. The hat may use simple stitches such as single crochet or half double crochet. These stitches create a flexible fabric that can feel smooth and cozy when worked with a soft yarn.
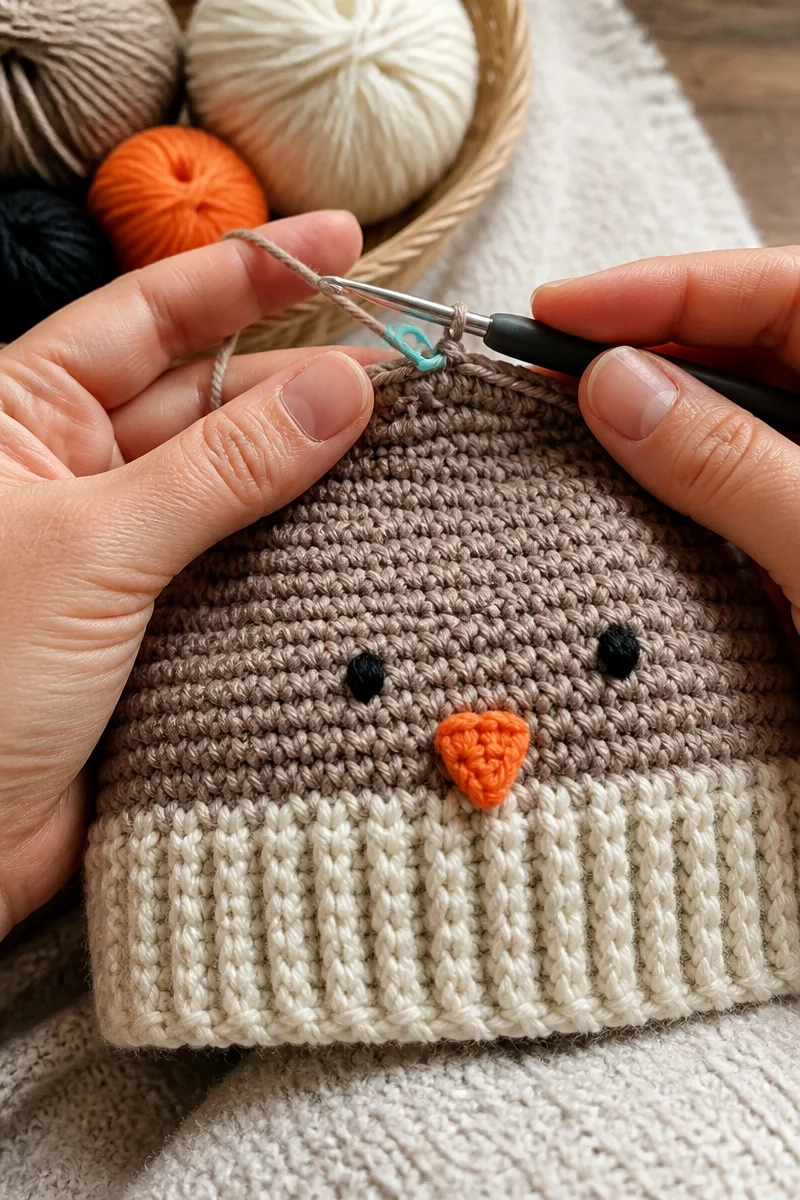
Most beanies begin at the crown and grow outward in rounds, or start from the brim and work toward the crown. As the hat takes shape, the crocheter uses increases to widen the crown and then works even rounds to create the sides. The quail look comes from the design choices: earthy colors, a small tuft, or other securely attached accents.
Crocheters enjoy this project because it pairs a practical baby accessory with a fun theme. The basic hat can be kept plain, while the quail details can be as subtle or decorative as you like. For a baby item, however, keep embellishments soft, securely attached, and free of small parts that could come loose.
Why This Is a Great Choice for Baby Hats
- It makes a charming handmade gift. A quail-inspired hat feels personal and can suit a woodland or farm-themed baby outfit.
- It works with familiar stitches. Simple stitches can form the beanie, so newer crocheters can focus on shaping and fit.
- It offers room for creativity. You can use natural shades, gentle color changes, or a small tuft to suggest a quail.
- It is a compact project. A baby hat uses less yarn than a larger garment, making it a manageable project to carry along.
- It can feel soft and cozy. With a smooth, baby-friendly yarn and an even fabric, the finished hat can provide gentle warmth.
Yarn and Hook Recommendations
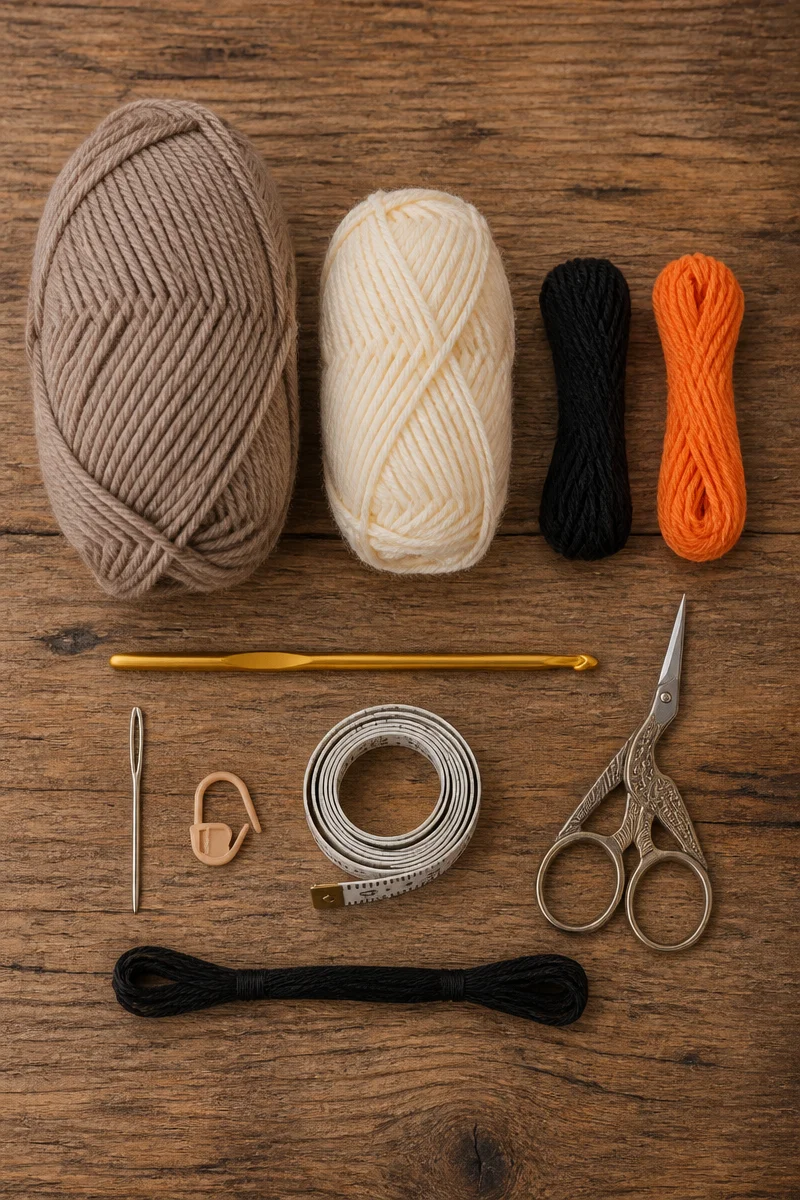
- Choose a baby or DK-weight yarn for a light hat. These weights can make a soft fabric that is not overly bulky. Check the yarn label and your gauge, since brands can vary.
- Consider worsted-weight yarn for a warmer, firmer beanie. It can work well in cooler weather, but take care not to make the fabric too thick for a baby.
- Look for soft, smooth fibers. Acrylic designed for baby items, washable cotton blends, and soft merino blends are common options. Avoid yarn that feels scratchy against your skin.
- Use a hook that suits the yarn and your tension. Many baby and DK yarns pair with a hook in the roughly 3.5 mm to 4.5 mm range, while worsted yarn often uses a larger hook. Treat these as starting points, not fixed rules.
- Make a small gauge sample first. A sample helps you see whether the fabric feels comfortable and whether the hat is likely to match the intended size.
- Plan colors with comfort in mind. Use color changes or embroidered details rather than hard or heavy decorations. If you add a tuft, make sure it is soft and firmly secured.
Tips for Crochet Quail Baby Hat Beanie Success
First, check the intended head size and compare it with the finished measurements. Babies grow quickly, so a hat that looks right on the table may still need a little extra room. Also, remember that yarn choice and stitch tension affect stretch and fit. A small gauge sample can save time and help you choose a suitable hook.
As you crochet, count your stitches at the end of each round, especially while shaping the crown. Then use a stitch marker to show the start of the round. If you add quail-inspired details, place them before sewing them down so you can check the look and balance. Finally, keep the inside of the hat smooth, since raised knots or loose ends may bother a baby’s skin.
Common Mistakes to Avoid
One common issue is uneven tension. If some rounds are tight and others are loose, the crown may look lopsided or the hat may not stretch evenly. Work at a relaxed pace, and pause to check the shape as you go.
Miscounting increases can also affect the fit. Too many increases may make the crown ruffle, while too few can cause it to cup or pull inward. Use a marker and count each round rather than relying on memory.
Another pitfall is choosing yarn that feels rough or makes a dense fabric. A thick, stiff hat may not sit comfortably on a baby’s head. Instead, choose a soft yarn and check the finished fabric for flexibility and breathability.
Finally, take care with decorative features. Loose tufts, buttons, beads, and other small pieces can create safety risks. Keep the design simple, secure every detail, and follow current safe-sleep guidance: hats are generally for supervised wear and should not be worn during sleep unless a qualified health professional advises otherwise.
Care and Washing Instructions
Washing: Follow the yarn label first. Many baby-friendly acrylic yarns can go in the washing machine on a gentle cycle, while some wool blends need hand washing. Use a mild detergent and avoid harsh products that may irritate sensitive skin.
Drying: Reshape the hat gently after washing, then lay it flat on a clean towel to dry. Avoid wringing or twisting it. High heat can damage some fibers and may change the hat’s shape.
Blocking: A small baby beanie usually needs little or no blocking. If the brim or crown looks uneven, gently smooth it into shape while damp and let it dry flat. Do not stretch it over a form that is larger than the intended fit.
More Ideas to Try
If you enjoy making a Crochet Quail Baby Hat Beanie, try a simple ribbed brim, a textured stitch for the body, or a matching baby bootie in coordinating colors. You could also explore a chick-inspired hat, a woodland animal beanie, or a basic baby bonnet with a small quail-colored accent.
Conclusion
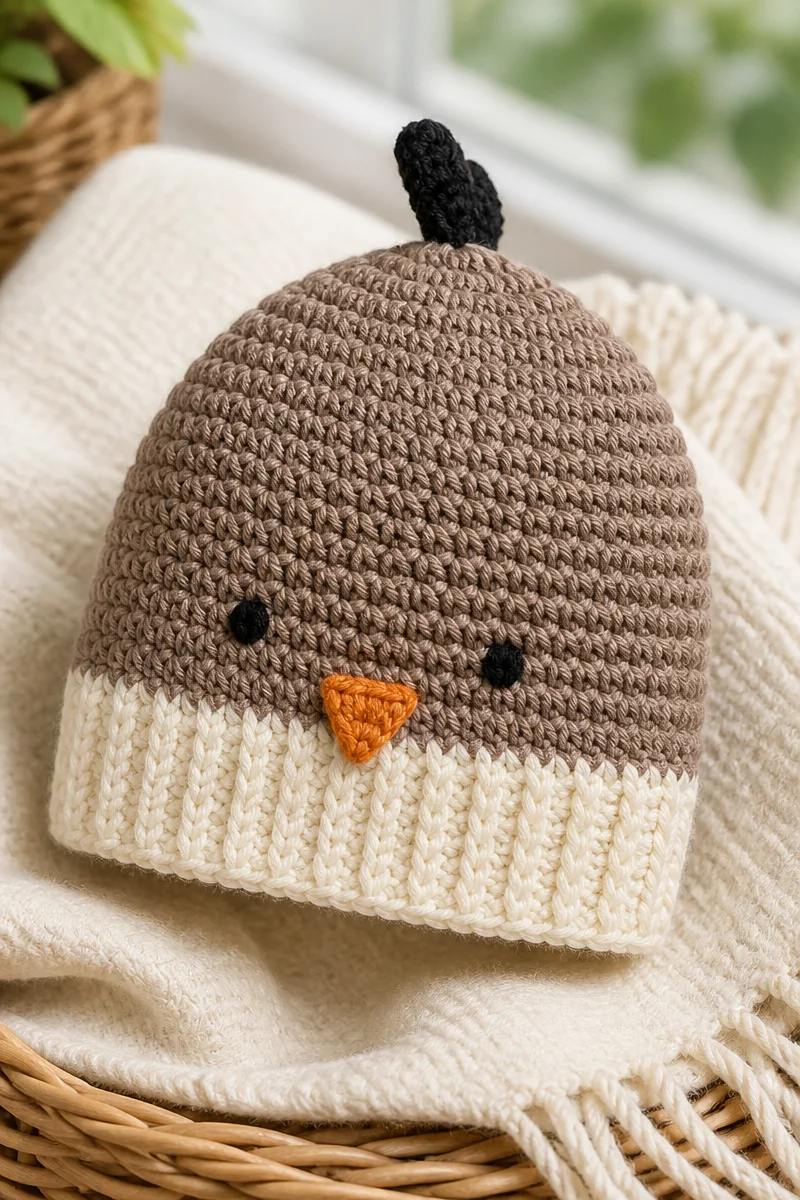
A Crochet Quail Baby Hat Beanie brings together a useful baby accessory and a cheerful, nature-inspired design. Choose soft yarn, check your gauge, count carefully, and keep decorative details secure and comfortable. With those basics in place, you can make a hat that feels personal without becoming difficult to crochet.
Gather a soft yarn and try your own quail-inspired version. Then share your color choices and finished design, or explore more baby crochet guides on the blog for your next small project.