Crochet Waffle Baby Hat Beanie

Affiliate disclosure: This post may contain affiliate links. I may earn a small commission at no extra cost to you. See our Privacy Policy for details HERE.
A crochet waffle baby hat beanie is a lovely project when you want a little hat with more texture than a basic beanie. I especially like how its raised pattern gives a simple shape a warm, handmade look. It can also make a thoughtful gift for a new baby.
The waffle stitch creates a cushioned, grid-like texture with small raised squares. It looks detailed, but it uses familiar crochet stitches, so many crocheters can learn it with a little practice. The stitch is often worked in rows or rounds, then shaped into a hat with a brim or gathered crown.
In this guide, you’ll learn how the waffle stitch works and why it suits a baby hat. You’ll also find yarn and hook advice, tips for even stitches, common mistakes to avoid, and care suggestions. Since every baby and yarn is different, use a tested hat pattern and its size guide when you’re ready to make one.
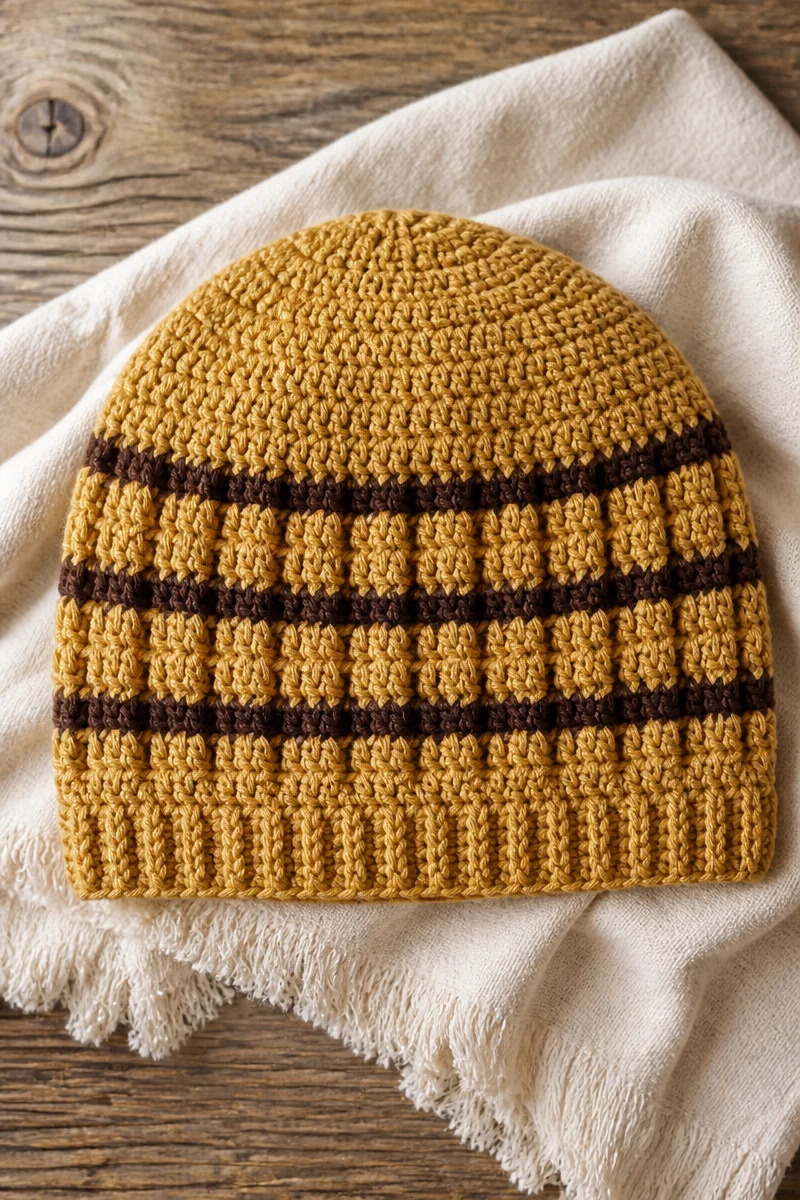
What Is the Waffle Stitch?
The waffle stitch is a textured crochet stitch that forms a raised grid, much like the pattern on a waffle. It is usually made with double crochet stitches and front post double crochet stitches. A front post stitch wraps around the post of a stitch in the row below, bringing that area forward.
By repeating those stitches in a planned order, you create raised squares separated by recessed lines. The result is thick, springy fabric with a rich texture. Crocheters enjoy the waffle stitch because it looks intricate while relying on basic techniques that become easier with practice.
Why This Is a Great Choice for Baby Hats
- It adds cozy texture. The raised squares give a baby hat a soft, cushioned feel.
- It creates a special look. A simple beanie shape feels more finished with a waffle pattern.
- It works well in many colors. Solid yarn shows the stitch definition clearly, while gentle color changes can add interest.
- It suits several hat styles. You can use the texture on a full hat, a fold-up brim, or a decorative band.
- It offers a satisfying project. Once you learn the stitch repeat, the pattern becomes easier to follow and can make a pleasing handmade gift.
Keep in mind that waffle fabric can be thicker than plain crochet fabric. For a baby hat, choose a soft yarn and check that the finished fabric feels comfortable, not stiff or heavy.
Yarn and Hook Recommendations
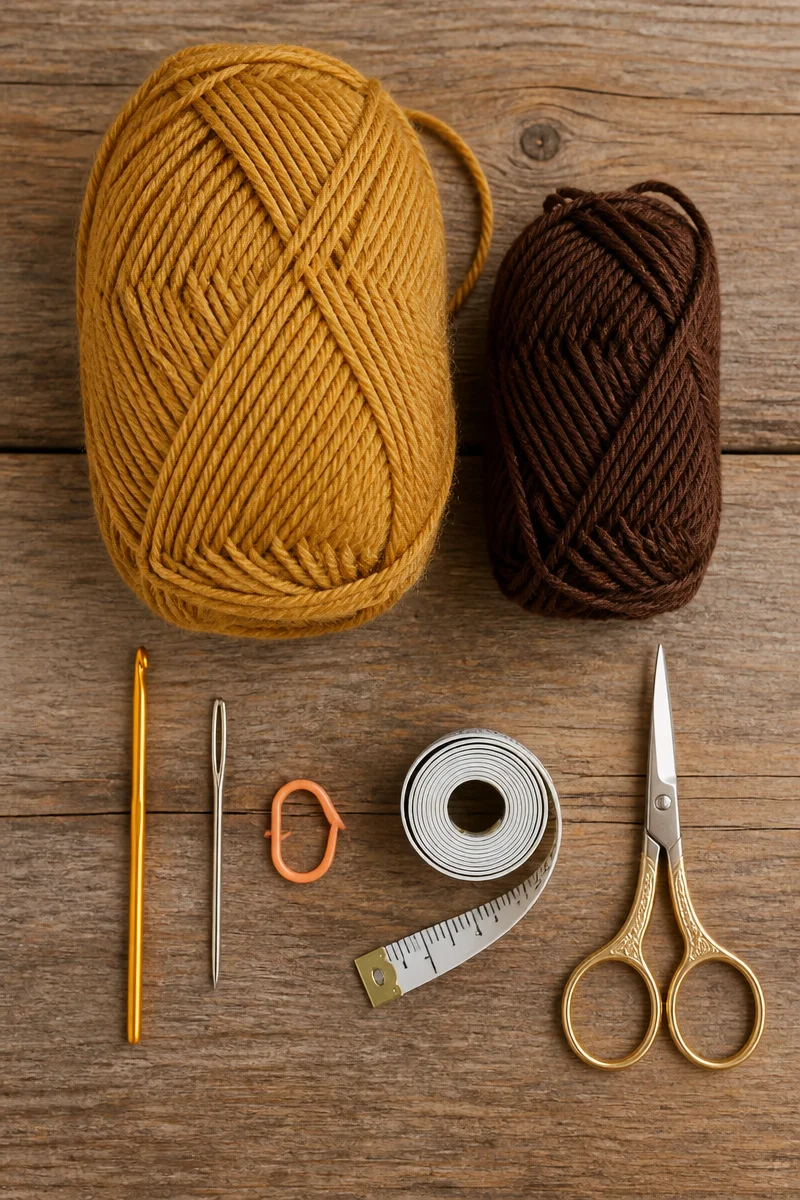
- DK or light worsted yarn: These weights can make a warm but manageable hat. Follow the pattern’s yarn weight and gauge guidance for the intended size.
- Soft acrylic yarn: Acrylic is often easy to wash and widely available. Choose a soft yarn made for garments or baby items.
- Cotton or cotton blends: These fibers can feel breathable, though they may have less stretch than acrylic or wool blends. Check the finished fabric for comfortable give.
- Soft wool blends: A washable blend may offer warmth and elasticity. Confirm that the yarn feels gentle against skin and follow its care label.
- A hook matched to your gauge: A common starting range for DK or light worsted yarn is about 4.0 to 5.5 mm, but the right size depends on the yarn and your tension.
- Smooth, light-colored yarn: Smooth yarn makes it easier to see the front post stitches and count the waffle pattern. Very dark or fuzzy yarn can hide the stitch details.
Before starting the hat, make a small gauge swatch if the pattern calls for one. This helps you check both the size and the feel of the fabric.
Tips for Waffle Stitch Success
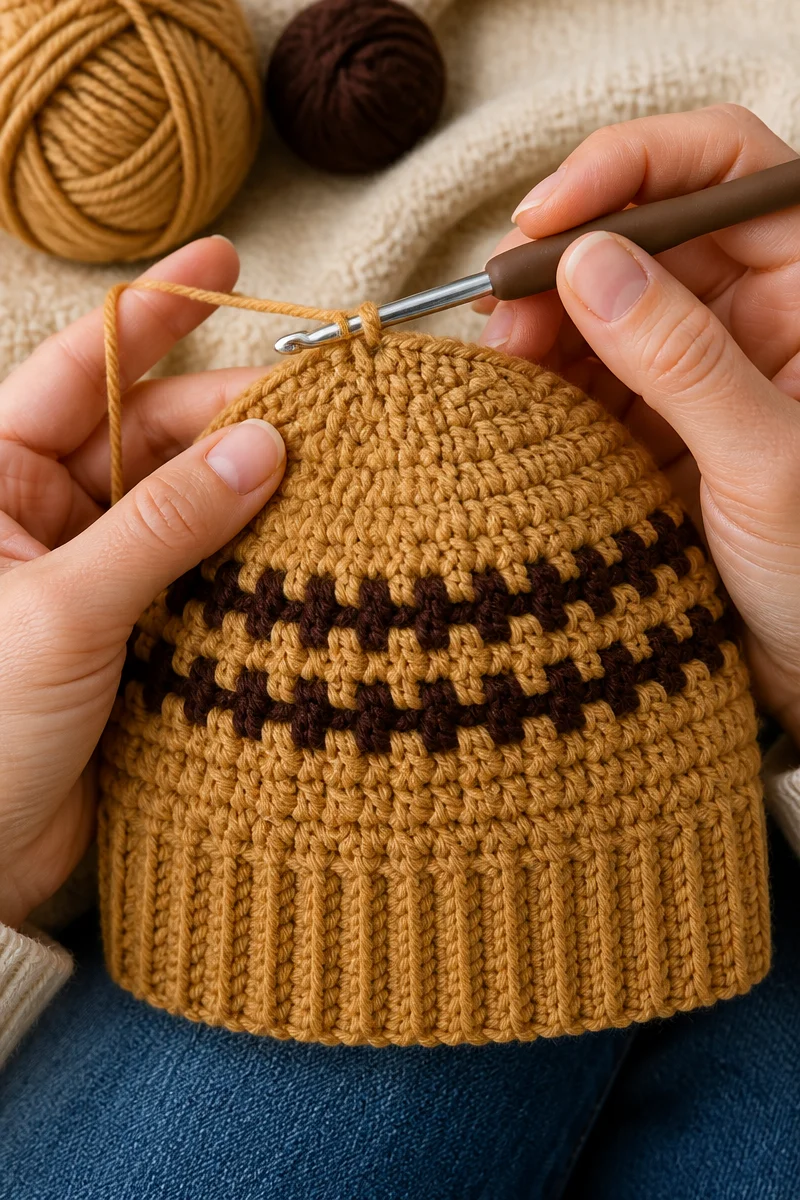
First, learn to spot the raised front post stitches. They sit in front of the fabric, while regular double crochet stitches sit farther back. As you work, pause at the end of each round or row and check that the raised and recessed sections line up. Stitch markers can help you mark the start of a round or a shaping point.
Also, keep your tension steady without pulling the yarn too tightly. Tight front post stitches can make the fabric stiff, while loose stitches may blur the grid. If you are new to the waffle stitch, practice a small swatch before making the hat. Then follow the pattern’s stitch count and shaping notes closely, since the texture can make it harder to see individual stitches.
Common Mistakes to Avoid
A common mistake is placing a front post stitch around the wrong stitch. This can shift the waffle pattern and leave the raised squares uneven. Before moving on, check that each post stitch wraps around the intended stitch from the row below.
It is also easy to lose or add stitches, especially when working in rounds. The waffle texture can hide the top loops, so count regularly and use a stitch marker to show where each round begins. If the stitch count changes, the hat may become wider or narrower than planned.
Another pitfall is using a hook or tension that makes the fabric too firm. A stiff waffle stitch may feel uncomfortable and may not stretch enough to fit well. Make a swatch, compare it with the pattern gauge, and adjust your hook if needed.
Finally, do not choose yarn by color alone. A rough, scratchy, or very heavy yarn may not suit a baby hat, even if it shows the pattern well. Pick a soft yarn, check the care label, and consider how warm and breathable the finished fabric will feel.
Care and Washing Instructions
Washing: Always check the yarn label first. Many acrylic yarns can be washed in a machine on a gentle cycle, while cotton and wool blends may need different care. Use mild detergent, and place the hat in a mesh laundry bag if the yarn label allows machine washing.
Drying: Gently press out extra water without twisting the hat. Then reshape it and lay it flat on a clean, dry towel. Avoid hanging a wet hat, since the weight of the water may stretch the stitches.
Blocking: A baby hat usually needs only light blocking, if any. If the fabric looks uneven, dampen it according to the yarn’s care instructions, shape it gently, and let it dry flat. Avoid stretching the waffle texture, as that can flatten the raised squares.
More Ideas to Try
If you enjoy the waffle stitch, try it next in a baby blanket, a soft cowl, or a simple washcloth. You might also explore the lemon peel stitch for a smaller texture, the basketweave stitch for bold woven lines, or a ribbed crochet brim for another cozy hat detail.
Conclusion
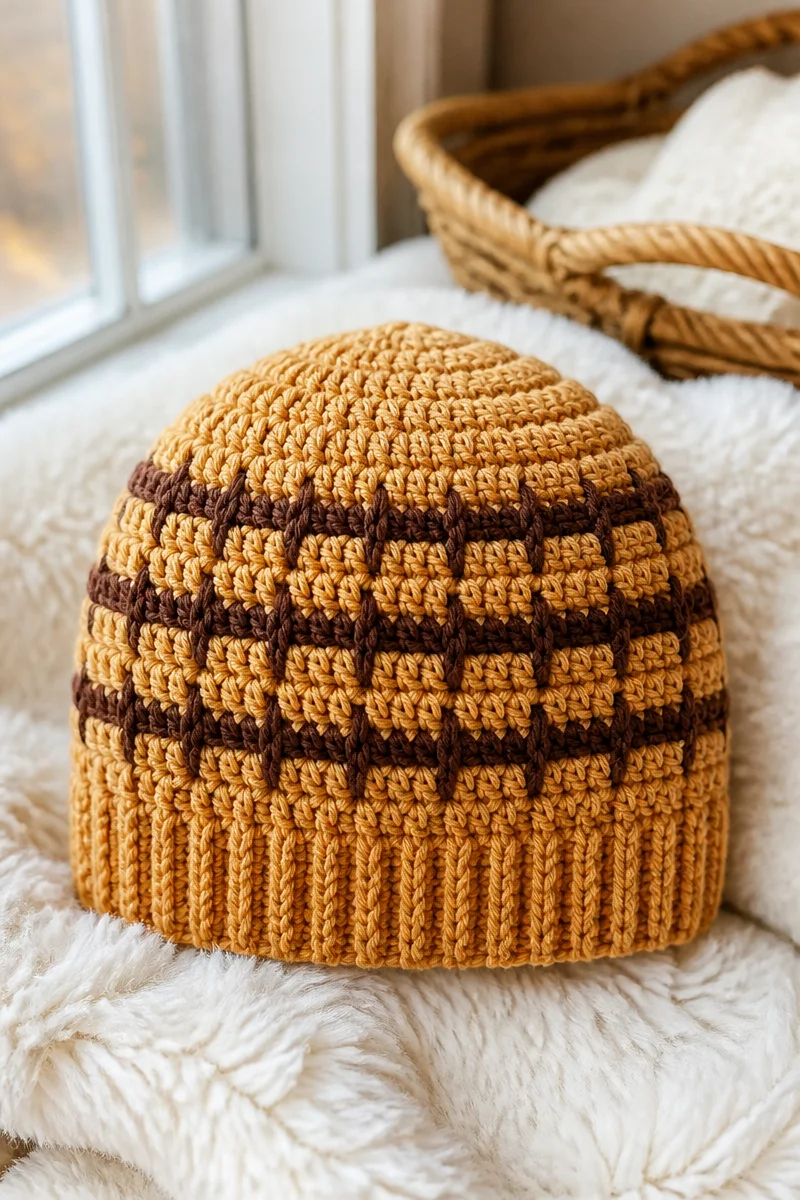
The crochet waffle baby hat beanie combines a familiar hat shape with a raised, cozy texture. With soft yarn, a hook that gives you the right gauge, and careful stitch counting, the waffle stitch can create a polished handmade look. Start with a small swatch, then enjoy watching the grid take shape. When you make your hat, share your colors and finished results, or explore more crochet stitch and baby project guides on the blog.