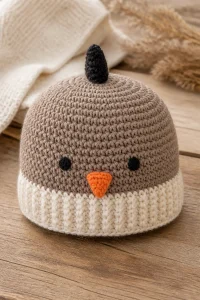
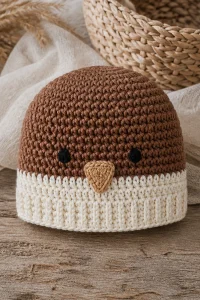
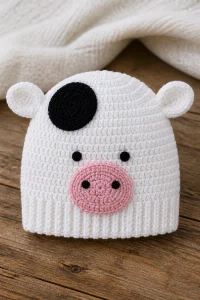
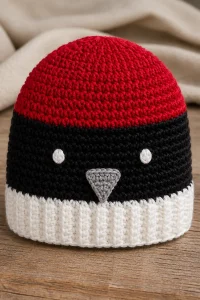
Crochet Terracotta Stripe Baby Hat Beanie

Affiliate disclosure: This post may contain affiliate links. I may earn a small commission at no extra cost to you. See our Privacy Policy for details HERE.
A Crochet Terracotta Stripe Baby Hat Beanie brings together warm color, simple stitches, and a cozy fit in one small project. I love how terracotta stripes add a gentle pop of color without making a baby hat feel too busy. The style also works well as a thoughtful handmade gift.
The look comes from alternating bands of color, often made with easy stitches such as single crochet or half double crochet. The hat can be worked in the round or made flat and seamed, so crocheters can choose a method that feels comfortable. With a soft yarn and steady tension, this is a beginner-friendly project that can be adapted for different sizes.
In this guide, you’ll learn how stripe color changes shape the hat, what yarn and hook choices work well, and how to keep the fabric soft and comfortable. You’ll also find practical tips for neat stripes, helpful care guidance, and common mistakes to avoid.
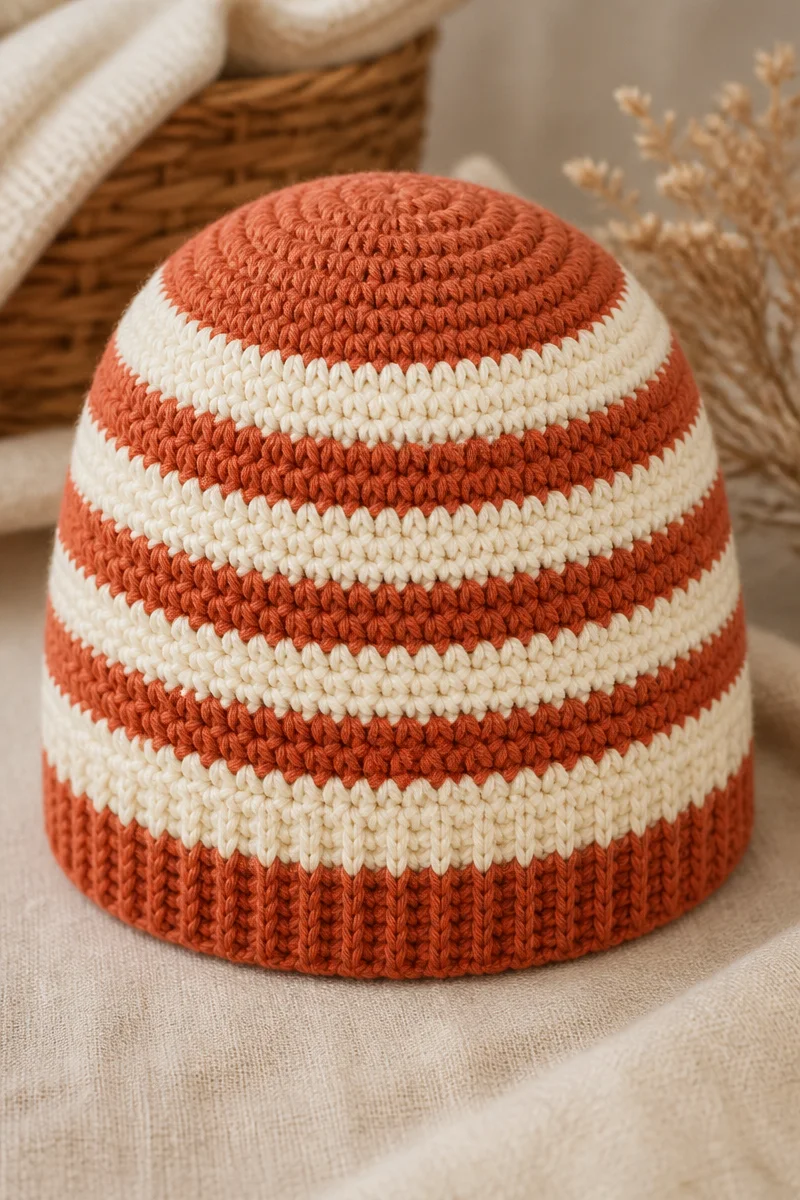
What Is the Crochet Terracotta Stripe Baby Hat Beanie Technique?
A Crochet Terracotta Stripe Baby Hat Beanie is a small, close-fitting crochet hat made with bands of color. Terracotta is often the main shade, while a second color creates contrast. The exact stitch can vary, but single crochet and half double crochet are popular because they make a sturdy, even fabric.
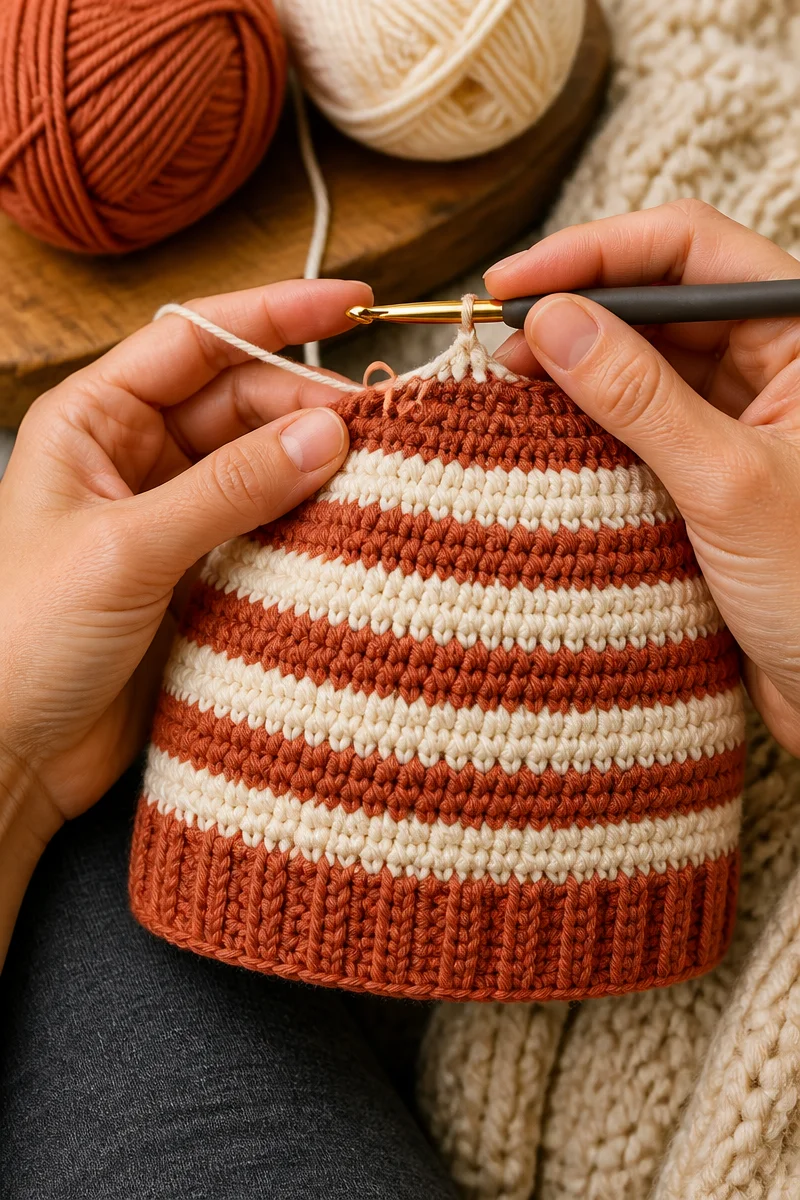
To create stripes, you work several rounds or rows in one color, then change to another. When crocheting in the round, you can join each round or work continuously in a spiral. Joined rounds can make color changes easier to track, while spiral rounds may avoid a visible seam. Either way, carrying the unused yarn inside the hat can reduce loose ends, though it may add a little bulk.
Crocheters enjoy this technique because it offers plenty of room for personal style. For example, you can use narrow stripes for a playful look or wider bands for a calmer design. Since the basic stitches are familiar, the color pattern does most of the visual work.
Why This Is a Great Choice for Baby Hats
- Small and satisfying: A baby hat takes less time than a larger garment, so it can be a rewarding project for a busy day.
- Easy to personalize: Terracotta pairs well with cream, soft gray, sage, or other gentle colors.
- Simple stitch options: Single crochet and half double crochet are easy to learn and make a warm fabric.
- Useful for gifts: A handmade beanie can be a thoughtful shower or welcome-home gift.
- Flexible design: You can adjust stripe width, add a folded brim, or finish the crown with a small pom-pom, as long as any added parts are securely attached and safe for the intended age.
Yarn and Hook Recommendations
- Choose a soft, washable yarn: A smooth acrylic or acrylic blend is often practical for baby items because it is easy to care for. Check the yarn label for washing guidance.
- Consider fine or light worsted yarn: DK or light worsted yarn can make a comfortable fabric without feeling too heavy. The right weight depends on the pattern and the season.
- Use a gentle fiber: Soft acrylic, cotton blends, or baby-friendly merino may suit different needs. However, avoid scratchy or stiff yarn that could irritate delicate skin.
- Match the hook to your yarn and pattern: A hook around 4.0 to 5.0 mm is common with DK or light worsted yarn, but always check the yarn label and pattern notes.
- Make a small swatch first: If the fabric feels stiff, try a larger hook. If it looks loose or has large gaps, try a smaller hook.
- Plan color changes before starting: Use yarns with similar thickness and texture so the stripes sit evenly and the hat keeps a consistent shape.
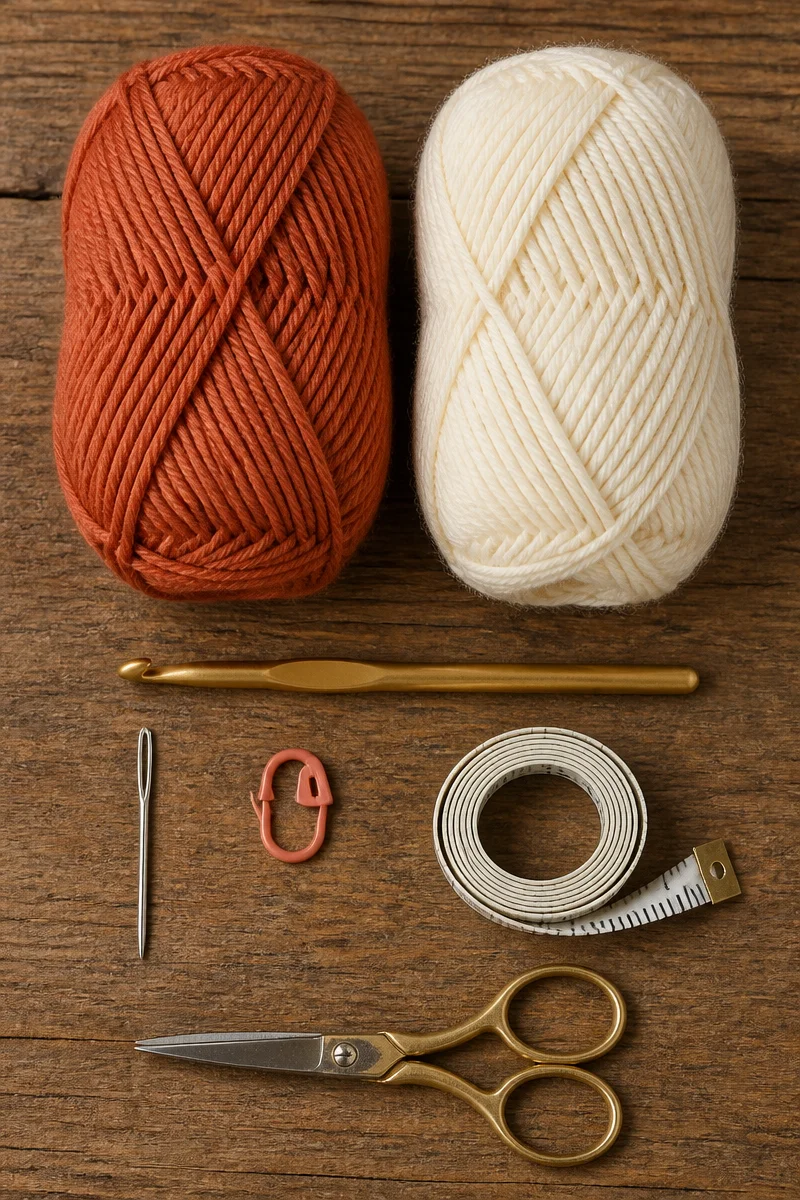
Tips for Crochet Terracotta Stripe Baby Hat Beanie Success
First, keep your tension relaxed and steady. Tight stitches can make a baby hat firm and less stretchy, while very loose stitches may leave gaps. A small swatch helps you check the fabric before you begin the full hat. Also, count stitches at the end of each round or row, especially near the crown, where increases and decreases shape the hat.
Next, plan your stripe changes before you crochet. Mark the color-change rounds or rows, and place a stitch marker at the start of each round if you are working in the round. When changing colors, finish the last stitch of the old color with the new color if your pattern calls for that method. Then, weave in ends securely but keep the inside smooth and comfortable.
Common Mistakes to Avoid
Uneven tension can make the hat look lumpy or cause one stripe to appear wider than another. Try to keep your hands relaxed, and avoid pulling the yarn tightly after each stitch. If your tension changes as you crochet, pause now and then to check the fabric.
Miscounting stitches can make the crown too wide, too narrow, or uneven. Use a stitch marker to track the beginning of each round, and count regularly. In addition, follow the pattern’s shaping notes rather than adding increases or decreases wherever they seem to fit.
Choosing yarn that is too thick or stiff can create a hat that feels bulky. On the other hand, very thin yarn may produce a loose fabric that does not hold warmth well. Check the yarn label, make a swatch, and choose a fiber that feels gentle against your skin.
Finally, avoid leaving long or loose ends inside the hat. Securely weave in each end so it does not come undone with wear or washing. If you add a pom-pom or other decoration, attach it firmly and consider whether it is appropriate for the baby’s age and use.
Care and Washing Instructions
Washing: Follow the yarn label first. Many acrylic and acrylic-blend yarns can go in a gentle machine cycle, while some natural fibers need hand washing. Use mild detergent, and place the hat in a mesh laundry bag if you machine wash it.
Drying: Press out extra water gently with a towel, but do not wring the hat. Then reshape it and lay it flat to dry. Keep it away from direct heat, which can affect some fibers.
Blocking: A small baby hat usually needs little or no blocking. If the stripes or brim look uneven, gently shape the hat while it is damp and let it dry flat. Avoid stretching it, since a hat should keep its comfortable shape.
More Ideas to Try
Once you finish a Crochet Terracotta Stripe Baby Hat Beanie, try a matching baby blanket with wider color bands, a simple ribbed brim, or a striped headband for an older child. You might also enjoy practicing half double crochet, trying a textured moss stitch, or making a solid-color beanie with a contrasting brim.
Conclusion
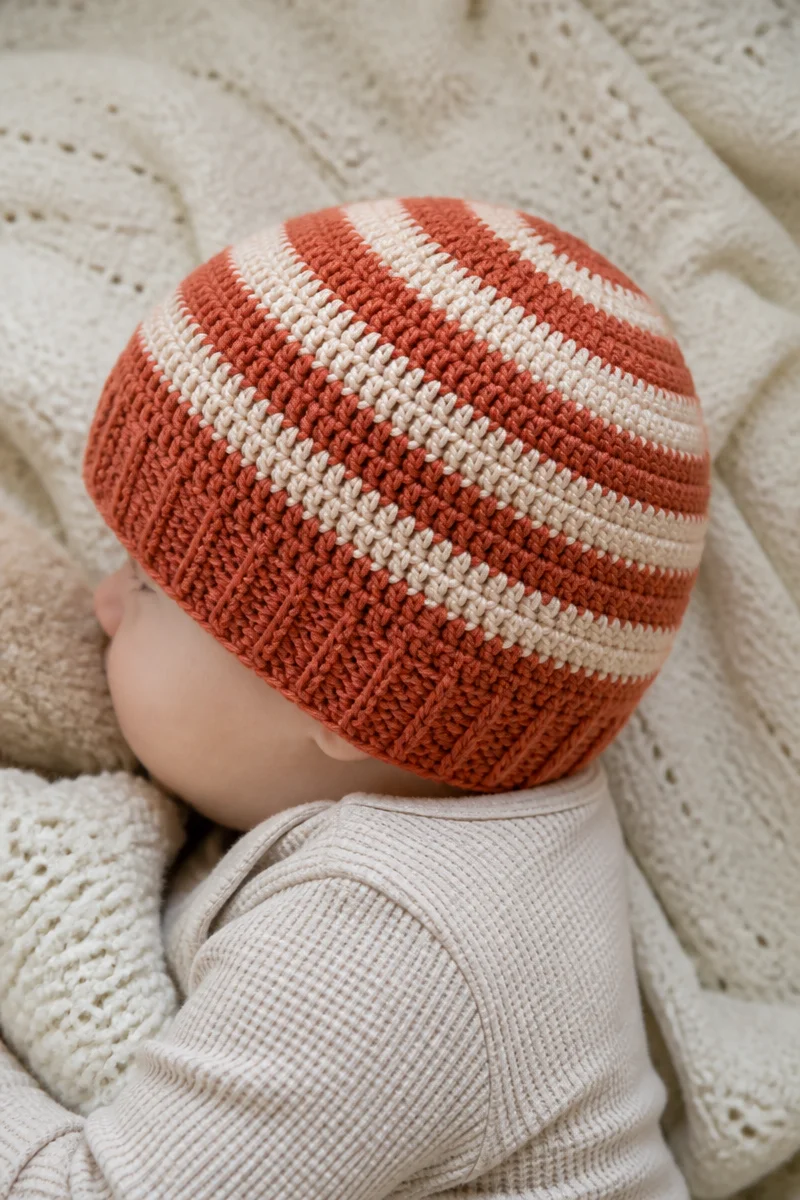
A Crochet Terracotta Stripe Baby Hat Beanie is a cozy, flexible project that lets simple stitches and thoughtful color choices shine. With soft yarn, even tension, and careful stripe changes, you can make a hat that looks neat and feels comfortable. Start with a small swatch, choose colors you love, and enjoy the process. When your beanie is finished, share your color combination or explore another crochet guide on the blog for your next project.