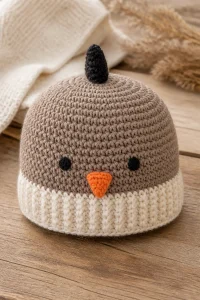
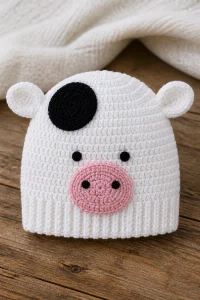
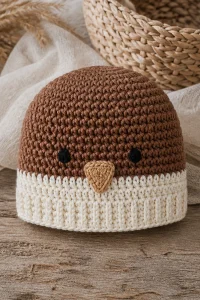
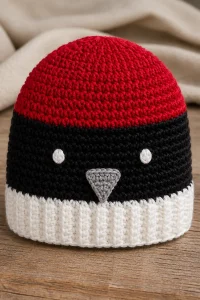
Crochet Narwhal Baby Hat Beanie

Affiliate disclosure: This post may contain affiliate links. I may earn a small commission at no extra cost to you. See our Privacy Policy for details HERE.
A Crochet Narwhal Baby Hat Beanie is a sweet way to bring a little ocean magic to a baby’s outfit. I love how a simple hat can become a playful keepsake with a horn, soft ears, and a friendly face. It also makes a thoughtful handmade gift for a baby shower or a chilly day out.
The hat usually starts with a crocheted beanie shaped to fit a baby’s head. Then, makers add narwhal details, often including a spiral horn and small fins or ears. The basic hat can be beginner-friendly, while the shaping and decorations may take a little more care.
In this guide, you’ll learn how the beanie is made, which yarn and hooks work well, and how to add details safely. You’ll also find practical tips for even stitches, comfortable fit, and easy care, plus a few common mistakes to avoid.
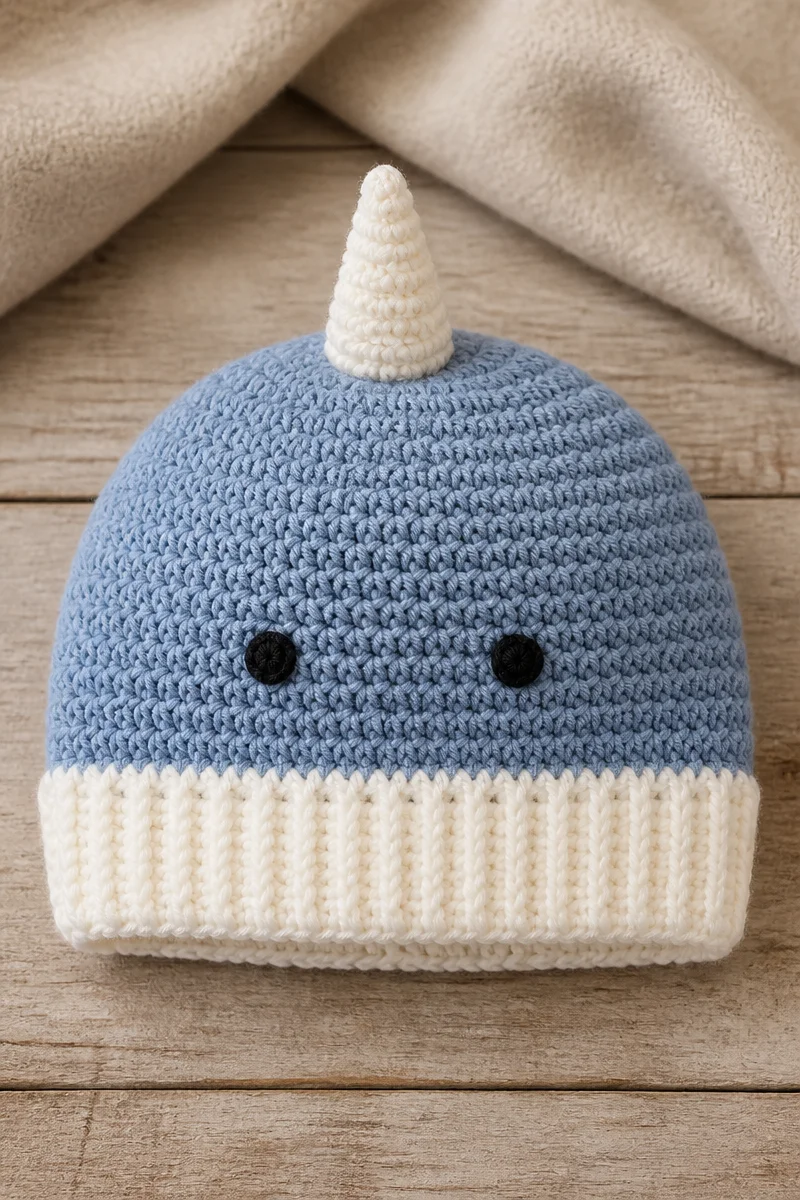
What Is the Crochet Narwhal Baby Hat Beanie Technique?
A Crochet Narwhal Baby Hat Beanie is a shaped crochet hat decorated to look like a narwhal, the whale known for its long spiral tusk. The beanie itself is usually worked in joined rounds or continuous rounds, often with single crochet, half double crochet, or double crochet stitches. The chosen stitch affects the fabric’s thickness, stretch, and texture.
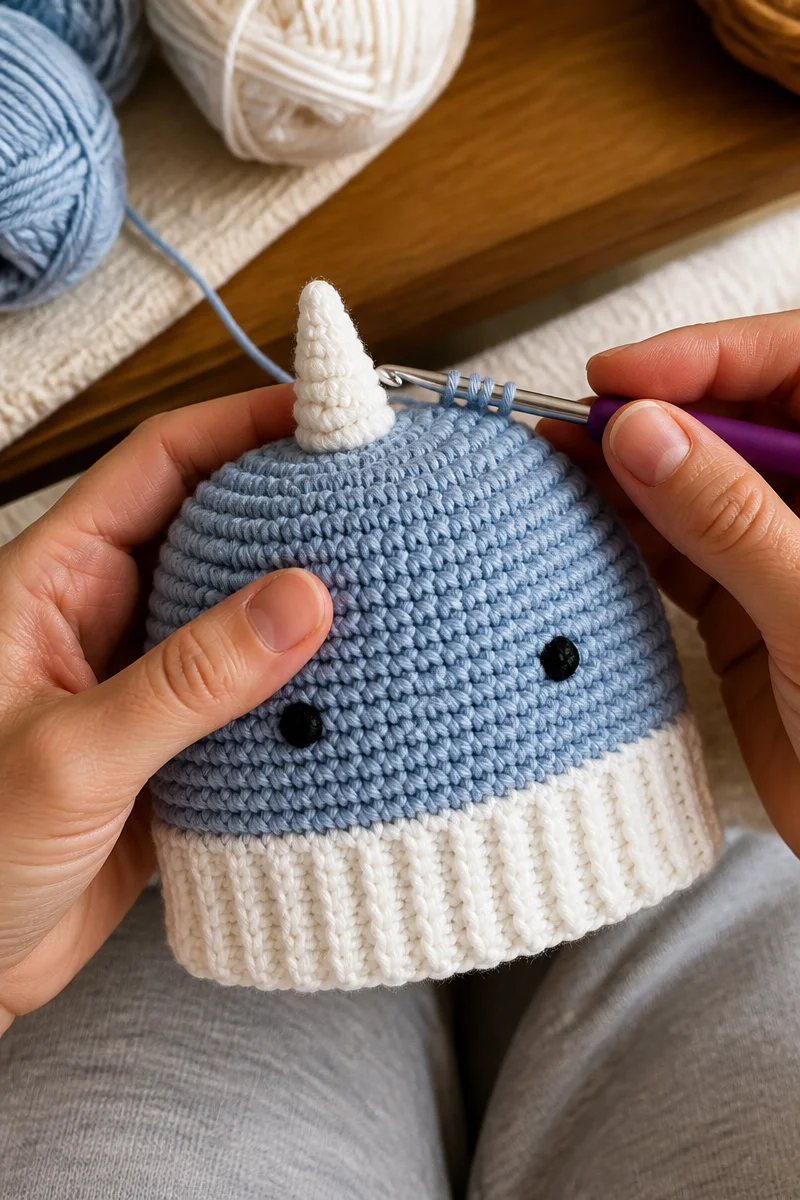
To shape the crown, a crocheter begins with a small circle and increases stitches evenly. Next, they work the sides of the hat with fewer or no increases until the beanie reaches the desired length. The horn and other features are crocheted separately and attached afterward. As a result, the project combines simple hat construction with small decorative pieces.
Many crocheters enjoy this project because it is both useful and charming. In addition, it offers room to choose colors, facial details, and horn styles. Since baby sizing matters, it helps to check the pattern’s size guide and measure the intended wearer when possible.
Why This Is a Great Choice for Baby Hats
- It makes a memorable gift. A narwhal design feels personal and playful, so it stands out from a plain beanie.
- It offers a cozy fit. A well-made crochet fabric can stretch gently around a baby’s head. However, the hat should never feel tight.
- It suits many skill levels. The basic beanie shape uses familiar stitches, while the horn gives more experienced makers a fun detail to try.
- It works in a range of colors. For example, you can use soft blue, gray, or white, then add a bright horn for contrast.
- It is easy to personalize. You can change the horn’s length, add small fins, or stitch on a simple face, as long as every detail stays secure and baby-safe.
Yarn and Hook Recommendations
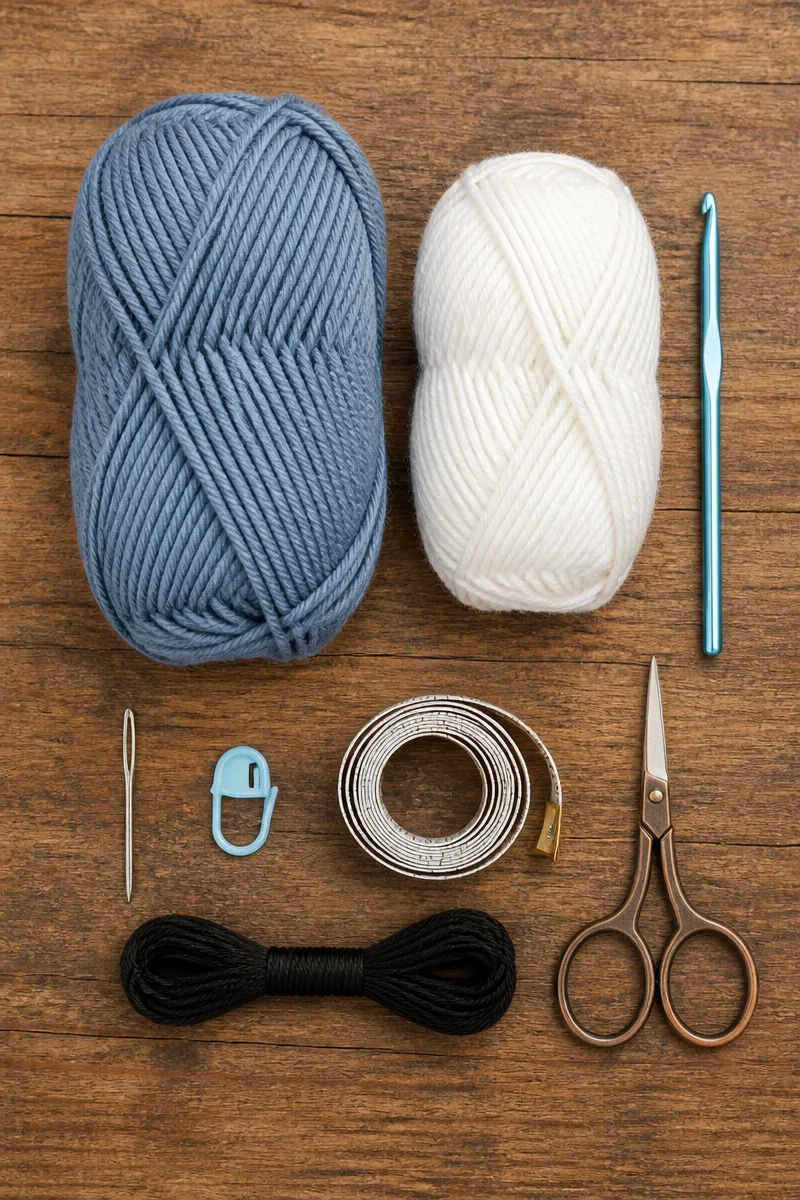
- Lightweight or DK yarn: These yarns can make a soft, comfortable hat without too much bulk. Still, follow the pattern’s yarn weight so the finished size stays close to the intended fit.
- Worsted-weight yarn: This is a common choice for a warmer beanie. However, it can feel thick on a small baby hat, so check the fabric and finished measurements.
- Soft acrylic yarn: Quality baby-friendly acrylic is often easy to wash and maintain. In addition, it comes in many colors for the hat and horn.
- Washable cotton or cotton blends: These can feel breathable and work well in mild weather. Yet, cotton may have less stretch than acrylic, so consider the pattern’s fit and stitch choice.
- A hook that matches the yarn and gauge: Many patterns use a hook in the range of about 3.5 mm to 5.5 mm, but the right size depends on the yarn and your tension. Check the pattern before choosing.
- A smaller hook for details, if needed: A slightly smaller hook can help make a firm horn or neat decorative pieces. Even so, keep the parts soft and avoid stiff or sharp finishes.
Tips for Crochet Narwhal Baby Hat Beanie Success
First, check your gauge before making the full hat. A small difference in stitch size can change the fit, so compare your swatch with the pattern’s gauge. Then, count the stitches at the end of each round, especially while shaping the crown. A stitch marker can help you find the beginning of a round and keep increases even.
Next, make the hat and its details with steady tension. The horn should hold its shape without becoming hard or heavy. Also, weave in ends securely and attach every decoration firmly. Since the hat is for a baby, avoid loose pieces, long cords, buttons, beads, or anything that could come away during use. Follow the pattern’s safety guidance, and check the hat before each wear.
Common Mistakes to Avoid
A common problem is choosing yarn that feels scratchy or too bulky. Since babies have delicate skin, choose a soft yarn and consider how the finished fabric will feel. Also, remember that a thick yarn can make the hat much larger or warmer than expected.
Another mistake is skipping gauge and size checks. Even if you use the same yarn weight as the pattern, your stitches may be tighter or looser. Therefore, measure the hat as you work and compare it with the size notes instead of relying on age alone.
Some crocheters add the horn or face before checking the hat’s fit. This can make it harder to adjust the finished piece. Instead, finish the beanie first, try it on a safe size guide or compare its measurements, and then position the details.
Finally, do not leave decorative parts loosely attached. A horn or fin should not wobble or pull away from the fabric. Secure each piece with several firm stitches, weave in the ends, and inspect the hat carefully before giving it to a family.
Care and Washing Instructions
Washing: Check the yarn label first. Many washable acrylic yarns can go in a gentle machine cycle, while cotton blends may need a cool wash. Use a mild detergent, and place the hat in a mesh laundry bag if the label allows machine washing. For delicate fibers, hand-wash gently instead.
Drying: Press out extra water with a clean towel rather than wringing the hat. Then reshape it and lay it flat to dry. Avoid hanging it, since the weight of damp yarn can stretch the beanie.
Blocking: A baby beanie usually needs only light shaping, not firm blocking. If the hat looks uneven, gently smooth it into shape while damp and let it dry flat. Do not stretch the crown or pull on the horn and attached details.
More Ideas to Try
If you enjoy making a Crochet Narwhal Baby Hat Beanie, you might also like a simple ribbed beanie, a whale or sea-turtle hat, a matching baby blanket, or a textured hat made with half double crochet. You can also try a striped narwhal hat or change the horn color to create a one-of-a-kind gift.
Conclusion
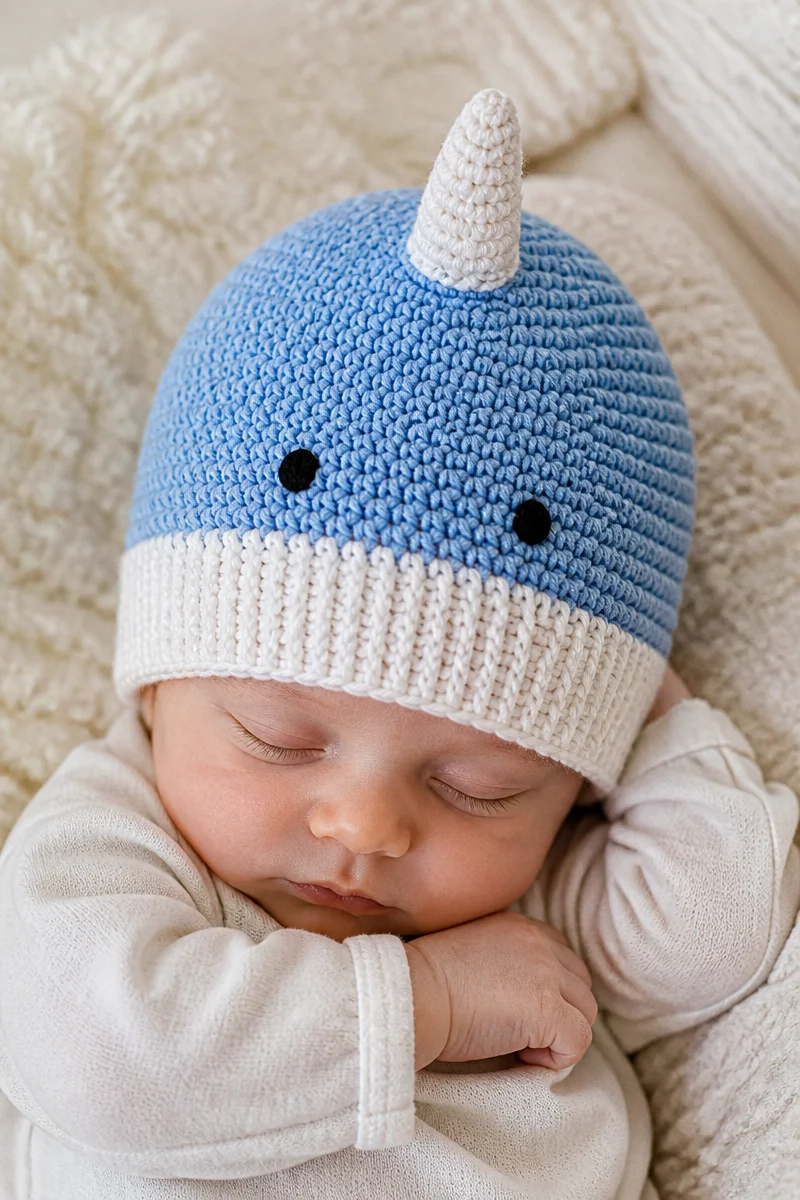
A Crochet Narwhal Baby Hat Beanie pairs a practical crochet hat with playful sea-creature details. For the best result, choose soft yarn, check the gauge, shape the crown carefully, and secure every decoration well. Then, keep the finished hat clean and store it gently between wears.
Ready to bring a little ocean charm to your crochet basket? Try a narwhal beanie, share your finished colors and details, or explore more baby hat guides on the blog.