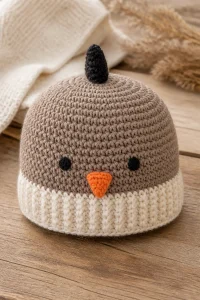
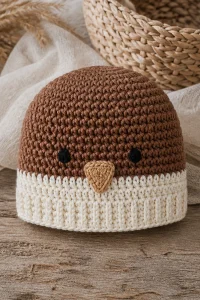
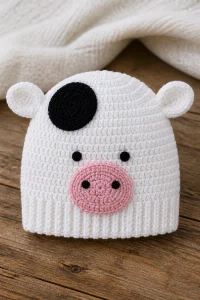
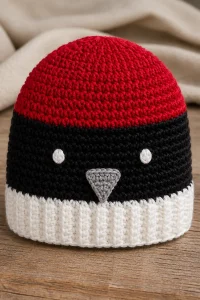
Crochet Chestnut Baby Hat Beanie

Affiliate disclosure: This post may contain affiliate links. I may earn a small commission at no extra cost to you. See our Privacy Policy for details HERE.
A crochet chestnut baby hat beanie is a sweet project when you want a little hat with more texture than a plain beanie. I love how a simple crochet fabric can take on a cozy, chestnut-like look through its raised stitches and warm colors. It also makes a thoughtful handmade gift for a new baby.
The chestnut texture gives the hat a soft, gently bumpy surface that looks lovely in photos and feels snug when made with a comfortable yarn. The project is often suitable for confident beginners, though the exact difficulty depends on the stitch pattern and shaping. Since baby hats need a good fit and a soft feel, yarn choice and careful measuring matter just as much as appearance.
In this guide, we’ll look at what crocheters usually mean by a chestnut stitch texture, why it works well for a baby beanie, and which yarns and hooks to consider. You’ll also find practical tips, care advice, and common mistakes to watch for before you begin.
What Is the Chestnut Stitch?
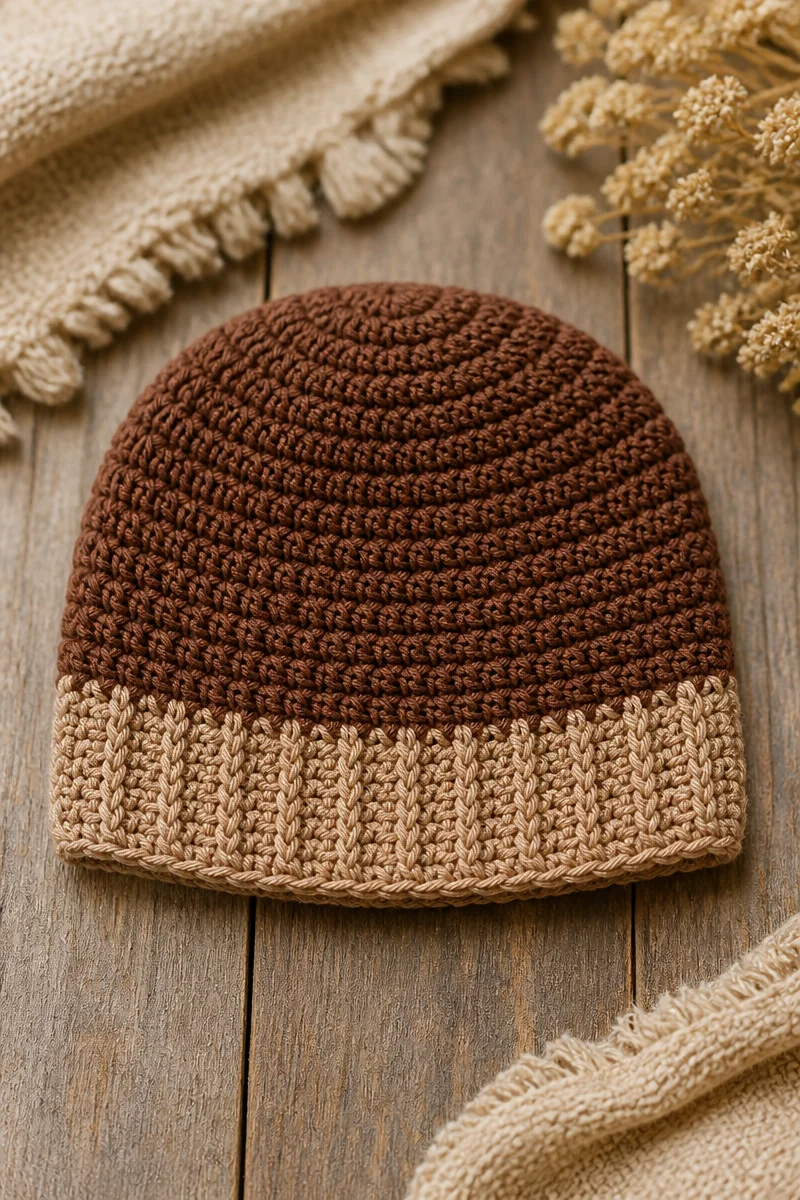
“Chestnut stitch” is not one standard crochet stitch name used in every pattern. In a crochet chestnut baby hat beanie, it usually describes a textured stitch pattern chosen for a rounded, pebbled, or clustered look that brings to mind the ridges or surface of a chestnut. The pattern may create that texture with a combination of basic stitches, such as single crochet, half double crochet, or stitches worked around posts.
In plain terms, the stitch pattern builds small raised areas across the fabric. Depending on the designer’s instructions, you may work stitches into the same space, around a stitch post, or in a repeating sequence. The result is a thicker, more detailed fabric than simple rows of single crochet. Always check the pattern’s stitch key, because the name and exact method can vary.
Crocheters enjoy this texture because it gives a simple baby hat a handmade, polished look without requiring complex colorwork. However, textured stitches can use more yarn and make the fabric less stretchy than a plain ribbed stitch. For that reason, it helps to check both the pattern gauge and the finished hat measurements.
Why This Is a Great Choice for Baby Beanies
- It adds visual interest: The raised texture gives a crochet chestnut baby hat beanie a cozy look, even in a single color.
- It suits small projects: A baby beanie is compact, so you can enjoy the stitch pattern without committing to a large piece.
- It offers a soft, snug feel: When you choose a comfortable yarn and suitable hook, the textured fabric can feel warm and gentle.
- It makes a thoughtful gift: A handmade beanie is useful for families, and the chestnut-like surface gives it a special touch.
- It can help you practice: Repeating a texture pattern gives you a chance to build steady tension and learn to read stitch repeats.
Yarn and Hook Recommendations
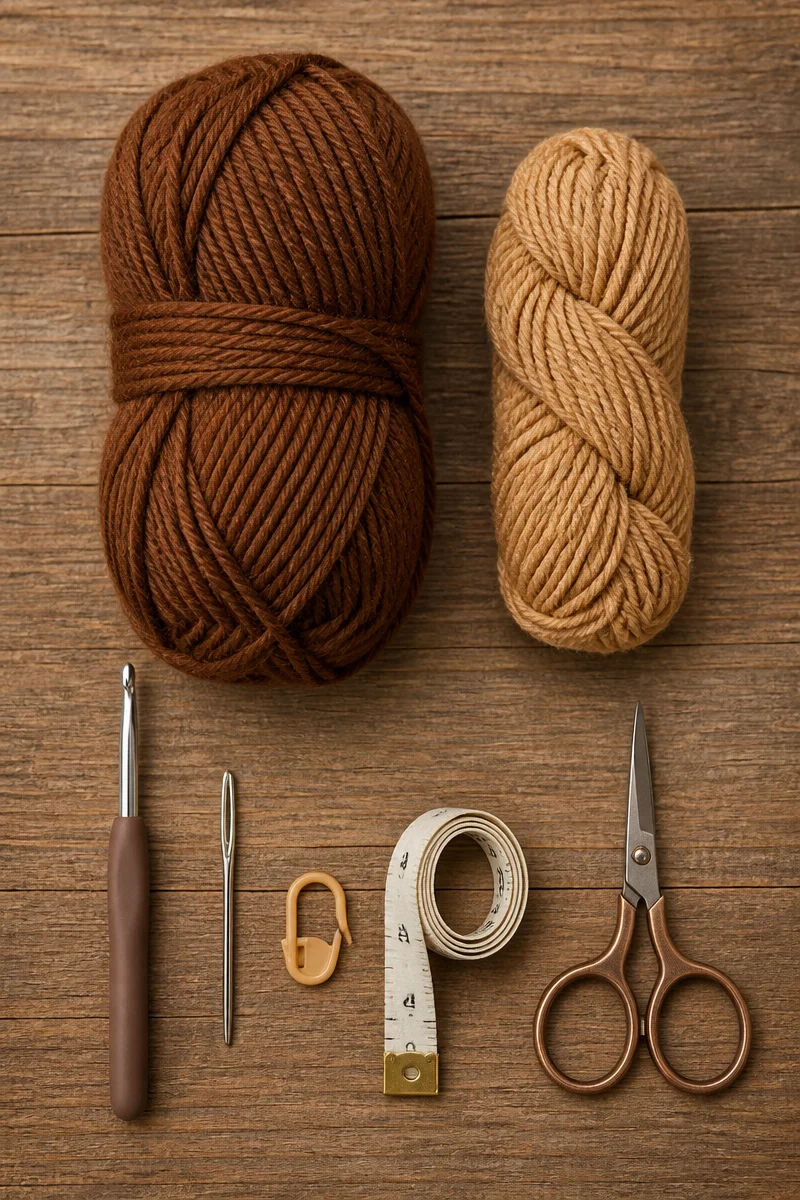
- Light or DK-weight yarn: These weights often make a soft, lightweight baby hat. They also help keep the texture defined without making the fabric too bulky.
- Worsted-weight yarn: Choose this for a warmer, quicker project if the pattern calls for it. Since it creates a thicker fabric, check that the finished hat will not feel stiff.
- Soft, washable acrylic: Acrylic is widely available and usually easy to care for. Look for a smooth yarn labeled as suitable for baby items.
- Cotton or cotton blends: Cotton can feel breathable and works well in mild weather. However, it may have less spring than wool or acrylic, so follow the pattern’s sizing guidance.
- Soft merino or a merino blend: These fibers can feel warm and supple. Check the care label, since some wool yarns need gentle handwashing.
- Use the hook size recommended by the pattern, then check gauge: A small change in hook size can affect both the hat’s fit and the look of its texture. Make a swatch first, especially if your stitches tend to be tight or loose.
Tips for Chestnut Stitch Success
First, make a small swatch using the stitch pattern and yarn you plan to use. This shows whether your texture looks clear and whether the fabric feels soft enough for a baby hat. It also gives you a chance to adjust your hook before you begin shaping the beanie.
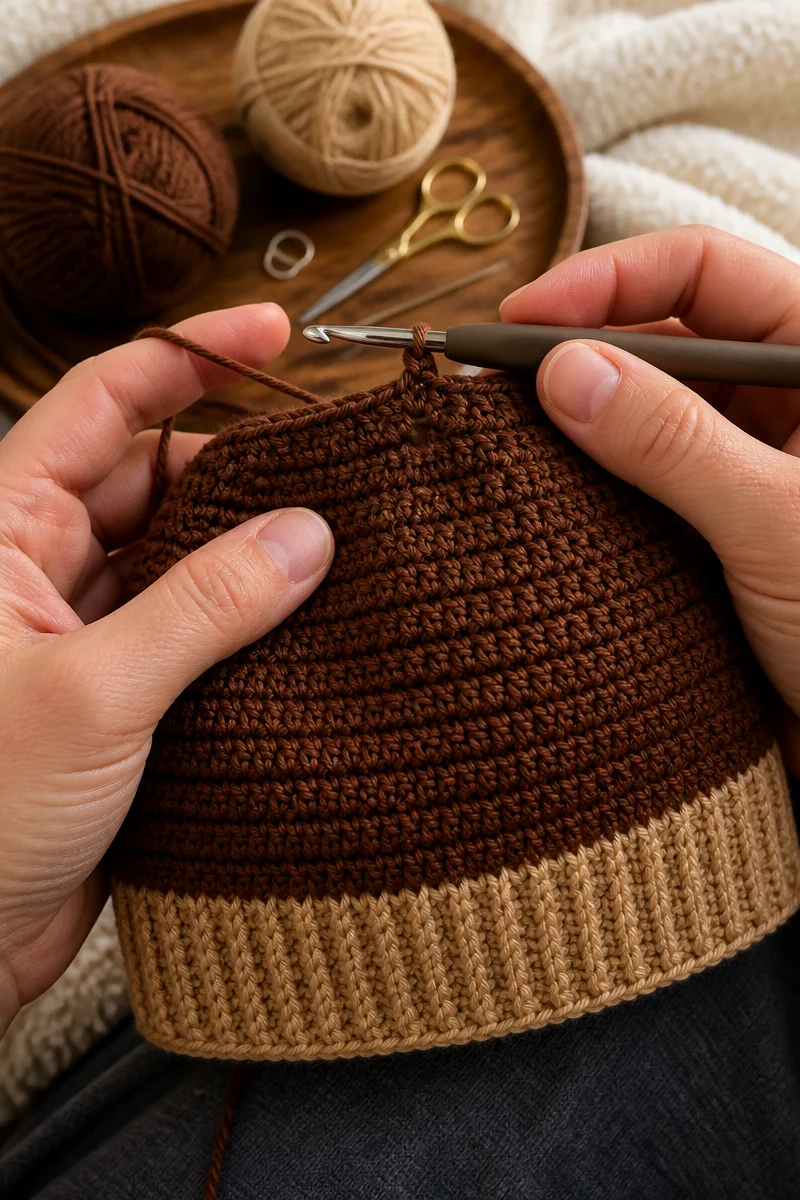
Next, mark the start of each round if you are crocheting in a spiral or continuous rounds. Count your stitches regularly, because one missed stitch can change the hat’s width or crown shape. Also, keep your tension steady, but avoid pulling the yarn too tight. Textured stitches can already make a thicker fabric, so a relaxed hand often helps the hat stay flexible.
Common Mistakes to Avoid
A common problem is assuming that every pattern uses the same chestnut stitch. Since the name can describe different textures, read the stitch instructions before starting. If the pattern includes special stitches, practice them in a swatch first.
Another mistake is skipping stitch counts while shaping the crown. Even one extra or missing stitch can create an uneven circle or change the hat’s fit. Therefore, use a stitch marker and pause at the end of each round to check your work.
Choosing yarn only for its color can also lead to trouble. A stiff or scratchy yarn may not feel comfortable against a baby’s skin, while a yarn that is too bulky can make the hat heavy. Instead, look for a soft yarn and follow the pattern’s suggested weight.
Finally, avoid making the hat by age label alone. Babies grow at different rates, and hat sizes can vary between patterns. Measure the intended wearer when possible, or compare the pattern’s finished circumference and height with a well-fitting hat.
Care and Washing Instructions
Washing: Follow the yarn label first. Many acrylic yarns can go in a washing machine on a gentle cycle, while cotton blends may need cool water and mild detergent. For wool, use a wool-safe wash and handwashing if the label recommends it.
Drying: Gently press out extra water with a clean towel, but do not wring the hat. Then reshape it and lay it flat to dry. This helps the beanie keep its fit and prevents stretching.
Blocking: A baby beanie usually needs little or no blocking. If the textured fabric looks uneven, gently shape the hat while damp and let it dry flat. Avoid pressing hard with an iron, since heat can flatten the raised stitches or damage some fibers.
More Ideas to Try
If you enjoy making a crochet chestnut baby hat beanie, try a ribbed beanie for a stretchy fit, a bobble-stitch hat for a playful raised texture, or a simple moss-stitch baby blanket for a matching gift. You could also experiment with a folded brim, a small pom-pom, or two coordinating colors, while keeping the yarn soft and the decorations secure.
Conclusion
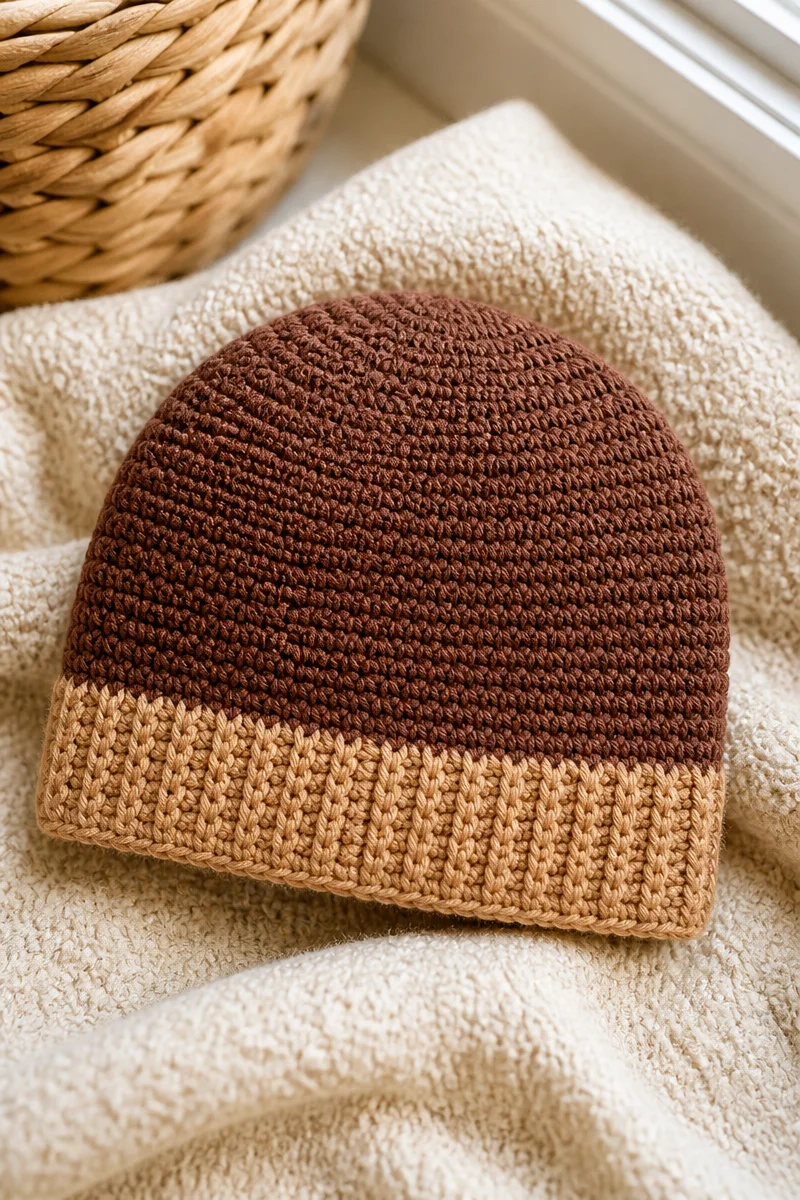
A crochet chestnut baby hat beanie combines a cozy shape with a rich, textured look. Since chestnut stitch can mean different things from one pattern to another, check the stitch instructions, make a swatch, and choose a soft yarn that suits the baby and the season. With steady tension, careful counting, and gentle care, you can make a comfortable hat with plenty of handmade charm.
Ready to try the texture? Gather a soft yarn, make a small swatch, and enjoy seeing the pattern take shape. Once your beanie is finished, share your results or explore more baby crochet guides on the blog.