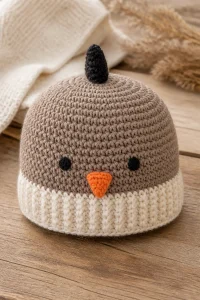
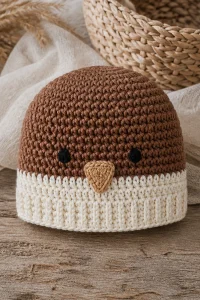
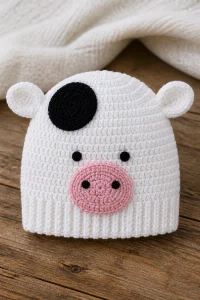
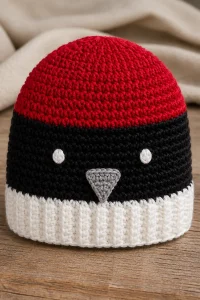
Crochet Sleigh Ride Stripe Baby Beanie

Affiliate disclosure: This post may contain affiliate links. I may earn a small commission at no extra cost to you. See our Privacy Policy for details HERE.
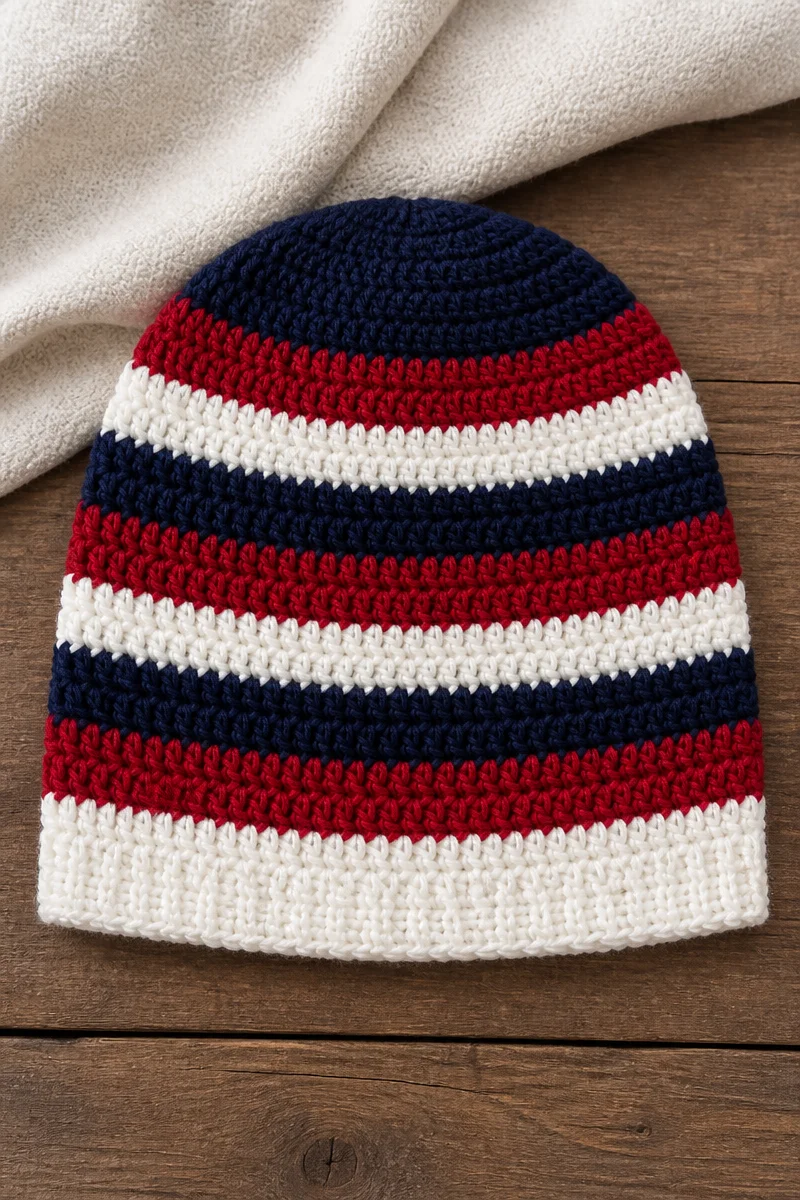
A Crochet Sleigh Ride Stripe Baby Beanie makes a sweet, cozy gift for a new baby. I love how simple stripes can make a small hat feel special. With a few well-chosen colors, even a basic beanie can look festive, polished, and ready for a winter outing.
The defining feature is the stripe pattern, not one particular stitch. A beanie may use single crochet, half double crochet, or another fabric-forming stitch, with color changes creating clear bands around the hat. The project is usually approachable for a crocheter who knows basic stitches, though neat color changes take a little practice.
In this guide, you’ll learn how stripe patterns work on baby beanies, how to choose yarn and a hook, and how to keep your stitches even. You’ll also find useful care advice and common mistakes to watch for, so your Crochet Sleigh Ride Stripe Baby Beanie can be comfortable, tidy, and ready to wear.
What Is the Stripe Technique?
The stripe technique creates bands of color by changing yarn shades between rounds or rows. For a beanie worked in the round, each stripe usually circles the hat. The fabric itself may use a simple stitch such as single crochet or half double crochet, so the stripes provide the main visual interest.
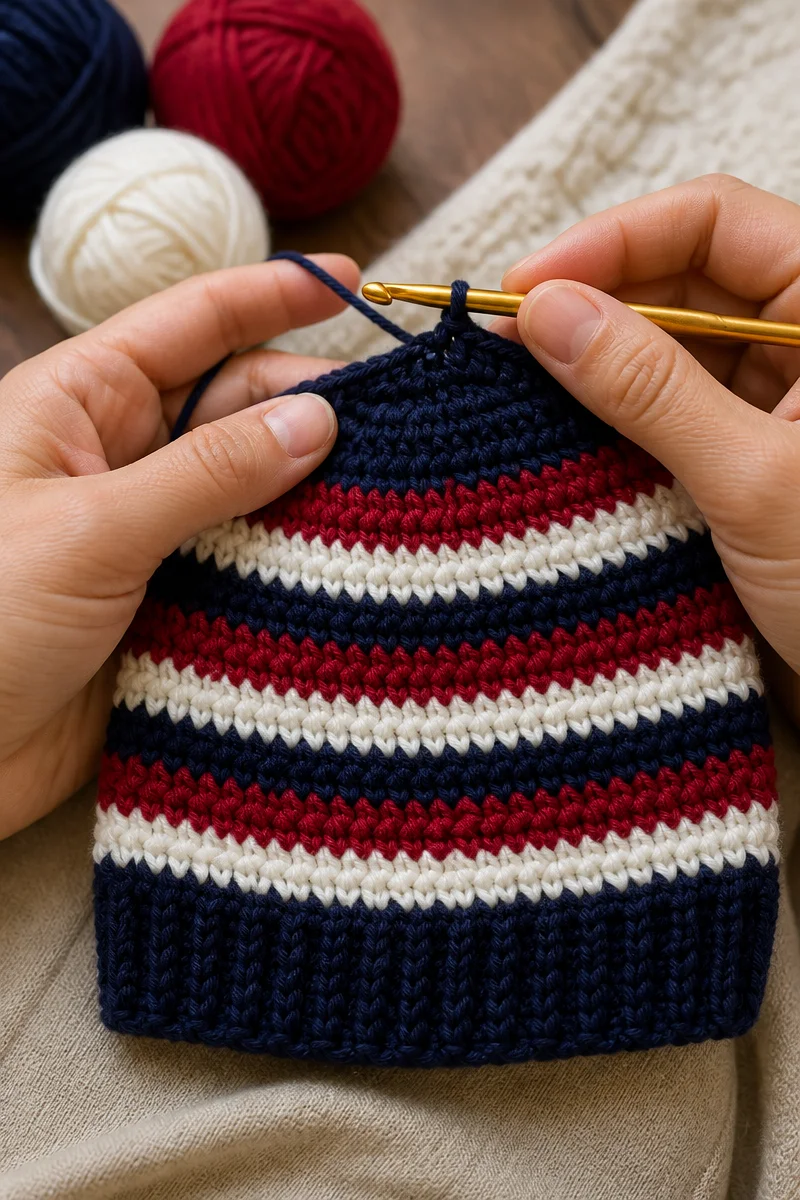
To change colors, crocheters typically finish the last stitch of one round with the new color. That helps the next round begin in the fresh shade. Depending on the pattern, the yarn may be carried inside the hat or cut and joined again for each stripe. Carrying yarn can reduce ends to weave in, while cutting it can keep the inside neater when the color changes are far apart.
Crocheters enjoy stripes because they add variety without requiring complicated stitch work. In addition, stripes make it easy to combine favorite colors or use small amounts of leftover yarn. For a Crochet Sleigh Ride Stripe Baby Beanie, color choices can suggest a wintery, classic, or playful look.
Why This Is a Great Choice for Baby Beanies
- Stripes add charm: Color bands give a small hat a finished look without intricate shaping.
- The project is compact: A baby beanie uses less yarn than a blanket, so it can be a satisfying project to finish.
- Simple stitches work well: Single crochet or half double crochet can create a warm, sturdy fabric that suits everyday wear.
- Color changes invite creativity: You can choose gentle nursery shades, bright contrasts, or a classic seasonal palette.
- It makes a thoughtful gift: A handmade beanie is practical, personal, and easy to pair with other baby items.
Yarn and Hook Recommendations
- Choose a soft, washable yarn: Baby hats need frequent cleaning, so machine-washable yarn can make care easier. Always check the yarn label.
- Consider DK or light worsted weight: These weights can make a comfortable, warm beanie without feeling too bulky. Use the weight specified by your chosen pattern.
- Look for smooth fibers: Acrylic or a soft acrylic blend is often easy to wash and gentle to work with. Soft cotton blends may suit warmer weather, though they can feel less springy.
- Check for a comfortable hand: Feel the yarn before you begin, if possible. Avoid scratchy, stiff, or loosely spun yarn for a baby’s sensitive skin.
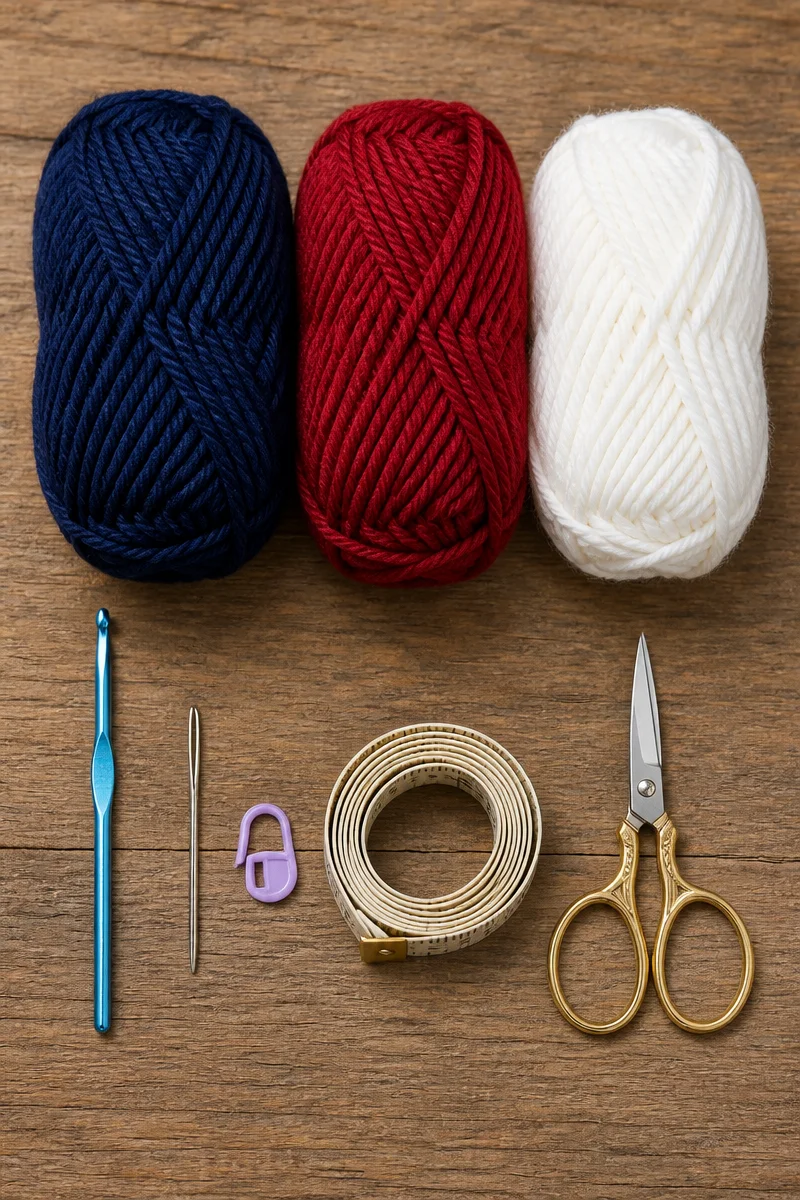
- Match the hook to your gauge: Start with the hook size recommended for the yarn or pattern, then make a small test piece. A different hook may be needed to get the right fabric and size.
- Keep the stripe yarns similar: Use yarns with the same weight and a similar texture. That helps the color bands sit evenly instead of making one section thicker than another.
Tips for Stripe Technique Success
First, check your pattern for its size, stitch count, and color-change method. Baby beanies need a comfortable fit, so follow the size guidance rather than guessing from age alone. Then, make a small gauge swatch if the pattern provides a target. Even a slight difference in tension can change how the hat fits.
Next, keep track of each round and stripe. A stitch marker can show where the round begins, while a simple note can remind you when to change colors. When you switch shades, pull the yarn snug but not tight. Otherwise, the join may pucker or leave a visible gap. Finally, weave in ends securely and keep them smooth on the inside.
Common Mistakes to Avoid
Uneven tension can make the stripes look wavy or cause the beanie to narrow in one area. Try to hold the yarn comfortably, and pause now and then to check that your stitches look consistent. If your hands feel tired, take a short break before continuing.
Miscounting stitches can affect the shape and fit. Because a beanie is worked in rounds, a missed or extra stitch may become harder to spot as you go. Use a stitch marker and count at the points your pattern recommends. Also, take care not to mistake the turning chain for a stitch unless the pattern says to count it.
A hook that is too large can create a loose fabric with noticeable gaps. On the other hand, a hook that is too small may make the hat stiff and tight. Make a test swatch when possible, and compare its feel and size with the pattern’s gauge.
Finally, avoid mixing yarns with very different thicknesses or textures in one hat. A bulky stripe beside a fine stripe can distort the fabric. Choose compatible yarns, and check that every shade feels soft and comfortable against the skin.
Care and Washing Instructions
Washing: Follow the yarn label first. Many acrylic and acrylic-blend yarns can go in the washing machine on a gentle cycle, while some natural fibers need hand washing. Use mild detergent, and place the beanie in a mesh laundry bag if machine washing is allowed.
Drying: Reshape the hat gently and lay it flat on a clean towel to dry. Avoid wringing it, since twisting can stretch the fabric. Also, keep it away from high heat unless the yarn label specifically allows it.
Blocking: A small baby beanie usually needs little or no blocking. If the stripes or edges look uneven, you can lightly shape the hat while it is damp and let it dry flat. Avoid stretching it over a form that could make the finished hat too large.
More Ideas to Try
Once you’ve finished a striped beanie, you might enjoy making a matching baby bootie set, a simple striped baby blanket, or a hat with a ribbed brim. You could also try color pooling with planned yarn shades, or explore a textured stitch such as the moss stitch for a different look.
Conclusion
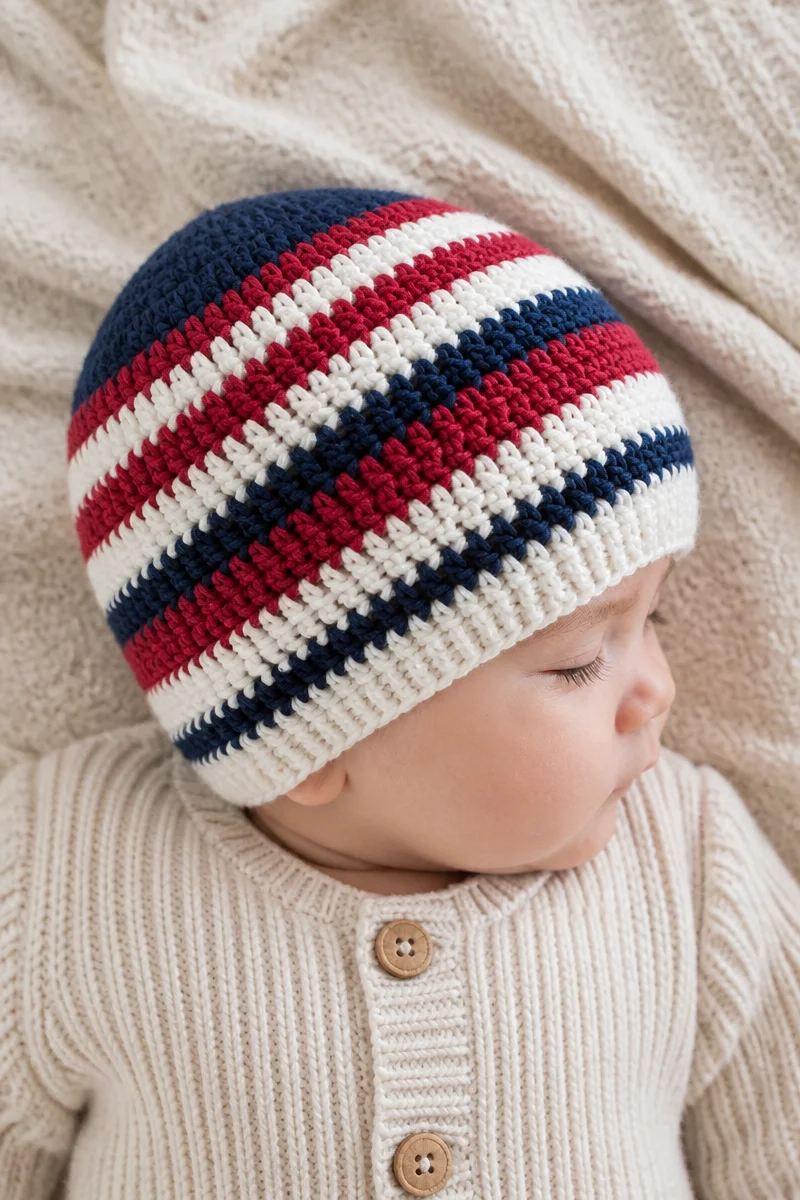
A Crochet Sleigh Ride Stripe Baby Beanie is a lovely way to practice color changes while making something useful and personal. Choose soft, compatible yarns, keep your tension steady, and use stitch markers to track each round. Most of all, take your time and enjoy watching the stripes come together. Try your own color combination, share how your beanie turns out, or explore another crochet guide on the blog for your next project.