Crochet Prairie Hen Baby Hat Beanie

Affiliate disclosure: This post may contain affiliate links. I may earn a small commission at no extra cost to you. See our Privacy Policy for details HERE.
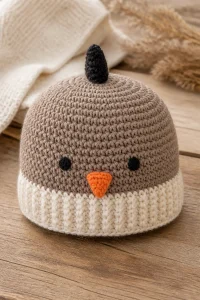
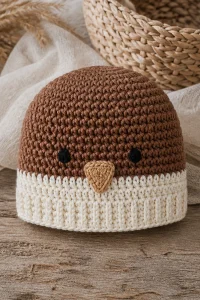
A Crochet Prairie Hen Baby Hat Beanie brings a little farmyard charm to a practical baby accessory. I love how a simple hat can feel playful and thoughtful at the same time. The hen-inspired details make it a sweet gift for a new baby, a photo prop, or a cozy handmade keepsake.
What makes this project special is its mix of a basic beanie shape and decorative features, such as a comb, beak, eyes, or soft little wings. The hat itself may use familiar stitches, while the animal details call for a bit of shaping and sewing. As a result, it can suit a confident beginner who is ready to try simple finishing techniques.
In this guide, you’ll learn what makes a crochet prairie hen baby hat distinctive, how to choose yarn and a hook, and how to get a neat fit. You’ll also find practical tips for working the hat and adding details, plus common mistakes to avoid and advice for washing and drying your finished piece.
What Is the Crochet Prairie Hen Baby Hat Technique?
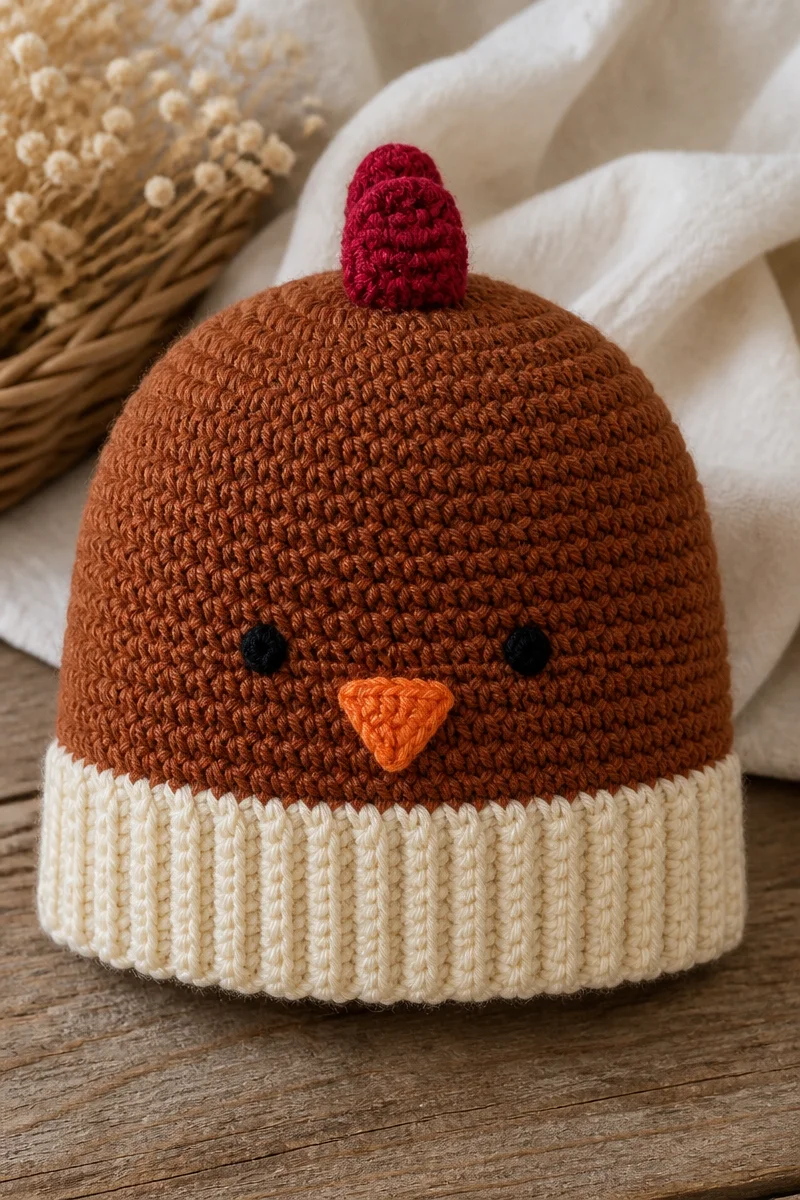
A crochet prairie hen baby hat is an animal-themed beanie made by crocheting a fitted cap and adding hen-inspired features. The hat is often worked in rounds from the crown toward the brim. Depending on the design, it may use single crochet, half double crochet, or another basic stitch to create a smooth, comfortable fabric.
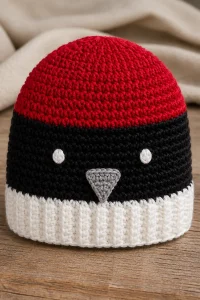
The recognizable look comes from the finishing details. A small crocheted comb can sit on top, while a beak and eyes give the hat its expression. Some designs also add wings or color changes. Together, these features turn a plain baby beanie into a charming character hat.
This project is less about one special stitch and more about combining basic crochet stitches, shaping, and embellishment. That makes it a nice way to practice familiar skills while learning how small details can change the look of a finished item.
Why This Is a Great Choice for Baby Hats
- It makes a memorable gift. The hen details give a useful baby hat a personal, handmade touch.
- It starts with a familiar shape. A basic beanie is a good foundation for crocheters who already know a few stitches.
- It offers room for creativity. You can adjust the colors, facial expression, and small features to suit your taste.
- It can be made in a soft, cozy fabric. With a suitable yarn and a comfortable fit, the hat can help keep a baby warm.
- It is a manageable small project. A baby hat usually takes less time than a blanket, so it can be satisfying to finish.
Yarn and Hook Recommendations
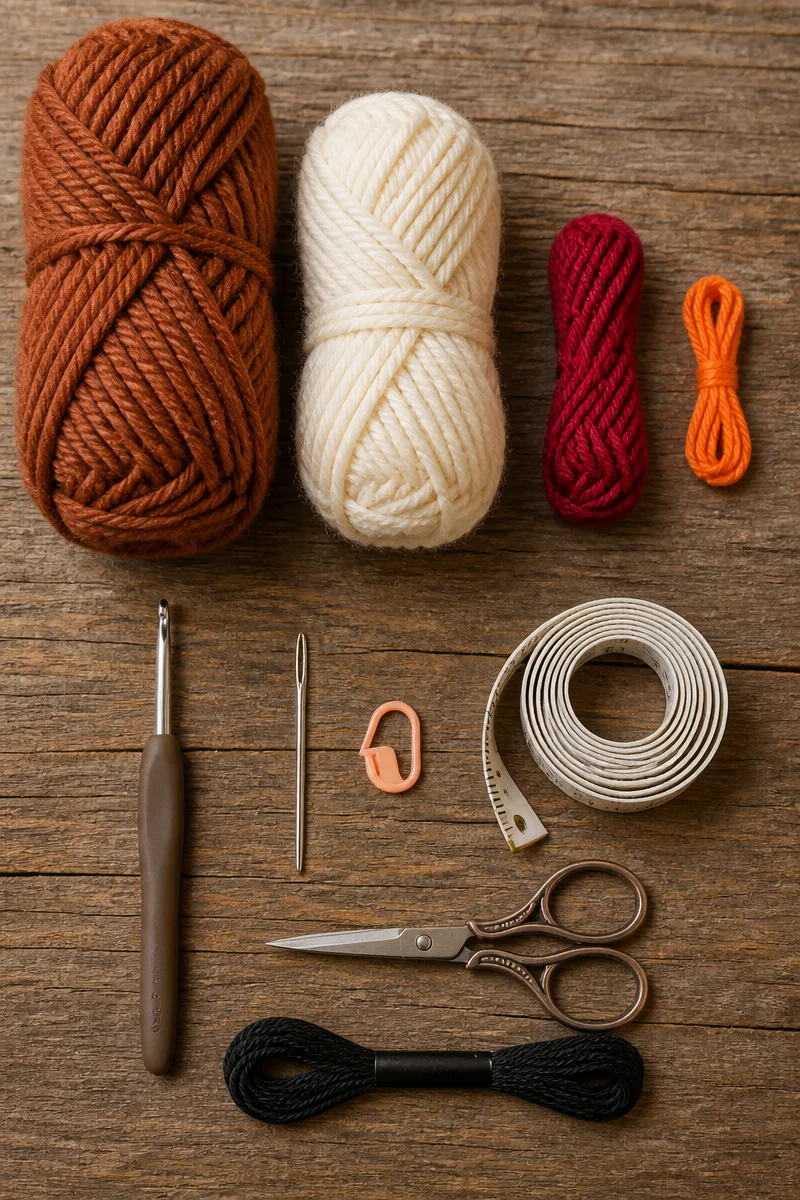
- Choose a soft worsted-weight yarn if the pattern calls for it. This common weight can make a warm, sturdy hat, but check the pattern before selecting yarn.
- Consider DK or light-worsted yarn for a lighter fabric. It may work well for a less bulky hat, provided the pattern and gauge support it.
- Look for a smooth acrylic or acrylic blend. These yarns are often easy to wash and can be practical for frequently used baby items.
- Try soft, washable cotton or a cotton blend when suitable. Cotton can feel breathable, though it may make a heavier or less stretchy fabric than some acrylic yarns.
- Use the hook size recommended by the pattern as a starting point. Then make a gauge swatch, because your tension may change the hat’s size.
- Choose a smaller hook only when your swatch needs it. A tighter fabric can help the hat hold its shape, but it should not feel stiff or restrictive.
For any baby item, check the yarn label and pattern guidance. Also, make sure decorative pieces are firmly attached, and avoid small parts that could come loose.
Tips for Crochet Prairie Hen Baby Hat Success
First, check the pattern’s size and gauge before you begin. A baby hat needs a comfortable fit, so measure your work as you go rather than relying only on the suggested age. Babies grow at different rates, and yarn choice or personal tension can change the finished size.
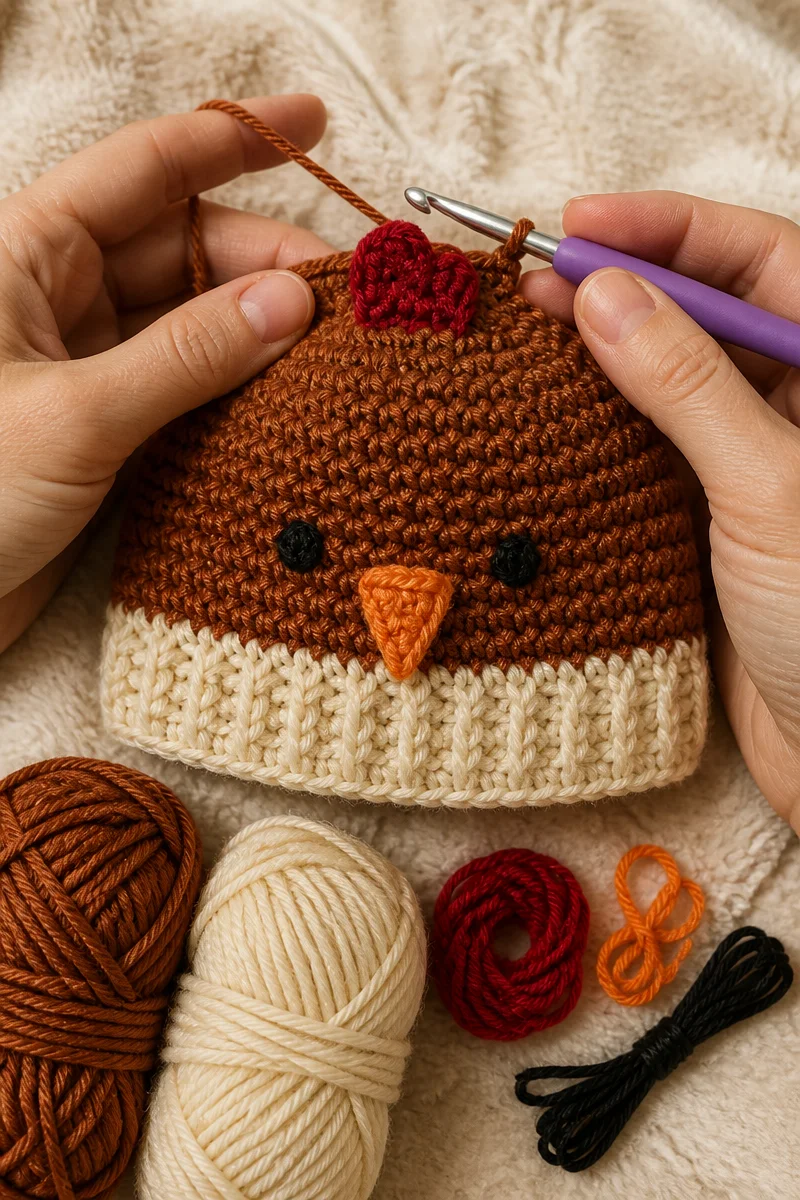
Next, keep track of the start of each round with a stitch marker. Count your stitches regularly, especially when increasing at the crown or shaping the brim. When you add the hen details, pin them in place before sewing. This simple step helps you check their position and make sure the face looks balanced.
Work at a relaxed pace, too. If your hands feel tired, take a short break. Even tension and careful finishing usually matter more than speed.
Common Mistakes to Avoid
One common problem is skipping gauge. Even a small difference in stitch size can make a baby hat too tight or too loose. Therefore, crochet a swatch with the yarn and hook you plan to use, and compare it with the pattern’s gauge.
It is also easy to lose track of increases while working the crown. If the stitch count changes unexpectedly, the hat may become uneven or misshapen. Use a marker, count at the end of each round, and check the shaping before you continue.
Another pitfall is placing the hen features without checking how they look on the finished hat. A comb, beak, or pair of eyes can appear off-center if you sew them on too quickly. Instead, pin each piece in place and view the hat from the front and sides before attaching it securely.
Finally, avoid choosing yarn only by color or appearance. A rough, stiff, or poorly washable yarn may not feel comfortable for a baby hat. Check the fiber details, care label, and pattern recommendations before you start.
Care and Washing Instructions
Washing: Follow the yarn label first. Many acrylic and acrylic-blend hats can be washed on a gentle cycle, but a delicate hand wash may help protect crocheted details. Use mild detergent, and place the hat in a laundry bag if machine washing is allowed.
Drying: Press out extra water with a towel instead of wringing the hat. Then reshape it and lay it flat to air-dry. Avoid hanging it while wet, since the weight of the water can stretch the fabric.
Blocking: A baby beanie usually needs little or no blocking. If the hat looks uneven, gently shape it while damp and let it dry flat. Avoid stretching the brim or pulling the sewn-on details out of place.
More Ideas to Try
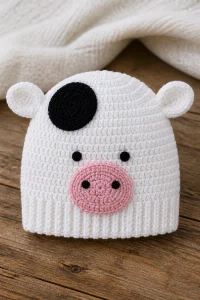
If you enjoy making a crochet prairie hen baby hat, you might also like a simple animal-ear beanie, a chick-themed hat with a tiny tuft, or a farm-animal hat with crocheted patches. For another skill-building project, try a ribbed brim or a textured baby hat using half double crochet stitches.
Conclusion
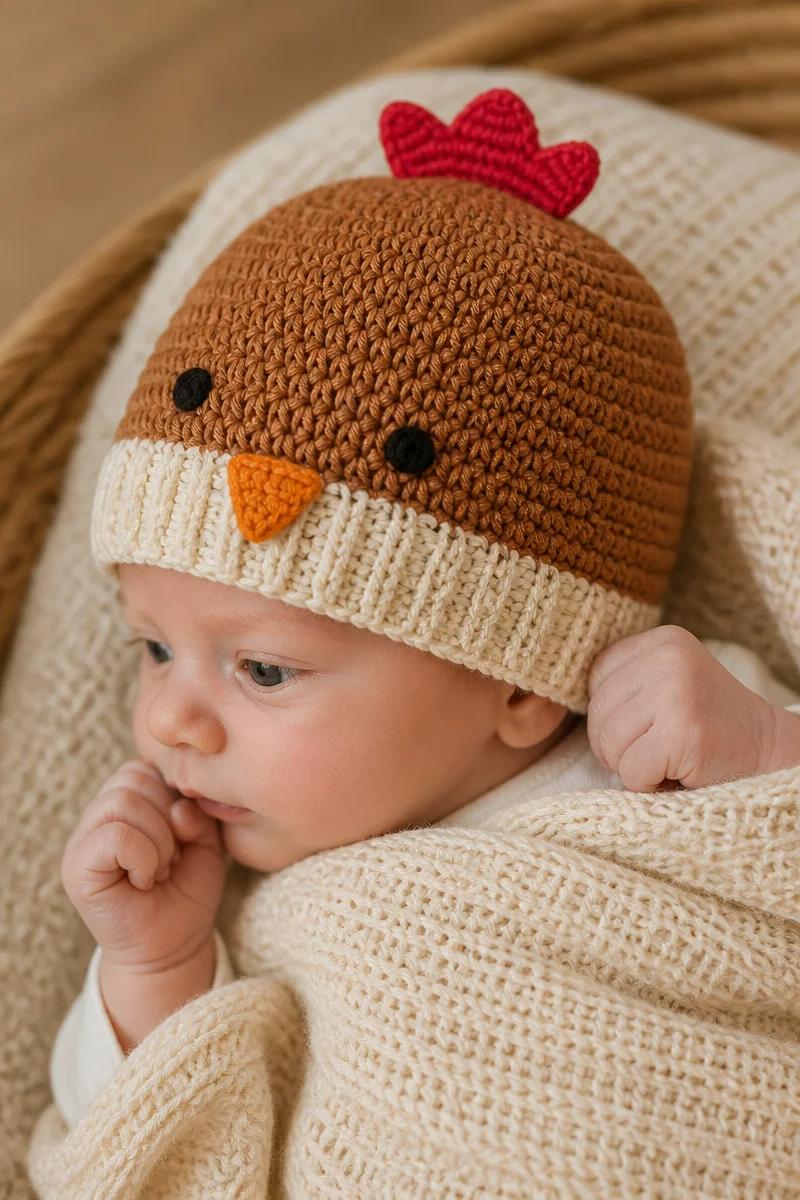
A crochet prairie hen baby hat combines a familiar beanie shape with cheerful details. Choose soft, washable yarn, check your gauge, and take time to place each feature neatly. Most of all, enjoy the process of turning basic crochet stitches into a one-of-a-kind gift.
Ready to give it a try? Make your own version, share your finished hat with a fellow crocheter, or explore more baby-hat ideas and crochet guides on the blog.