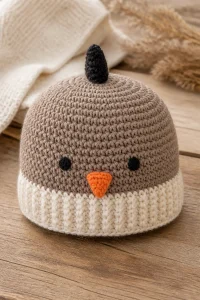
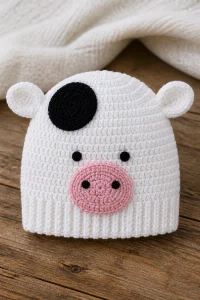
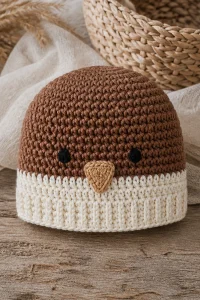
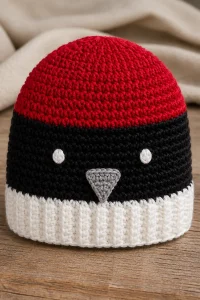
Crochet Otter Baby Hat Beanie

Affiliate disclosure: This post may contain affiliate links. I may earn a small commission at no extra cost to you. See our Privacy Policy for details HERE.
A crochet otter baby hat beanie is a sweet way to keep a little one cozy while adding a touch of woodland charm. I love how a few simple details, such as rounded ears and a small face, can turn an everyday hat into a thoughtful handmade gift.
This project combines a fitted crochet beanie with playful otter-inspired features. The hat is usually worked in soft yarn, often with basic stitches, while the ears and face add the character. It can suit a confident beginner who knows how to crochet in rounds, though shaping and sewing on details may take a little practice.
In this guide, you’ll learn how the hat is commonly made, which yarn and hook choices work well, and how to keep the fit comfortable. You’ll also find practical tips and common mistakes to avoid, plus care advice for a handmade baby hat.
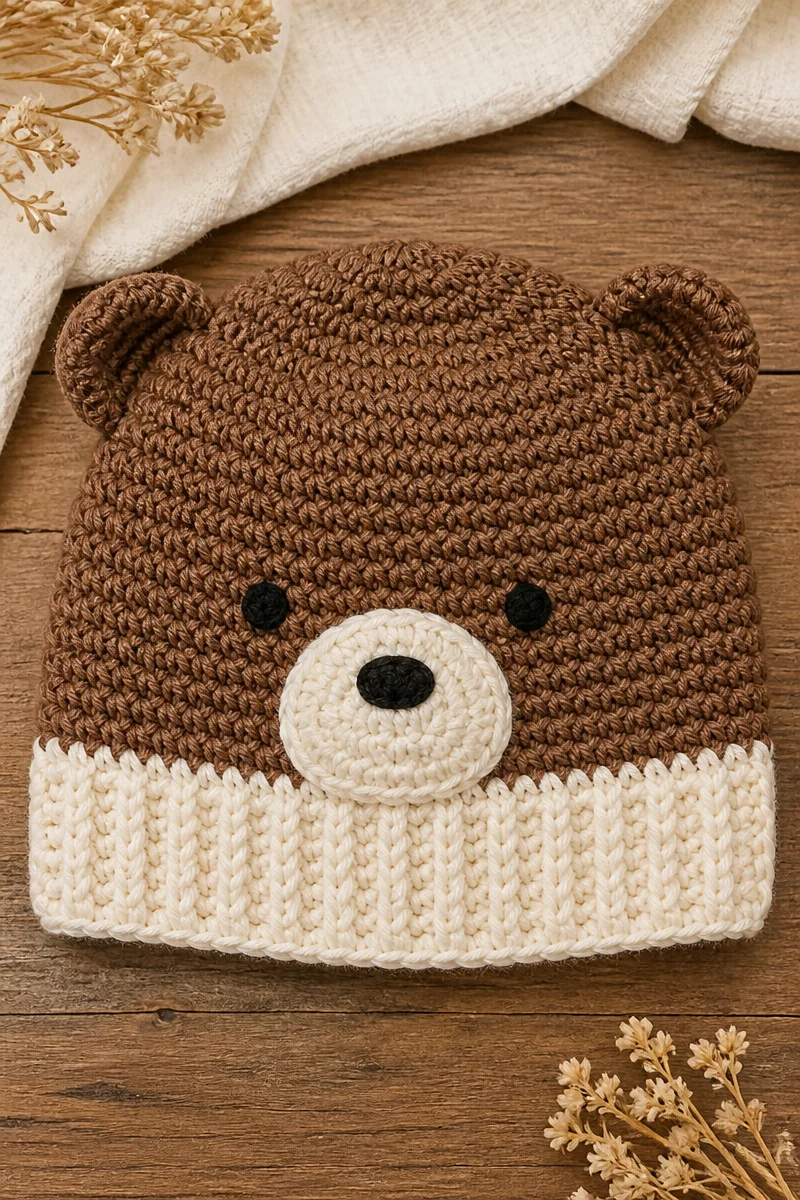
What Is the Crochet Otter Baby Hat Beanie?
A crochet otter baby hat beanie is a snug, rounded hat decorated to resemble an otter. The beanie itself is typically worked in the round from the crown down, or in rows that are joined to form a tube. Basic stitches, such as single crochet or half double crochet, create a soft fabric that can stretch gently around a baby’s head.
The otter look comes from the added features. Small crocheted ears, a contrasting muzzle, and embroidered facial details bring the character to life. These parts are usually made separately and sewn onto the hat. Because the main hat often uses familiar stitches, crocheters can focus on getting a good fit and placing the details neatly.
Why This Is a Great Choice for Baby Hats
- It makes a memorable gift. An otter design feels personal and works well for baby showers, birthdays, and photo props.
- It has a cozy, soft look. Smooth stitches and gentle yarn give the beanie a warm, comfortable feel.
- It offers room for creativity. You can adjust the colors, ear shape, and facial details to make each hat your own.
- It can suit different skill levels. The main beanie may use simple stitches, while more experienced crocheters can add shaping or extra details.
- It is a small project. Compared with a blanket, a baby hat uses less yarn and can be easier to finish in a few relaxed sessions.
Yarn and Hook Recommendations
- Choose a soft, baby-friendly yarn. Acrylic labeled as soft, cotton blends, and washable merino blends are common choices. Check the yarn label and avoid fibers that feel scratchy.
- Consider lightweight yarn. DK or light worsted yarn can make a comfortable hat without too much bulk. However, follow the pattern’s yarn recommendation when you have one.
- Use worsted weight with care. This yarn can make a warm, sturdy beanie, but it may feel thick for an indoor baby hat. A larger hook can create a softer fabric, though it may also affect the fit.
- Match your hook to the yarn and gauge. Baby hats often use a hook around 3.5 to 5 mm, but the right size depends on the yarn and the pattern. Check your stitch tension before completing the hat.
- Pick colors that define the otter features. A brown or gray base with a cream or tan muzzle can help the face stand out. Choose a smooth yarn for the muzzle so the details remain clear.
- Think about easy care. Machine-washable yarn is handy for baby items. Still, confirm that the label allows the washing method you plan to use.
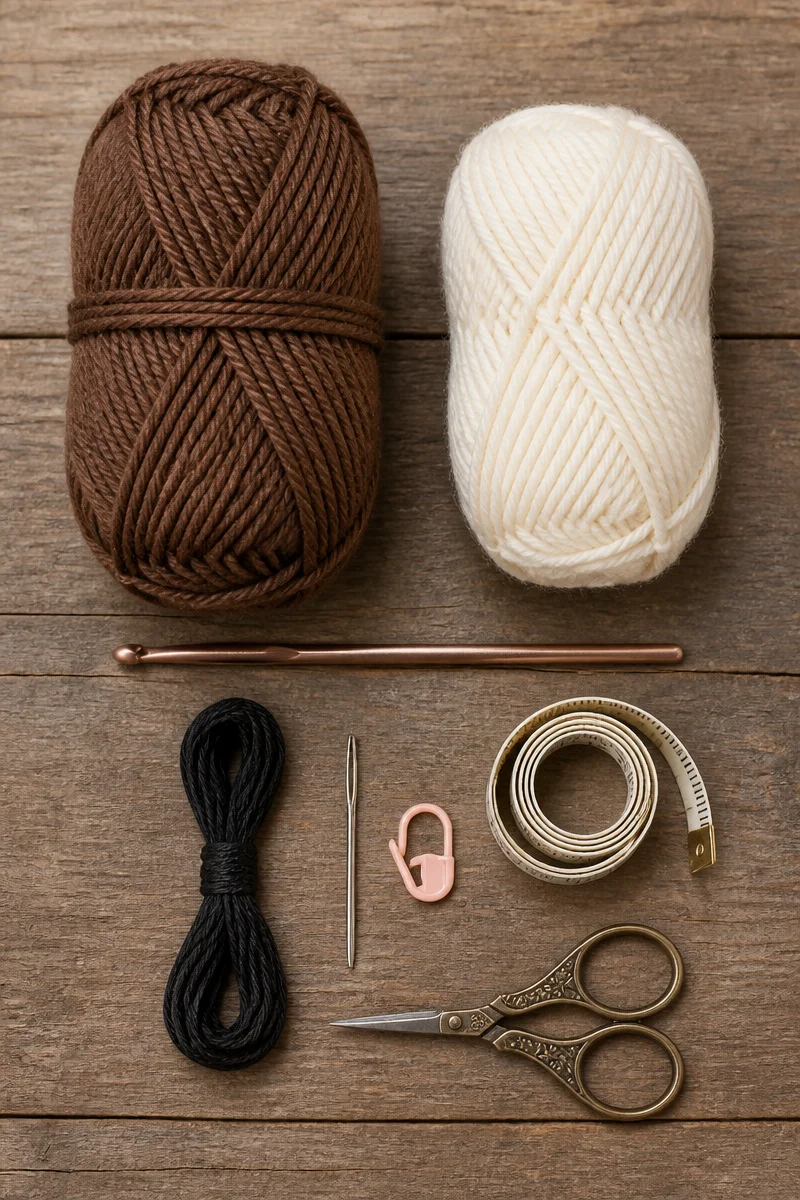
Tips for Crochet Otter Baby Hat Beanie Success
First, check the pattern’s size and gauge before you begin. Babies grow quickly, but a hat should still fit comfortably rather than slip over the eyes or feel tight. If possible, measure the baby’s head, and compare that measurement with the finished circumference listed in the pattern.
Next, keep an even tension as you work in rounds. Use a stitch marker to mark the start of each round, and count regularly so the crown stays smooth. Once the beanie is finished, pin the ears and muzzle in place before sewing them on. This small step makes it easier to check the expression and keep the features balanced.
Common Mistakes to Avoid
One common mistake is choosing yarn based only on color. A yarn may look perfect for an otter, but it can feel rough or create a stiff hat. Instead, touch the yarn if you can, check its label, and consider how the finished fabric will feel against a baby’s skin.
Another pitfall is skipping stitch counts. A few extra or missing stitches can make the crown ripple, flatten, or fit unevenly. Therefore, mark the beginning of each round and check your count at the points shown in the pattern.
It is also easy to sew the ears or muzzle on before checking their placement. If the features sit too close together or too high, the otter’s face may look different from what you intended. Pin the pieces first, then view the hat from the front before stitching them down.
Finally, avoid adding small parts that could come loose. Secure facial features firmly, and use embroidered details instead of loose buttons or beads. For a baby item, follow current safety guidance and the pattern designer’s recommendations.
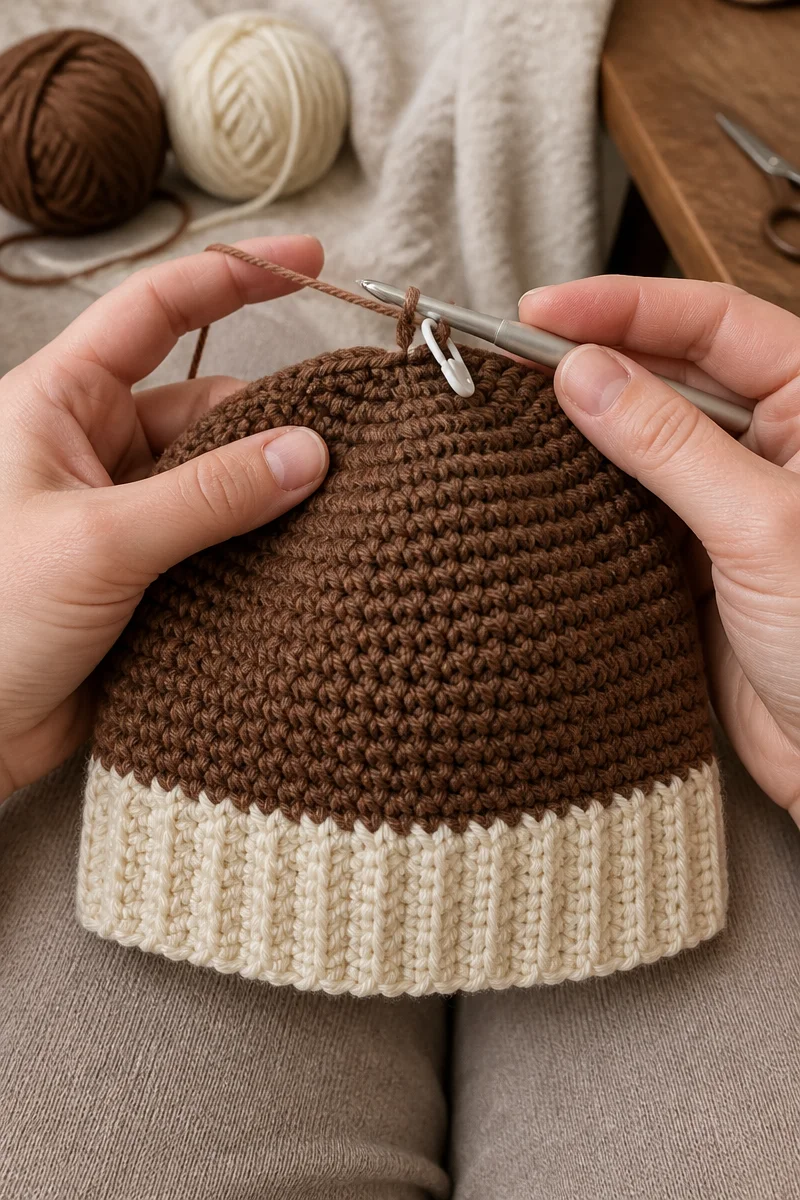
Care and Washing Instructions
Washing: Follow the yarn label first. Many washable acrylic yarns can go in a machine on a gentle cycle, while delicate natural fibers may need hand washing. Use mild detergent, and place the hat in a mesh laundry bag if machine washing is allowed.
Drying: Gently press out extra water with a towel, but do not twist the hat. Then reshape it and lay it flat to dry. Avoid high heat, which can damage some fibers or change the hat’s size.
Blocking: A baby beanie usually needs little or no blocking. If the fabric looks uneven, lightly dampen it and shape it by hand. Keep the otter details in place, and avoid stretching the hat beyond its intended size.
More Ideas to Try
If you enjoy making a crochet otter baby hat beanie, you might also like a simple animal-ear beanie, a bear or fox hat, a matching crochet baby bootie set, or a striped beanie with embroidered animal features. Each option lets you practice shaping, color changes, or neat finishing in a small project.
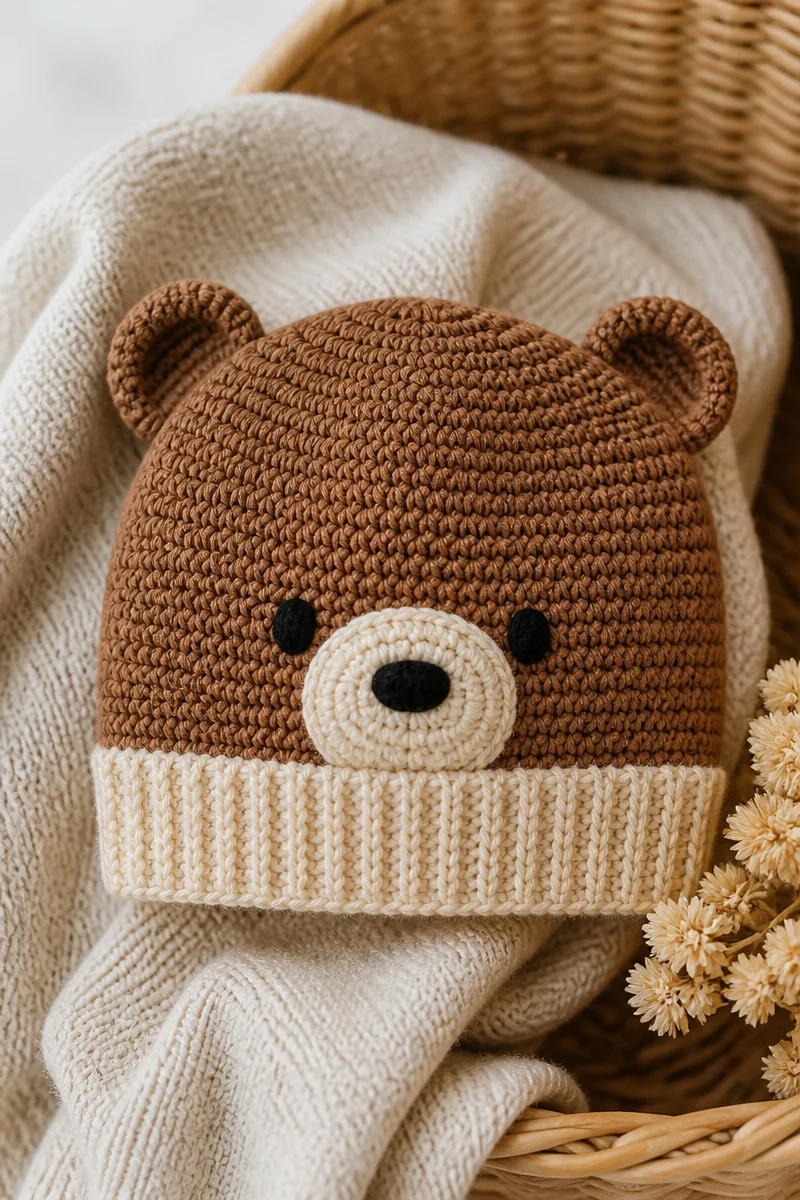
Conclusion
A crochet otter baby hat beanie pairs a comfortable handmade beanie with charming animal details. For the best result, choose soft, easy-care yarn, check the fit as you work, and secure every feature carefully. Most of all, take your time with the face, since those small details give the hat its personality.
Gather your yarn and try an otter-inspired design. When you finish, share your color choices and results, or explore more baby hat guides on the blog for your next cozy project.