Crochet Navy Gold Hair Scrunchie Duo

Affiliate disclosure: This post may contain affiliate links. I may earn a small commission at no extra cost to you. See our Privacy Policy for details HERE.
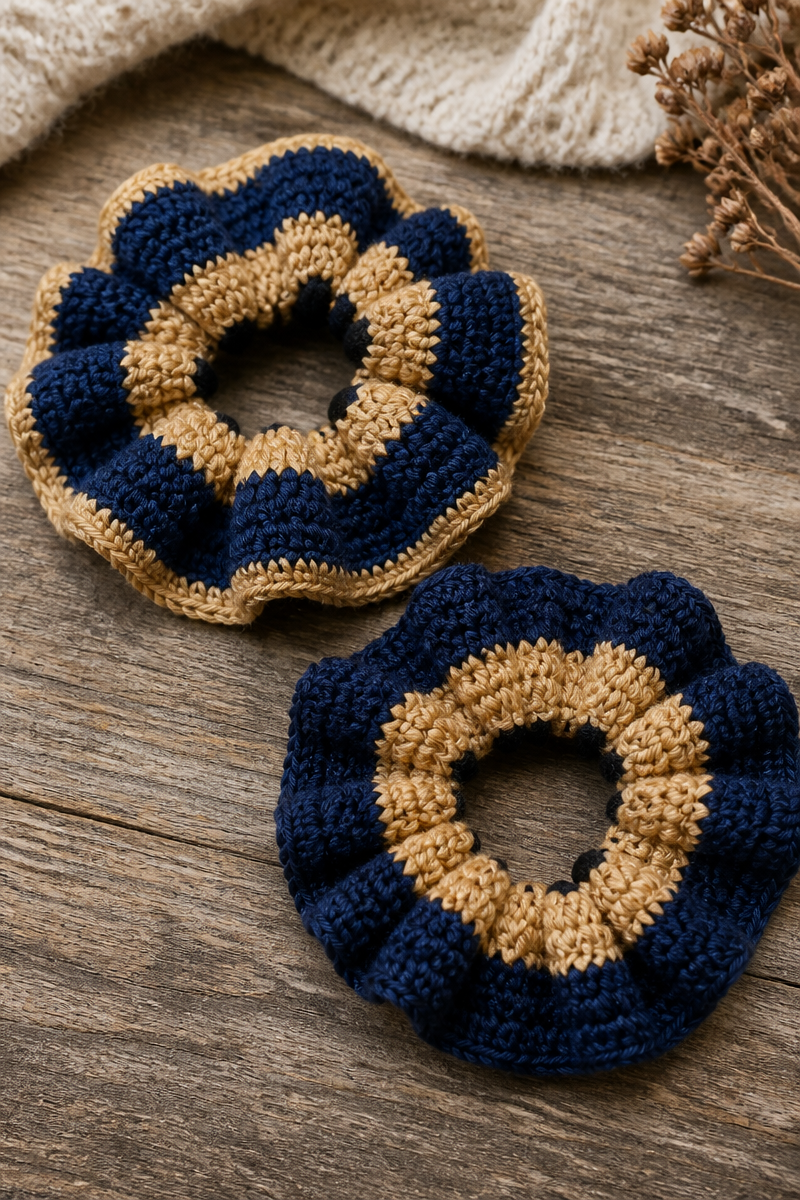
A navy and gold crochet hair scrunchie duo is a lovely way to add a small touch of color to an everyday hairstyle. I especially like this project because it turns a simple hair elastic into a useful, handmade accessory without requiring a large amount of yarn.
The scrunchies get their soft, gathered shape from crochet stitches worked around an elastic. The finished fabric can look full and ruffled, while the navy and gold colors create a classic, dressy contrast. This is a small project that suits many skill levels, and it makes a thoughtful gift, too.
In this guide, you’ll learn how crocheting around an elastic works, which yarn and hook choices are practical, and how to get an even, comfortable finish. You’ll also find tips for avoiding common snags and caring for your navy and gold crochet hair scrunchie duo.
What Is the Crochet-Over-Elastic Technique?
The crochet-over-elastic technique means making crochet stitches directly around a hair elastic. Each stitch wraps over the elastic, covering it with yarn. As you add more stitches, the fabric gathers and forms the soft, ruffled shape of a scrunchie.
This technique is easy to adapt. For example, you can use compact stitches for a neat, close finish or taller stitches for a fuller ruffle. Crocheters enjoy it because it is quick, portable, and a good way to use leftover yarn. It also lets you add color, texture, or a simple decorative edge to a basic hair accessory.
Why This Is a Great Choice for Hair Scrunchies
- It makes a useful accessory. A crocheted scrunchie can hold hair back while adding a handmade detail.
- It works up quickly. Since the project is small, you can often finish one in a short crafting session.
- It uses little yarn. As a result, a pair is a practical project for small yarn leftovers.
- It offers room for color play. Navy and gold make a polished duo, and you can also try stripes or a contrasting edge.
- It is easy to personalize. You can adjust the fullness, colors, and stitch texture to suit your style.
Yarn and Hook Recommendations
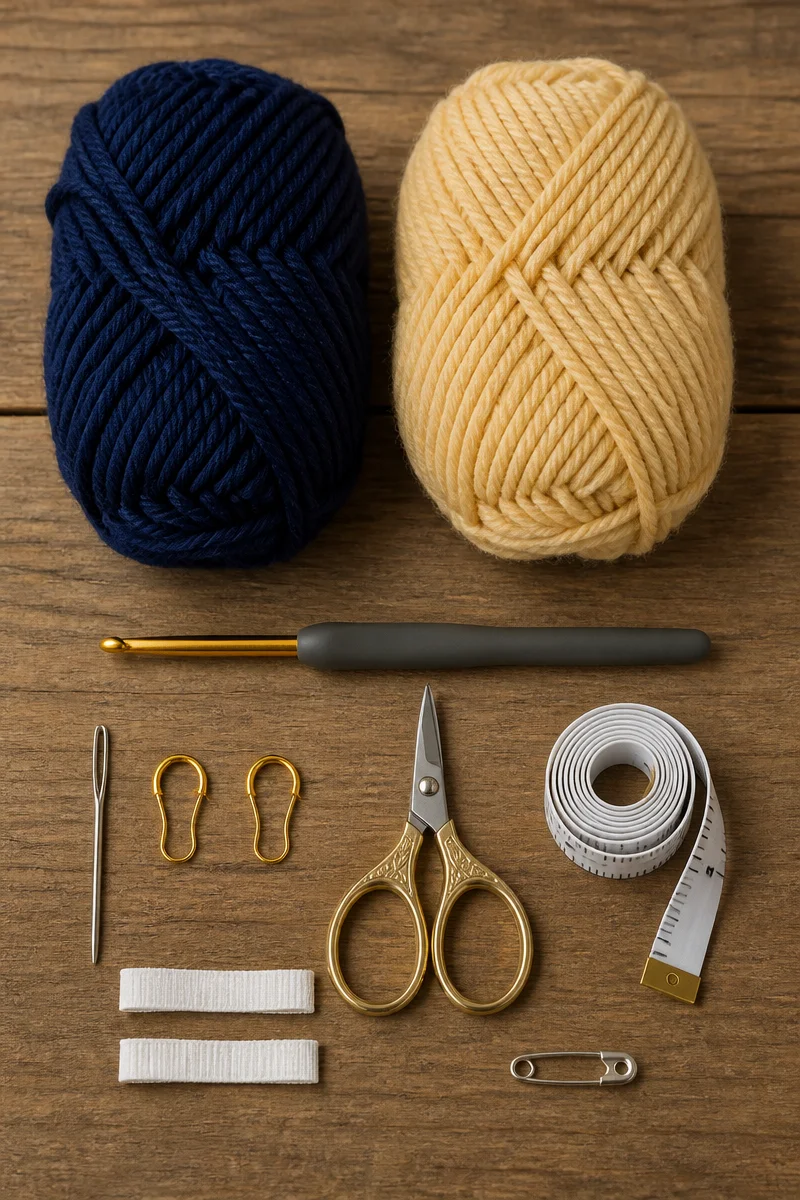
- Lightweight cotton yarn: Cotton gives the scrunchie a smooth look and is often comfortable against the hair. It has less stretch than some fibers, so avoid making the stitches too tight.
- Worsted-weight yarn: This is easy to find and can create a fuller scrunchie. However, it may feel bulky, so use it when you want a bold, gathered look.
- Sport or DK-weight yarn: These lighter choices can make a softer, less bulky accessory. They are also useful when you want the elastic to stay flexible.
- Soft acrylic yarn: Acrylic is widely available and comes in many shades of navy and gold. Choose a smooth, washable yarn for easy care.
- A hook around 3.5 mm to 5.5 mm: The best size depends on the yarn and the look you want. A smaller hook makes denser stitches, while a larger hook can create a looser, fuller edge.
- A sturdy hair elastic: Choose an elastic that stretches comfortably and feels secure. Also, check that it has no sharp seams or rough parts that could catch the yarn.
Tips for Crochet-Over-Elastic Success
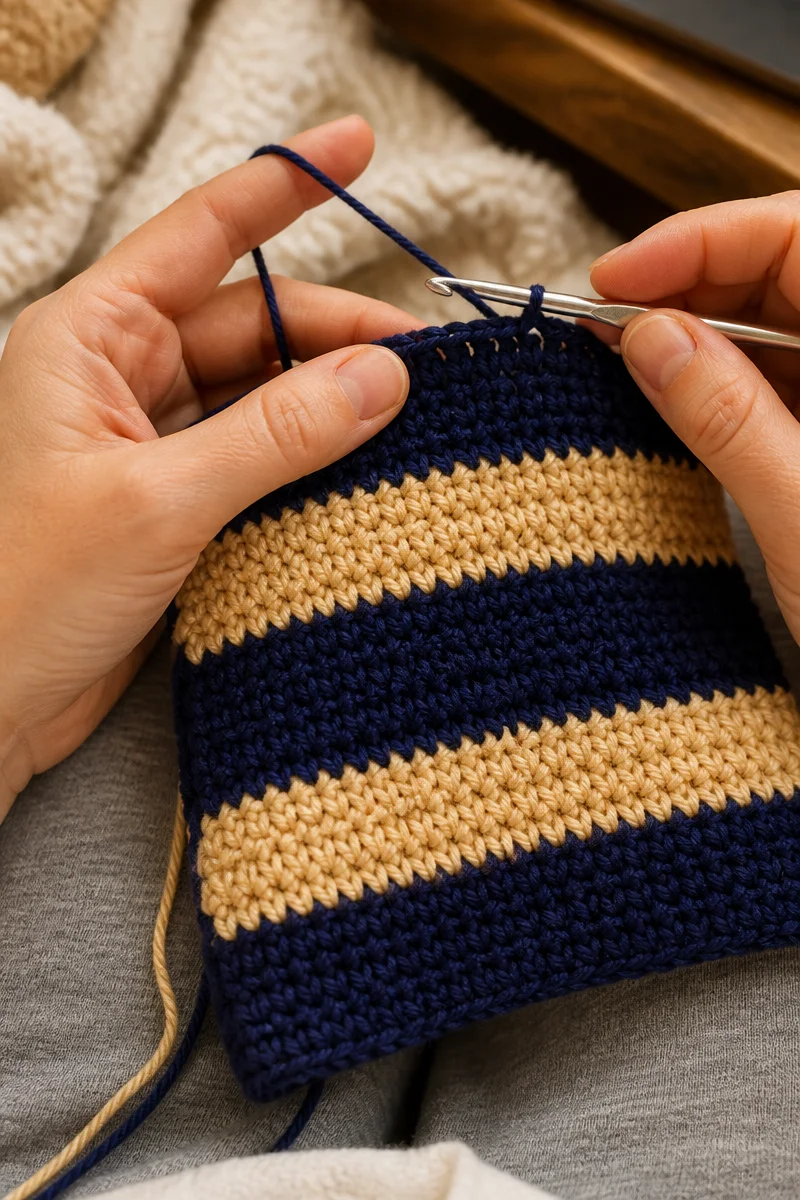
First, keep your stitches snug enough to cover the elastic, but not so tight that the elastic loses its stretch. If you pack in too many stitches, the scrunchie may become stiff. If you add too few, the elastic may show through. Therefore, pause now and then to stretch the elastic gently and check how the fabric sits.
Next, use the same stitch size around the whole elastic for an even finish. If you are making a pair, compare the two scrunchies as you work so they have a similar amount of ruffle. Also, take breaks when needed. This is a small project, but steady hands and relaxed tension make the finished accessory look neater.
Common Mistakes to Avoid
Working too tightly is a frequent problem. Tight stitches can limit the elastic’s stretch and make the scrunchie uncomfortable to use. Instead, keep a relaxed grip and test the stretch as you go.
Adding too few or too many stitches can change the shape. Too few may leave gaps, while too many can create a dense, crowded ruffle. So, check the fabric at intervals and adjust the stitch count to match the fullness you want.
Choosing yarn that is too bulky or rough can make the accessory feel heavy or catch on hair. For everyday wear, a soft, smooth yarn is often a comfortable choice. Also, consider how the yarn feels before making an entire pair.
Skipping a secure finish can allow the last stitches to loosen with use. Fasten off carefully and weave in the tail without leaving a long loop that could catch. Then inspect the elastic and the crochet fabric before wearing or gifting the scrunchie.
Care and Washing Instructions
Washing: Check the yarn label first. Many acrylic and cotton yarns can be gently hand-washed in cool water with mild soap. If the yarn is machine washable, place the scrunchie in a small mesh laundry bag to help protect it.
Drying: Press out extra water with a clean towel instead of twisting the scrunchie. Then reshape it and let it air-dry. Avoid high heat unless the yarn label says it is safe.
Blocking: Blocking is usually not needed for a crocheted hair scrunchie. The elastic creates the gathered shape, so blocking may add little benefit. If the fabric looks uneven, gently smooth it by hand while it is damp and let it dry in shape.
More Ideas to Try
Once you have made a navy and gold crochet hair scrunchie duo, try a striped scrunchie, a scalloped edge, or a version made with soft cotton. You might also enjoy crocheting a simple headband, a small crochet bow, or another easy accessory using the same colors.
Conclusion
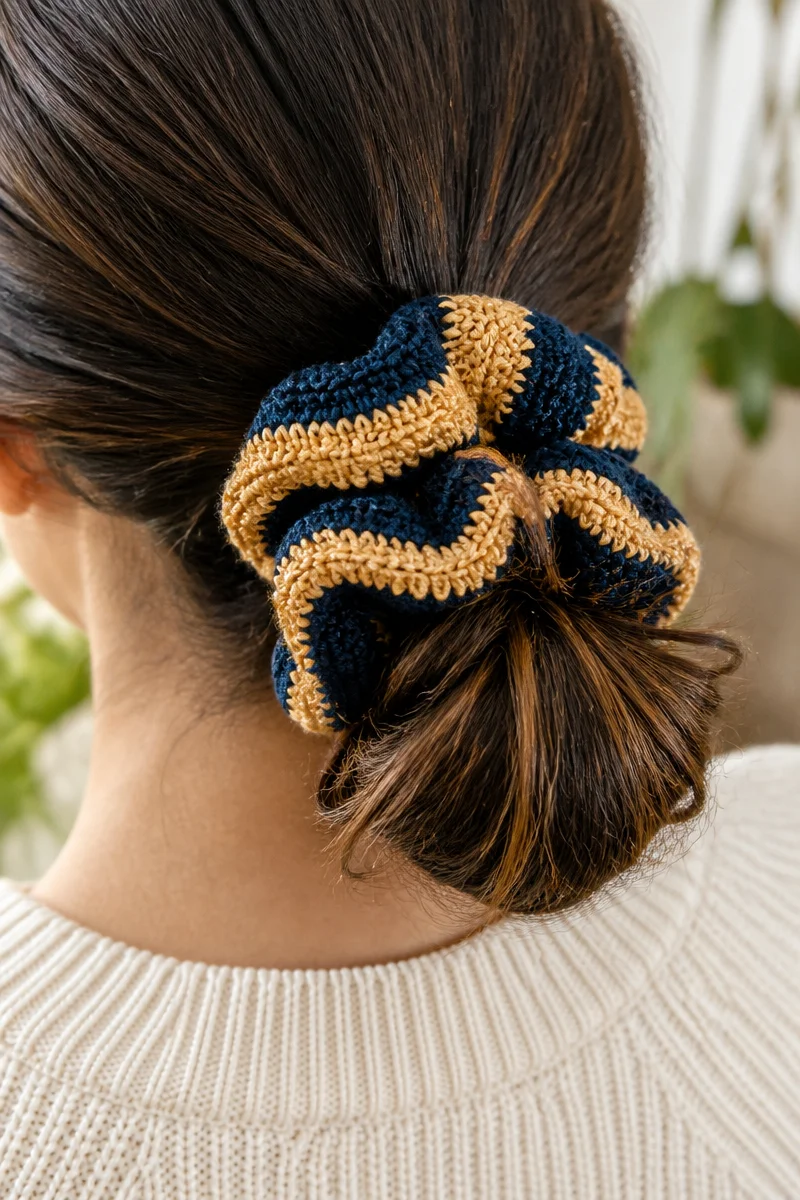
The navy and gold crochet hair scrunchie duo is a quick, practical project that makes good use of a small amount of yarn. By crocheting around a sturdy elastic and keeping your tension even, you can create a soft, gathered accessory that suits everyday wear or a handmade gift. Choose your favorite yarn, try the technique at your own pace, and share your finished pair. You can also explore more crochet accessory guides on the blog for your next project.