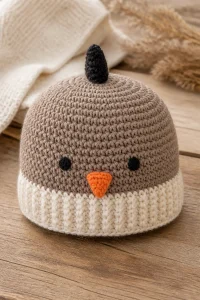
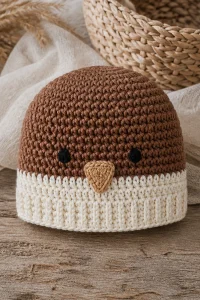
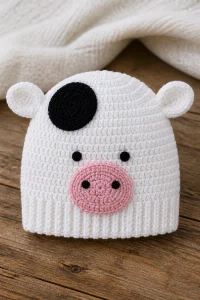
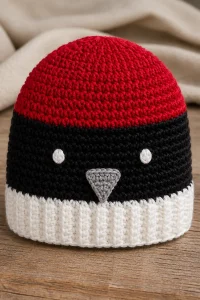
Crochet Honey Pot Baby Hat Beanie

Affiliate disclosure: This post may contain affiliate links. I may earn a small commission at no extra cost to you. See our Privacy Policy for details HERE.
A crochet honey pot baby hat beanie is a sweet project with plenty of room for personal touches. I love how a simple hat can become a tiny bear, bee, or honey jar-inspired design with just a few color and detail choices. It also makes a thoughtful handmade gift for a baby shower or a new arrival.
This style usually combines a snug, rounded crochet beanie with playful features such as little ears, a brim, or honey-inspired colors. The basic hat shape is approachable for many crocheters, while the decorative parts can add a little extra challenge. Since babies have delicate skin, soft yarn and comfortable finishing matter just as much as the cute look.
In this guide, you will learn what makes a crochet honey pot baby hat special, which stitches and materials can work well, and how to get a neat, comfortable fit. You will also find practical tips for shaping and finishing the hat, along with common mistakes to avoid and care advice.
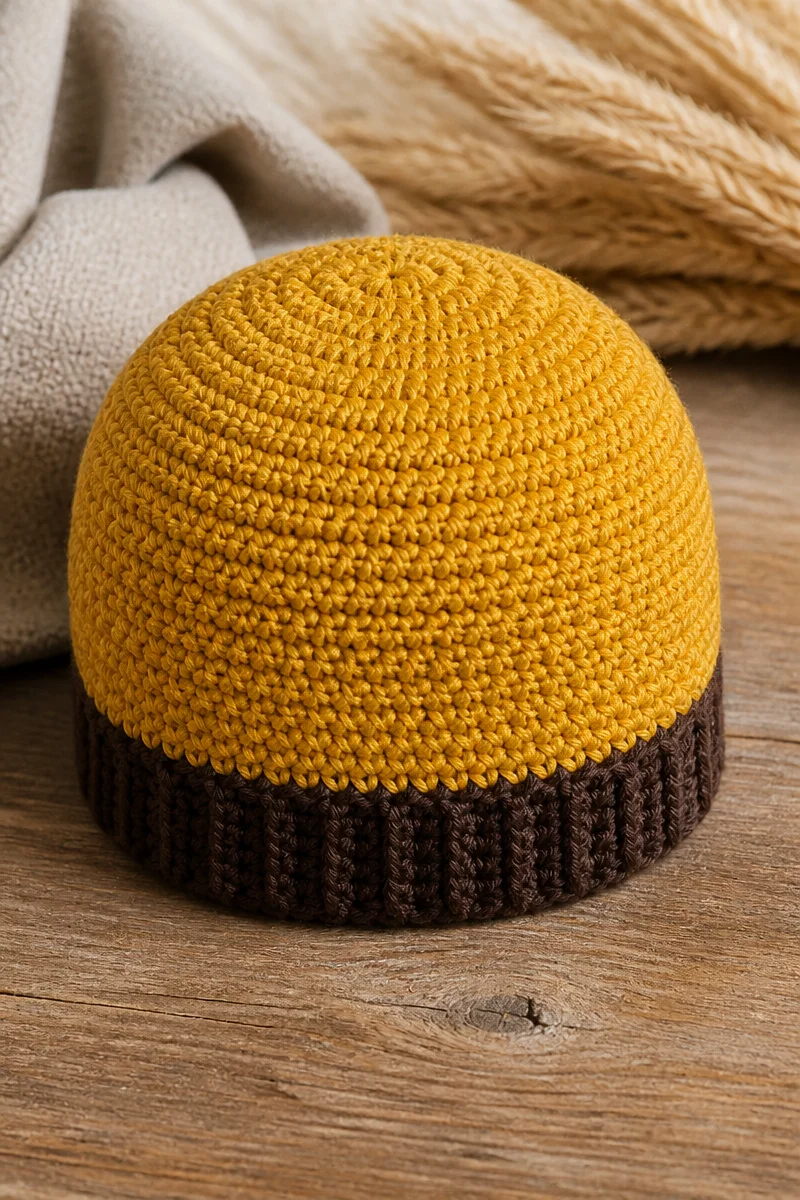
What Is the Crochet Honey Pot Baby Hat Technique?
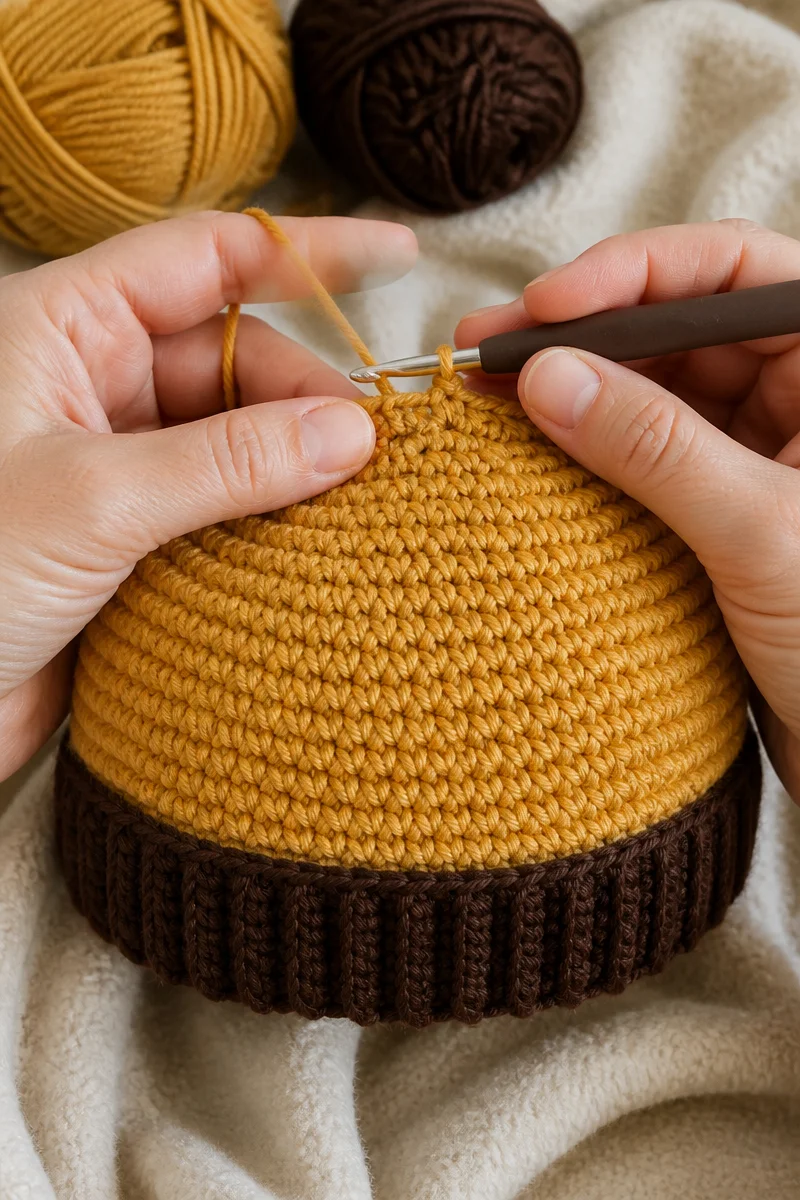
The crochet honey pot baby hat is a project style rather than one specific stitch. It starts with a basic beanie shape, often worked in joined rounds or continuous spirals. Crocheters typically use stitches such as single crochet or half double crochet to make a soft, close fabric that helps the hat stay warm.
The honey pot look comes from the design details. For example, a hat may use golden yellow and brown stripes, a darker “rim” at the brim, or small crochet pieces that suggest a honey jar or a bee. Some versions add ears or a small top detail. These features are usually made separately and sewn on securely.
Crocheters enjoy this style because the basic shape is easy to adapt. You can keep the beanie simple, or add color changes and playful details for a more character-inspired finish. However, any decorations on a baby hat should be firmly attached and free of small parts that could come loose.
Why This Is a Great Choice for Baby Hats
- It makes a charming handmade gift. The honey-inspired colors and details give a simple baby beanie a warm, cheerful look.
- The basic shape is easy to customize. You can adjust the brim, colors, and decorations to suit the baby or the occasion.
- It works with familiar stitches. Single crochet and half double crochet are common choices, so many crocheters can make the main hat without learning a complex stitch.
- It can be made in different sizes. With the right measurements and gauge, the beanie shape can be adapted for different baby stages.
- It offers room to practice finishing skills. Color changes, joining rounds, shaping, and sewing on details all help build useful crochet skills.
Yarn and Hook Recommendations
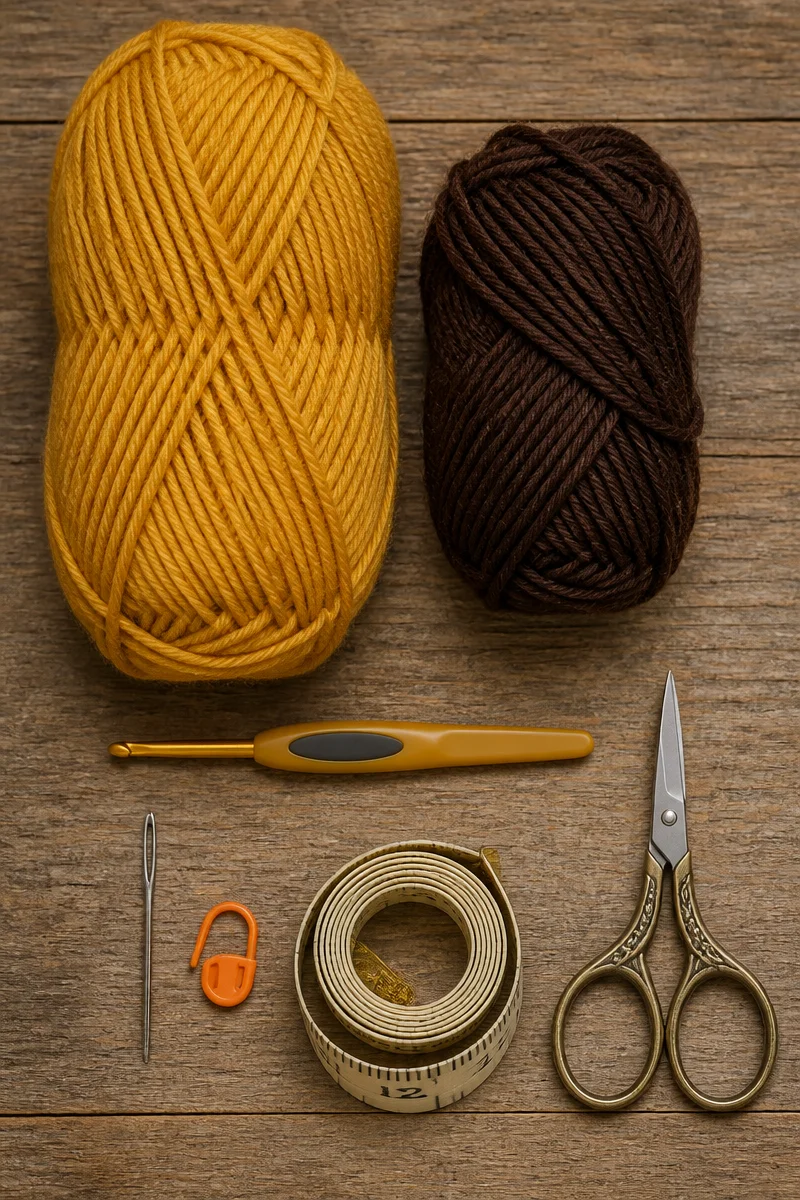
- Choose a soft, smooth yarn. Baby-friendly acrylic or a soft, washable cotton blend can feel gentle and make the stitches easy to see.
- Look for a light or medium yarn weight. DK or light worsted yarn often works well for baby hats, but check the pattern guidance because yarn weight affects both size and warmth.
- Consider the season. A breathable cotton blend may suit mild weather, while a soft acrylic or merino blend can make a warmer hat for cooler days.
- Use the hook size suggested by your pattern or yarn label as a starting point. A smaller hook creates firmer fabric, while a larger hook makes a more flexible fabric. Always check the finished feel and fit.
- Make a small gauge swatch when fit matters. Even a few rounds can show whether your stitches are too tight or too loose before you begin the hat.
- Pick colors that are easy to care for. Golden yellow, cream, and brown can create the honey pot effect. Still, choose shades that can be washed according to the yarn label.
Tips for Crochet Honey Pot Baby Hat Success
First, check your gauge and the baby hat size before you start. Babies grow quickly, but a hat should still fit securely without feeling tight. Also, count your stitches at the end of each round, especially while shaping the crown. A stitch marker can help you find the start of a continuous spiral.
Next, keep your tension steady and change colors neatly if your design includes stripes. Follow the pattern’s instructions for increases and decreases, since even small changes can affect the hat’s shape. Finally, take your time when adding ears or other details. Sew them on securely, weave in the ends, and check that no loose strands or small pieces remain.
Common Mistakes to Avoid
Uneven tension can make the crown lopsided or the brim too tight. If your stitches feel stiff, try a larger hook or relax your grip. On the other hand, if the fabric has large gaps, a smaller hook may give you a more suitable texture.
Miscounting increases can change the shape of the hat. As a result, the crown may look pointed, flat, or uneven. Use a stitch marker, count each round, and compare your work with the pattern as you go.
Choosing yarn only for its color can lead to an uncomfortable hat. Scratchy or bulky yarn may feel rough against a baby’s skin, while a very open fabric may not provide much warmth. Instead, check the yarn label and feel the yarn before you begin.
Loose decorative parts are another concern. Avoid buttons, beads, or other small pieces that could come off. Instead, use securely sewn crochet details, and inspect the finished hat carefully before giving it to a family.
Care and Washing Instructions
Washing: Follow the yarn label first. Many acrylic yarns can go in the washing machine on a gentle cycle, while some natural fibers need hand washing. Use a mild detergent and avoid harsh products that may irritate sensitive skin.
Drying: Gently press out extra water without twisting the hat. Then reshape it and lay it flat to dry. A dryer may shrink or distort some yarns, so use one only if the yarn label says it is safe.
Blocking: A baby beanie usually needs little or no blocking. If the brim or crown looks uneven, lightly reshape the hat while it is damp and let it dry flat. Avoid stretching it, since a hat that loses its shape may not stay comfortably in place.
More Ideas to Try
If you enjoy this project, try a simple striped baby beanie, a bee-inspired hat with soft crochet wings, a bear-ear hat, or a textured hat made with half double crochet ribbing. You could also explore a matching baby blanket or a small honey jar appliqué, using secure, flat details for baby items.
Conclusion
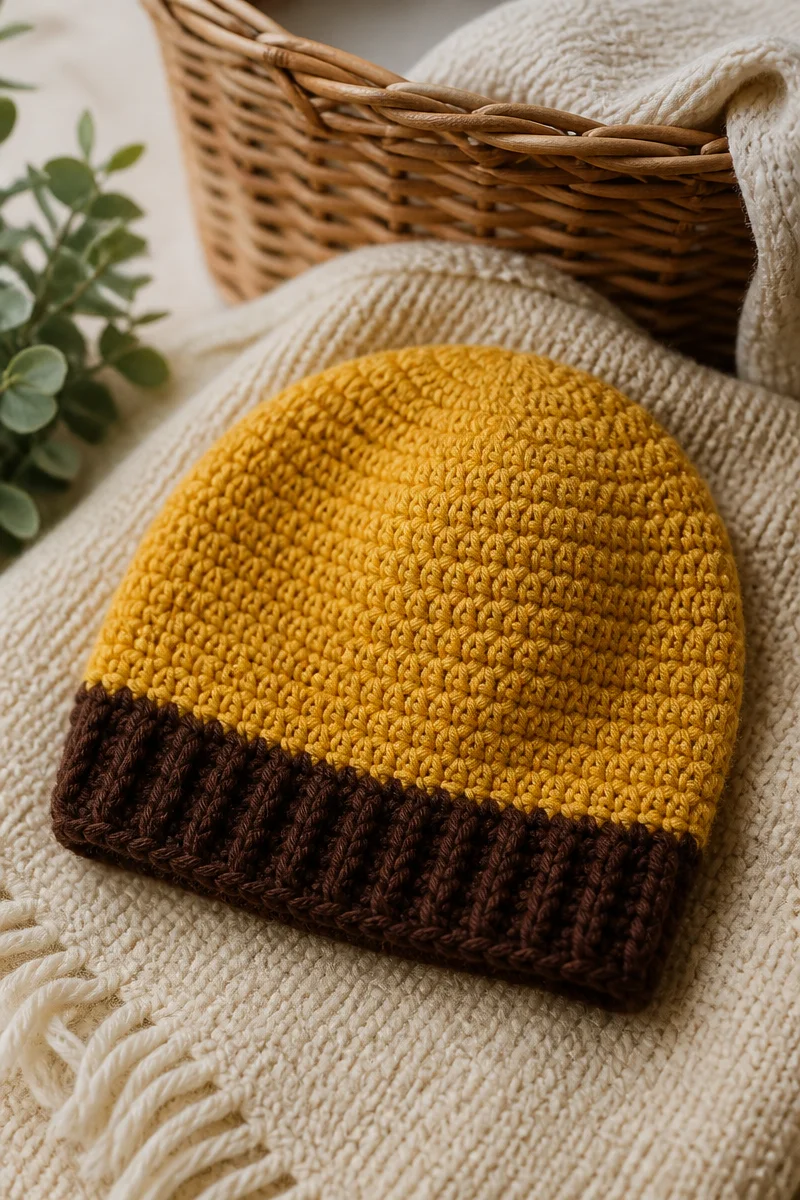
A crochet honey pot baby hat beanie brings together a simple hat shape, soft yarn, and cheerful honey-inspired details. For the best result, choose a gentle, washable fiber, check your gauge, count your stitches, and attach every decoration securely. Then take a moment to enjoy the little details that make your handmade hat special.
Try a honey-inspired baby beanie for your next crochet project, and share how you chose the colors or shaped the decorations. You can also explore related baby hat and crochet finishing guides on the blog for more ideas.