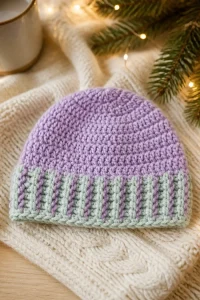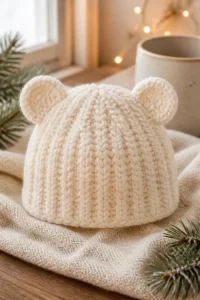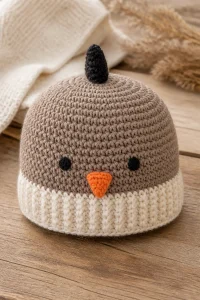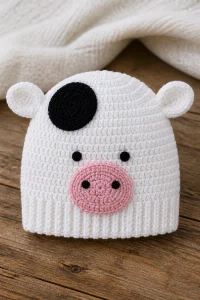
Classic Beginner Crochet Baby Hat

Affiliate disclosure: This post may contain affiliate links. I may earn a small commission at no extra cost to you. See our Privacy Policy for details HERE.
- What Is a Baby Hat?
- Why This Is a Great Choice for a Baby Hat
- Before You Start
- Yarn and Hook Recommendations
- Materials
- Classic Beginner Crochet Baby Hat Instructions
- Tips for Baby Hat Success
- Common Mistakes to Avoid
- Ways to Make It Your Own
- Care and Washing Instructions
- Frequently Asked Questions
- More Ideas to Try
- Conclusion
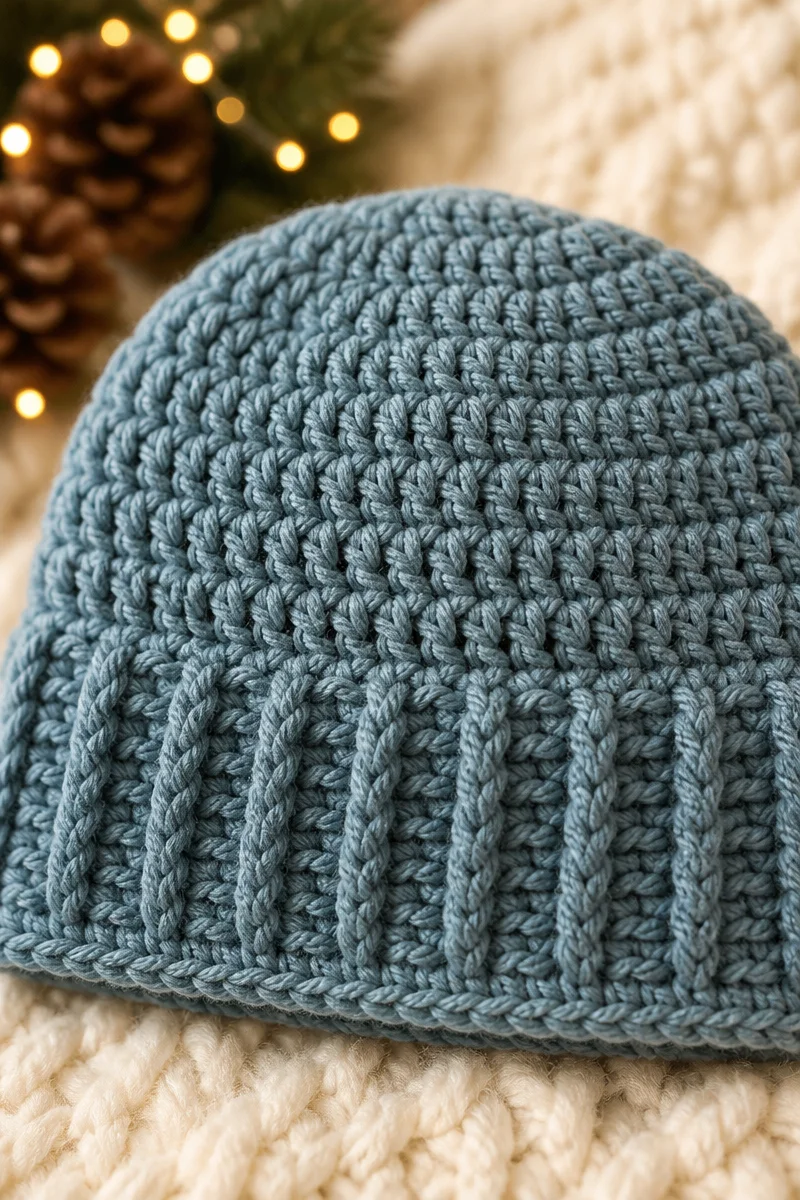
The Classic Beginner Crochet Baby Hat is a handmade crochet project for welcoming a new baby. Its straightforward purpose makes it a practical choice for makers who want to create something personal and useful.
It can suit a newer crocheter looking for a manageable project, as well as an experienced maker preparing a thoughtful present. A finished baby hat can be given at a shower, included in a welcome-home gift, or kept ready for a little one.
Making something by hand offers time to practice patience and careful work. Completing a useful gift can also build confidence and encourage you to explore more crochet projects.
What Is a Baby Hat?
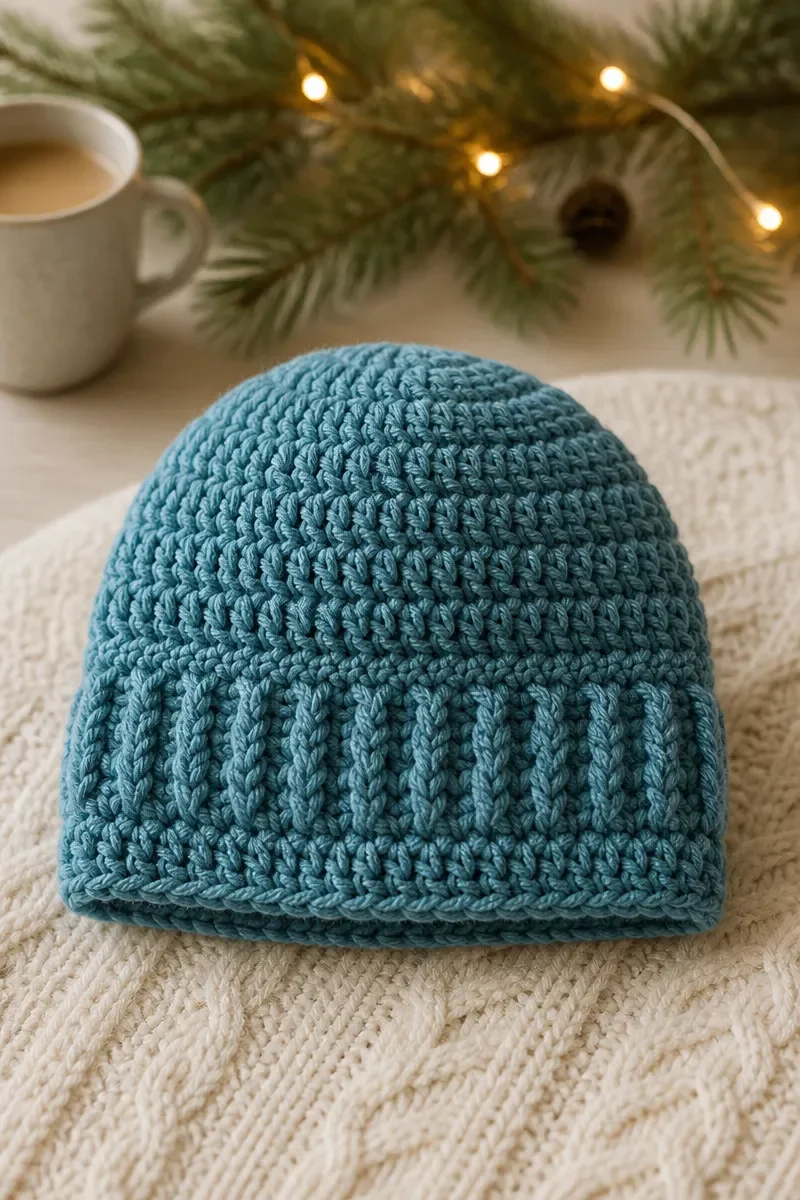
A baby hat is a small, wearable crochet project made to cover a baby’s head. It is usually soft and comfortable, with a close fit that helps it stay in place during ordinary wear. Simple designs are popular because they can be useful while giving makers room to enjoy the process.
Crocheted baby hats come in many looks, from understated everyday styles to more decorative designs. Their compact scale makes them appealing to makers who enjoy completing a useful item without needing a large amount of yarn or a long stretch of workspace.
People like making baby hats because they are practical gifts that can feel personal and caring. They are often chosen for newborn celebrations, family visits, or a handmade set for a growing baby. A well-made hat can also be a satisfying way to practice consistent work and thoughtful finishing.
Why This Is a Great Choice for a Baby Hat
-
Useful gift: A handmade baby hat is a practical present for a new family. It can be offered on its own or paired with other thoughtful items selected for the occasion.
-
Personal touch: Handmade gifts carry the time and attention of the maker. Choosing a yarn that suits the recipient’s preferences can make the finished present feel especially considered.
-
Manageable project: The compact scale can make this a comfortable project to work on at home or take along. It offers a clear goal without requiring an elaborate setup.
-
Confidence builder: Completing a useful item can help newer makers feel more comfortable with crochet. Experienced makers can enjoy a familiar project with room to focus on neat, consistent work.
-
Flexible making: This kind of project can suit different gifting plans and personal styles. Makers can choose materials and presentation that feel right for the recipient and occasion.
Before You Start
-
Make a gauge swatch with your chosen yarn and hook, then measure it carefully. Matching the stated gauge helps the finished item align more closely with the intended fit.
-
Read the complete project information before beginning so you know what to expect. Familiarity with the full sequence helps prevent pauses caused by surprises or uncertainty.
-
Keep a notebook or tally sheet nearby to record your place and any useful observations. A brief written note can make it easier to resume after setting the work aside.
-
Wind your yarn into a comfortable ball before you begin, and keep it free of tangles. A tidy supply makes it easier to maintain a steady working rhythm.
Yarn and Hook Recommendations
-
Choose a soft fiber that feels comfortable against delicate skin. Smooth, gentle yarn can make a baby gift more pleasant to handle and can help the fabric feel comfortable during wear.
-
A medium yarn weight is a versatile place to start for a small wearable project. It offers a balance between visible fabric and a manageable working feel.
-
Look for yarn with a smooth, consistent strand. Even texture makes it easier to see where the hook should enter and can help the finished fabric look more uniform.
-
Pick a shade with enough contrast against your surroundings while you work. Clear visibility can reduce eye strain and make it easier to notice uneven sections.
-
Use a hook size that gives you a comfortable grip and a fabric close to the intended gauge. Small differences in hook choice can change both the drape and dimensions.
-
If you substitute yarn, check that its care needs suit the recipient and that the fiber feels appropriate. Make a swatch before committing so you can assess the fabric and gauge.
Materials
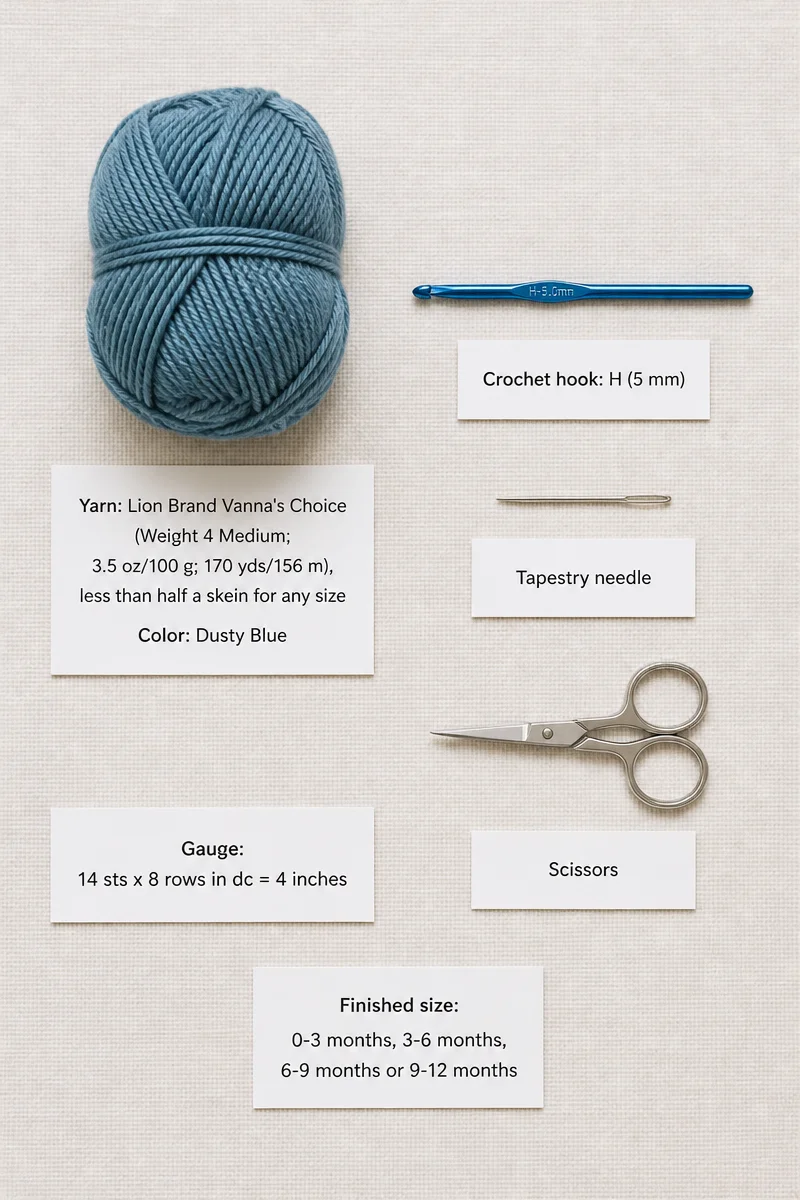
- Yarn: Lion Brand Vanna’s Choice (Weight 4 Medium; 3.5 oz/100 g; 170 yds/156 m), less than half a skein for any size
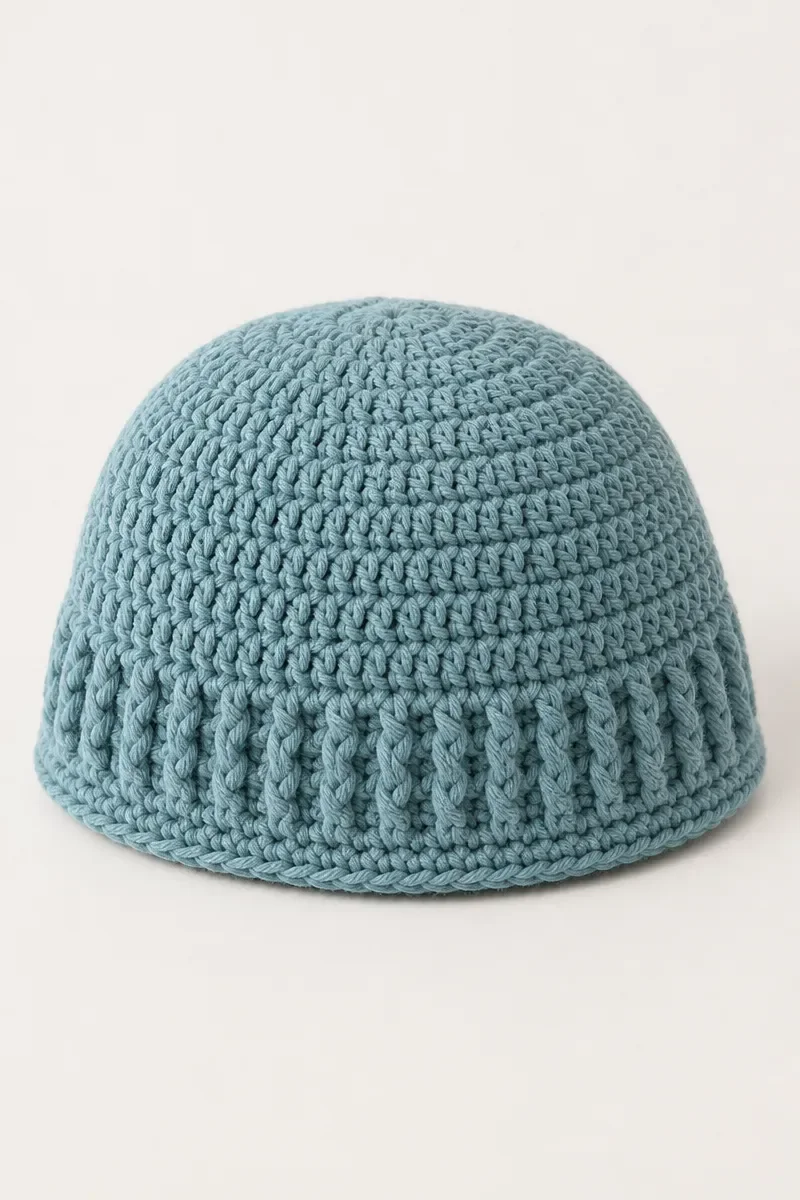
- Color: Dusty Blue (muted dusty blue with a teal tint)
- Crochet hook: H (5 mm)
- Tapestry needle
- Scissors
- Gauge: 14 sts x 8 rows in dc = 4 inches
- Finished size: 0-3 months, 3-6 months, 6-9 months or 9-12 months
Classic Beginner Crochet Baby Hat Instructions
Color key
Dusty Blue = muted dusty blue with a teal tint.
Abbreviations
ch = chain; dc = double crochet; sc = single crochet; fpdc = front post double crochet; st(s) = stitch(es).
Notes
Check your gauge so the hat fits. The chain 2 at the end of each round starts the next round.
0-3 months
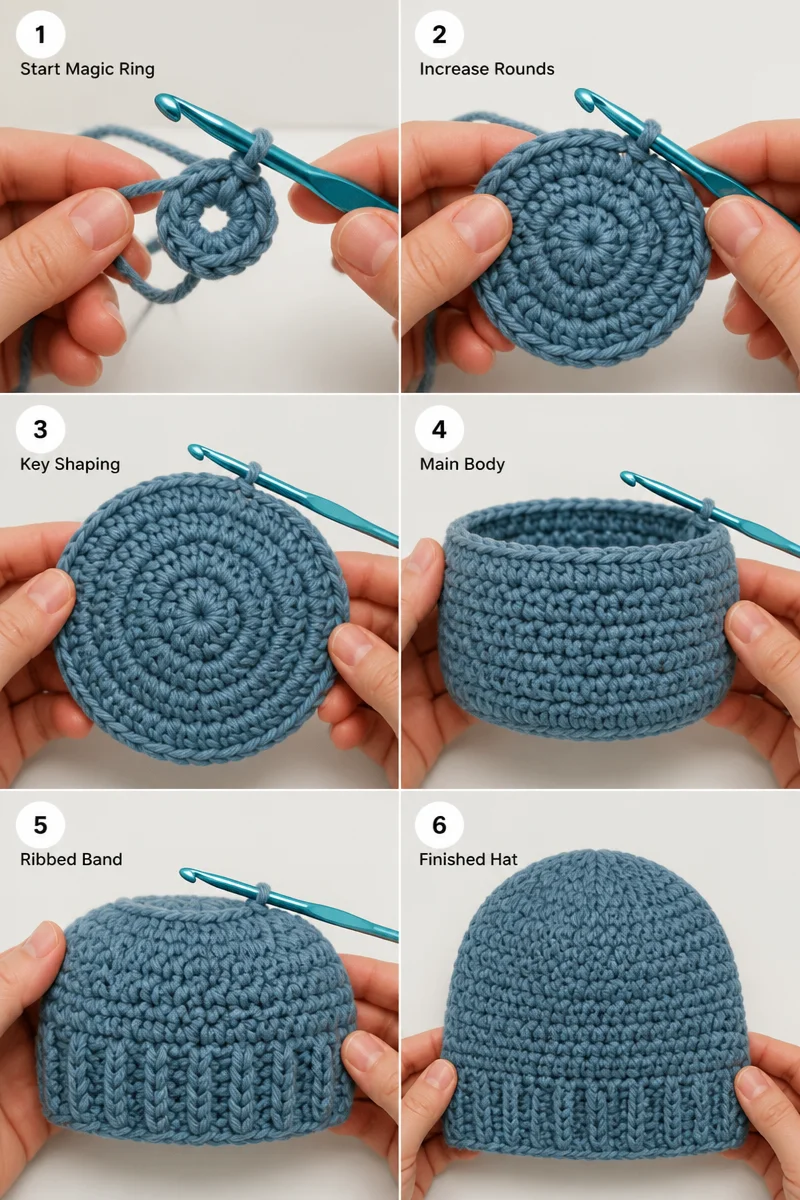
- Round 1: Magic ring, 11 dc in the magic ring, join to the first dc, ch 2.
- Round 2: 2 dc around, join, ch 2. (22)
- Round 3: 2 dc in the first, dc in the next; repeat around, join, ch 2. (33)
- Round 4: 2 dc in the first, dc in the next 2; repeat around, join, ch 2. (44)
- Rounds 5-7: Dc around, join, ch 2. (44)
- Rounds 8-10: Dc in the first, fpdc in the next; repeat around, join, ch 2. (44)
- Round 11: Sc around, join, finish off. (44)
3-6 months
- Round 1: Magic ring, 11 dc in the magic ring, join to the first dc, ch 2.
- Round 2: 2 dc around, join, ch 2. (22)
- Round 3: 2 dc in the first, dc in the next; repeat around, join, ch 2. (33)
- Round 4: 2 dc in the first, dc in the next 2; repeat around, join, ch 2. (44)
- Round 5: 2 dc in the first, dc in the next 10; repeat around, join, ch 2. (48)
- Rounds 6-8: Dc around, join, ch 2. (48)
- Rounds 9-11: Dc in the first, fpdc in the next; repeat around, join, ch 2. (48)
- Round 12: Sc around, join, finish off. (48)
6-9 months
- Round 1: Magic ring, 11 dc in the magic ring, join to the first dc, ch 2.
- Round 2: 2 dc around, join, ch 2. (22)
- Round 3: 2 dc in the first, dc in the next; repeat around, join, ch 2. (33)
- Round 4: 2 dc in the first, dc in the next 2; repeat around, join, ch 2. (44)
- Round 5: 2 dc in the first, dc in the next 10; repeat around, join, ch 2. (48)
- Round 6: 2 dc in the first, dc in the next 11, join, ch 2. (52)
- Rounds 7-9: Dc around, join, ch 2. (52)
- Rounds 10-12: Dc in the first, fpdc in the next; repeat around, join, ch 2. (52)
- Round 13: Sc around, join, finish off. (52)
9-12 months
- Round 1: Magic ring, 11 dc in the magic ring, join to the first dc, ch 2.
- Round 2: 2 dc around, join, ch 2. (22)
- Round 3: 2 dc in the first, dc in the next; repeat around, join, ch 2. (33)
- Round 4: 2 dc in the first, dc in the next 2; repeat around, join, ch 2. (44)
- Round 5: 2 dc in the first, dc in the next 10; repeat around, join, ch 2. (48)
- Round 6: 2 dc in the first, dc in the next 11, join, ch 2. (52)
- Round 7: 2 dc in the first, dc in the next 12, join, ch 2. (56)
- Rounds 8-10: Dc around, join, ch 2. (56)
- Rounds 10-13: Dc in the first, fpdc in the next; repeat around, join, ch 2. (56)
- Round 14: Sc around, join, finish off. (56)
Tips for Baby Hat Success
Comfortable posture
Sit with your shoulders relaxed and your forearms supported. A comfortable position helps prevent unnecessary strain and makes it easier to maintain steady hand movements.
Use bright, even lighting directed toward your work rather than into your eyes. Good visibility helps you see the yarn clearly and reduces the urge to hunch forward.
Even tension
Hold the yarn in a way that feels natural rather than forcing it tightly through your fingers. A relaxed grip lets the yarn feed smoothly and helps keep the fabric flexible.
Pause if your hand begins to tire or your grip changes. A short rest can help you return with more controlled movements and a more consistent feel.
Track your place
Keep a tally on paper or make a brief note whenever you pause. Marking your progress gives you a reliable starting point when you return to the project later.
If you lose track, look for a clear landmark in the work and count from there. Taking a moment to confirm your place is more reliable than guessing.
Check your work
Look over the fabric at regular intervals for gaps, knots, or sudden changes in tension. Catching small issues early makes them easier to assess before they continue into later work.
Set the project down flat and view it from different angles. This simple check can reveal uneven areas that are less noticeable while the work is gathered in your hands.
Common Mistakes to Avoid
Skipping the swatch
A maker may skip a gauge swatch when eager to begin or when the yarn seems familiar. Even familiar yarn can behave differently with a different hook or personal tension.
Make a small sample and measure it before starting the main work. If the gauge differs, adjust your hook choice and try another sample until the fabric is close to the intended measurement.
Pulling too tightly
Tight tension can happen when a maker is concentrating hard or gripping the yarn for control. It can make the fabric stiff, difficult to work into, and smaller than expected.
Let the yarn move comfortably through your fingers, and avoid pulling each loop firmly after making it. If your hands feel tense, pause, loosen your grip, and continue at a relaxed pace.
Miscounting stitches
It is easy to lose count while chatting, watching a screen, or setting the work down. A missed stitch or accidental extra stitch can alter the shape and make later checks confusing.
Count at consistent points and keep a written tally. If the count seems wrong, recount calmly before continuing, rather than trying to compensate without locating the source.
Leaving short ends
Short yarn ends can slip free when they are woven into the fabric, especially if they are handled or washed. Rushing the final handling often leaves too little length to secure them well.
Leave a generous tail whenever you need to weave in an end. Use a tapestry needle to pass it through nearby yarn paths in more than one direction, then trim only after it feels secure.
Changing materials midway
Switching yarn or hook partway through can create a visible difference in texture or gauge. A substitute may feel close in the hand but still produce fabric with a different density.
Gather enough of the chosen yarn before starting and keep the same hook in use throughout. If a change becomes necessary, make a sample with the replacement and compare it before continuing.
Ways to Make It Your Own
- Choose a different palette that suits the family’s taste, such as soft neutrals or cheerful complementary hues. A considered color choice can make a handmade gift feel personal.
- Try another yarn in the same weight, selecting a fiber with a pleasant feel and suitable care needs. Check its texture and make a gauge sample before using it.
- Make a matching second project for a coordinated set. Choosing a shared palette or yarn gives the pair a connected look while letting each item serve its own purpose.
- Include the gift with a handwritten note welcoming the baby or congratulating the family. A few sincere lines add a personal keepsake without making the presentation complicated.
- Place the finished gift in a reusable fabric bag or a neat gift box. Add a simple tag with care information so the recipient can keep it easy to find.
Care and Washing Instructions
Washing: Follow the yarn label for cleaning guidance, since fiber content and care needs vary. Use a gentle approach suited to the yarn, avoid rough handling, and check that any soap is appropriate before washing the whole item.
Drying: Support the fabric while lifting it from water so it does not stretch under its own weight. Press out excess water gently with a clean towel, then lay it flat in a well-ventilated place to dry fully.
Blocking: Gentle blocking can help even out the fabric if it looks uneven after washing. Shape it lightly by hand while damp, without stretching it beyond its natural proportions, and let it dry completely before storing or gifting.
Frequently Asked Questions
Can I use a different yarn?
Yes, another yarn can work if its weight and care needs suit the project. Check that its texture feels comfortable for a baby and make a gauge swatch before starting. A different fiber may create a fabric with a changed drape, so compare the sample carefully.
How can I keep my stitches even?
Let the yarn feed smoothly instead of pulling it tightly after every movement. Keep your grip relaxed and use a consistent way of holding the yarn throughout your work. If your hands become tired, pause briefly and resume when your tension feels comfortable again.
What is a reliable way to count?
Use a tally sheet to record your progress as you work. Count at consistent checkpoints, and mark each completed section immediately so interruptions do not leave you guessing. If your count seems uncertain, recount from a clear landmark before continuing.
What if my finished project looks different?
First compare your gauge and tension with the sample you made, since small variations can affect the overall appearance. Check for missed or extra stitches and notice whether the fabric feels unusually tight or loose. If you are happy with its comfort and appearance, those differences can simply reflect your handmade work.
How long should yarn tails be?
Leave enough yarn to pass through the fabric securely with a tapestry needle. A tail that is too short can be difficult to weave in and may work loose with handling. Keep a generous length, weave it through more than one path, and trim only when it feels secure.
More Ideas to Try
If you enjoy making useful crochet gifts, consider trying a baby blanket, a soft toy, a small cardigan, or a pair of booties. These related project types can suit different occasions and offer new ways to practice careful, comfortable crochet. You can also make a coordinated group of handmade gifts by choosing materials that share a similar feel or overall style.
Conclusion
Give the Classic Beginner Crochet Baby Hat a try when you want to make a thoughtful handmade gift for a baby. Take your time, enjoy the process, and let each finished project build your confidence. Explore more crochet ideas on the blog whenever you are ready to choose another project.