Crochet Woodpecker Baby Hat Beanie

Affiliate disclosure: This post may contain affiliate links. I may earn a small commission at no extra cost to you. See our Privacy Policy for details HERE.
A Crochet Woodpecker Baby Hat Beanie is a sweet way to make a little one’s outfit feel special. I love how a playful bird design can turn a simple hat into a keepsake, while still giving baby a soft, cozy layer for cool days.
What makes this project stand out is the combination of a familiar beanie shape and woodpecker-inspired details, such as contrasting colors, a pointed crest, or a small beak. The basic hat can suit a confident beginner, though shaping and adding character details may take a little more care. Since babies have delicate skin, soft yarn and secure finishing matter just as much as the look.
In this guide, you’ll learn what gives a Crochet Woodpecker Baby Hat Beanie its distinctive style, which yarn and hook choices work well, and how to keep the fit comfortable. You’ll also find practical tips for shaping, finishing, and washing the hat, along with common mistakes to avoid.
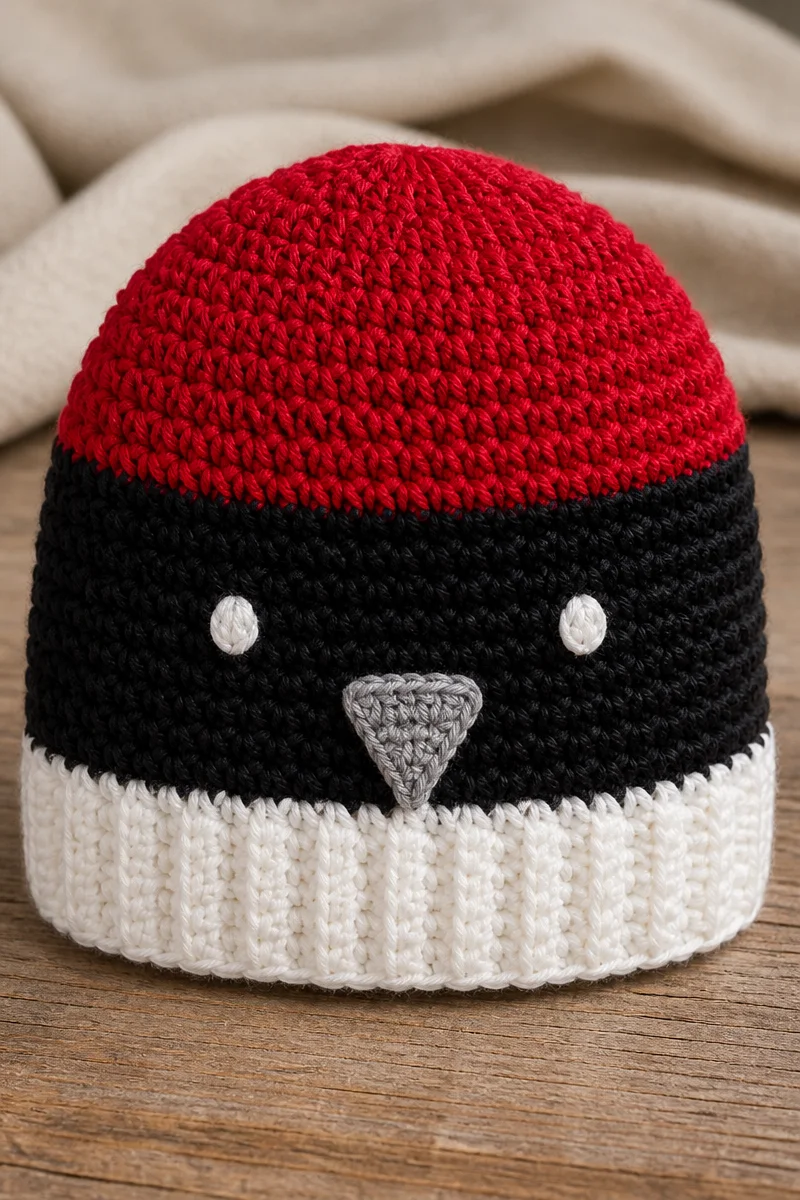
What Is the Woodpecker-Inspired Baby Beanie Technique?
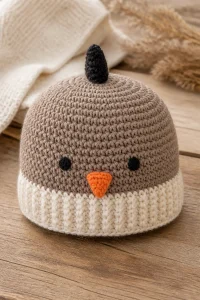
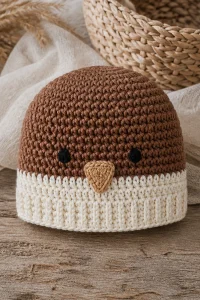
A woodpecker-inspired baby beanie is a crochet hat designed with bird-like features. The beanie itself may use familiar stitches, such as single crochet, half double crochet, or double crochet. Color changes and added details create the woodpecker look.
For example, a maker might crochet a red or bright-colored crest, a contrasting face patch, and a small beak. Some designs use surface crochet or sewn-on pieces for these features. Others work color changes directly into the hat. The exact method depends on the pattern, so it is helpful to check whether details are crocheted separately or added as you go.
Crocheters enjoy this project because it leaves room for creativity. You can keep the hat simple, or give it more personality with a crest and carefully placed color accents. However, the hat should remain comfortable and safe for its intended wearer. That means choosing soft materials and attaching every detail firmly.
Why This Is a Great Choice for Baby Hats
- It makes a memorable gift. A bird-inspired design feels personal and works well for baby showers, birthdays, or photo outfits.
- It offers room for color play. You can use classic woodpecker colors or choose a gentler palette that suits the baby’s wardrobe.
- It can use familiar stitches. The hat body often relies on basic crochet stitches, while the decorative parts provide a chance to practice new skills.
- It is easy to personalize. You can adjust the crest, color blocks, or edging to make each Crochet Woodpecker Baby Hat Beanie feel unique.
- It can be made in different sizes. With a well-tested pattern and careful measurements, the same style can be adapted as a baby grows.
Yarn and Hook Recommendations
- Choose a soft worsted-weight yarn when the pattern calls for it. This weight gives the hat structure and can make the woodpecker details easier to see. Always follow the pattern’s yarn recommendation when available.
- Consider DK-weight yarn for a lighter hat. DK yarn can suit mild weather and small details, but you may need to adjust your hook and gauge to match the intended size.
- Look for smooth acrylic or cotton blends. These fibers are often easy to wash and practical for everyday baby items. Check the yarn label for care details.
- Try soft merino or another gentle wool blend for warmth. Before using wool, consider the baby’s skin sensitivity and the family’s care preferences.
- Match the hook to the yarn and pattern. A hook around 4.0 to 5.5 mm is common for many baby-hat yarns, but the correct size depends on your yarn and tension.
- Use a smaller hook only when needed for gauge. A tight stitch can help the hat hold its shape, but it should not make the fabric stiff or uncomfortable.
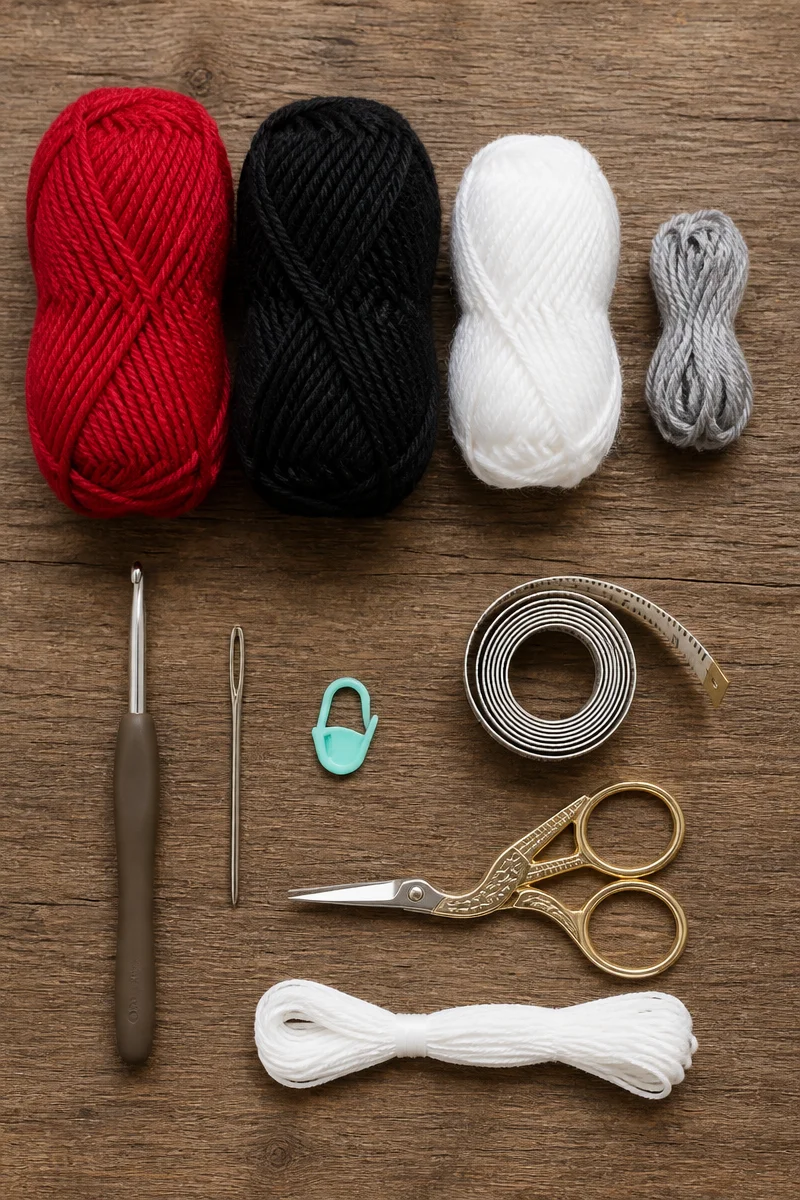
Tips for Woodpecker-Inspired Baby Beanie Success
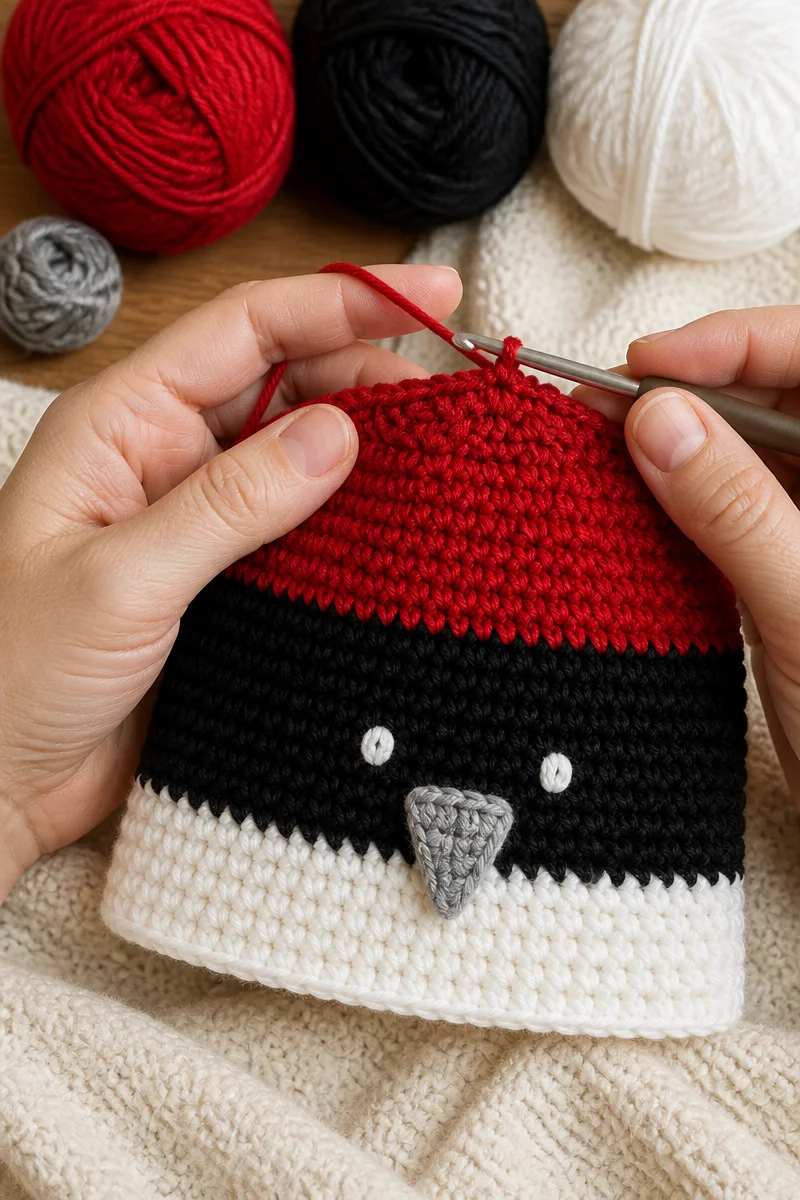
First, make a gauge swatch if the pattern provides a target. Even a small difference in tension can change the hat’s fit. Also, count rounds and stitches as you work, especially near the crown and any color-change sections. Stitch markers can help you keep track without making the process feel like a chore.
Next, check the hat’s measurements against the pattern’s size guide rather than relying only on age labels. Babies grow at different rates, so head circumference is more useful than age alone. When you add a crest, beak, or patch, keep the pieces lightweight and attach them securely. If the pattern includes colorwork, carry or change the yarn neatly so the inside remains comfortable.
Common Mistakes to Avoid
A common problem is crocheting too tightly or too loosely. Tight stitches can make the beanie stiff, while loose stitches may leave gaps or cause the hat to stretch out of shape. Therefore, check your gauge early and change hook size if the fabric does not match the pattern.
Another pitfall is choosing yarn based only on color. A yarn may look perfect but feel scratchy, shed, or require care that is not practical for a baby item. Instead, check the fiber and washing label, and choose a soft yarn that suits regular use.
It is also easy to misplace the decorative features. A crest or beak that sits too low or too far to one side can change the look of the hat. Before sewing pieces in place, pin them temporarily and check the design from the front and side.
Finally, do not leave small parts loosely attached. Buttons, beads, and other small embellishments can pose a choking risk. For a baby’s hat, use crocheted details and secure them firmly, then inspect the finished item before use.
Care and Washing Instructions
Washing: Follow the yarn label and any care advice included with the pattern. Many acrylic yarns can go in the washing machine on a gentle cycle, while some wool yarns need hand washing. Use mild detergent, and place the hat in a mesh laundry bag when machine washing is suitable.
Drying: Press excess water out with a towel rather than wringing the hat. Then reshape it and lay it flat to dry. Avoid high heat, which can shrink, stretch, or damage some fibers.
Blocking: A baby beanie usually needs little or no blocking. If the brim or fabric looks uneven, gently reshape the hat while it is damp. However, avoid stretching it beyond the intended size, and follow the fiber’s care instructions.
More Ideas to Try
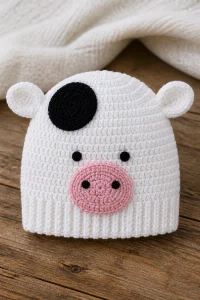
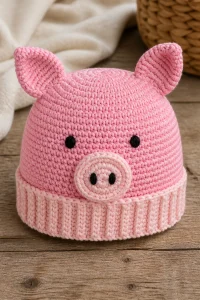
If you enjoy making a Crochet Woodpecker Baby Hat Beanie, you might also like a simple striped beanie, a hat with crocheted animal ears, a bird-themed baby blanket, or a textured hat made with half double crochet. These projects offer more ways to practice color changes and small decorative details while keeping comfort at the center.
Conclusion
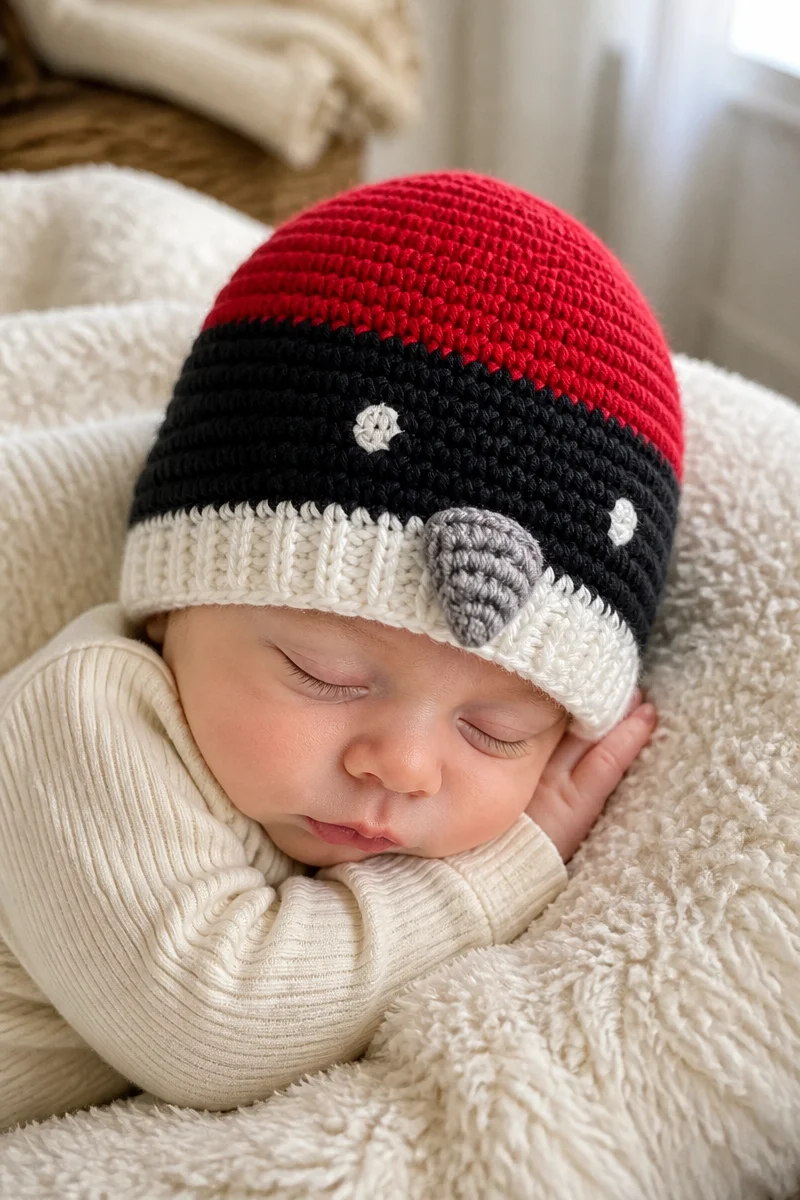
A Crochet Woodpecker Baby Hat Beanie pairs a cozy hat shape with cheerful bird-inspired details. Choose soft yarn, check the fit, keep the fabric comfortable, and attach every decoration securely. With those basics in mind, you can make a thoughtful gift or a charming hat for your own little one. Try the design, share how your colors turned out, and explore more baby crochet guides on the blog.