Crochet Ski Lodge Ear Warmer Headband

Affiliate disclosure: This post may contain affiliate links. I may earn a small commission at no extra cost to you. See our Privacy Policy for details HERE.
An ear warmer is one of my favorite cold-weather crochet projects. It is small enough to finish without a big time commitment, yet it can make a chilly walk or ski day much more comfortable. The Crochet Ski Lodge Ear Warmer Headband also has a cozy, textured look that feels right at home on a winter outing.
This style is often made with thick stitches and cozy yarn, which help cover the ears while giving the headband a warm, substantial feel. The exact stitch can vary by design, but the project is usually approachable for crocheters who know basic stitches and can follow a simple repeat. It works well for everyday wear, winter trips, and handmade gifts.
In this guide, you will learn about the stitch technique commonly used for a ski lodge ear warmer, why it suits this project, and how to choose yarn and a hook. You will also find practical tips, care advice, and common mistakes to watch for as you crochet your Crochet Ski Lodge Ear Warmer Headband.
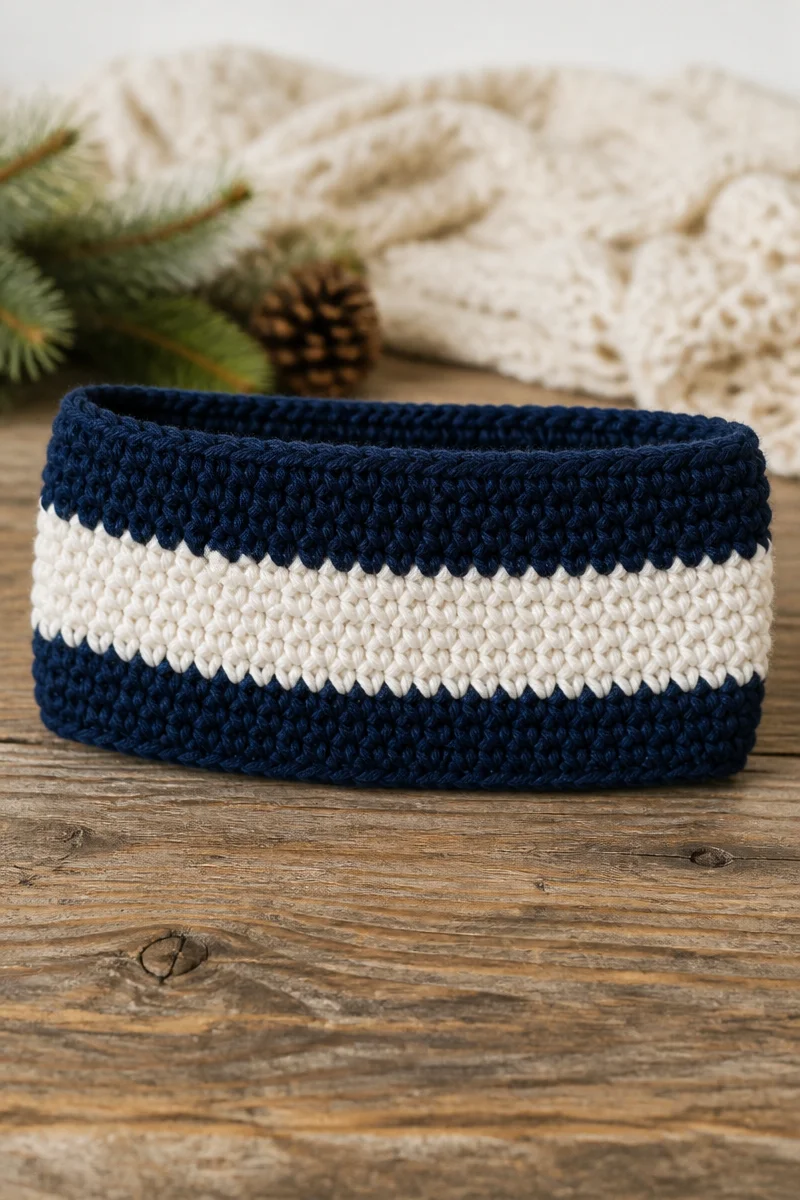
What Is the Half Double Crochet Rib Stitch?
The half double crochet rib stitch is a stretchy, textured stitch often used for ear warmers and other winter accessories. To create the ribbed look, crocheters work half double crochet stitches into the back loop only. This leaves the front loop visible, forming raised lines across the fabric.
As a result, the fabric looks ridged and has more give than a plain row of stitches. The ribbing can stretch around the head and sit snugly over the ears. Crocheters also like this stitch because it is easy to repeat once the first rows are set. Depending on the design, an ear warmer may use this ribbing throughout or combine it with another stitch for a wider, denser band.
Why This Is a Great Choice for a Ski Lodge Ear Warmer Headband
- It stretches comfortably. The ribbed fabric can flex to fit different head shapes without feeling stiff.
- It adds cozy texture. Raised ridges give a simple headband a warm, handmade look.
- It provides useful coverage. The fabric can help shield the ears from cold air on walks and outdoor trips.
- It works up quickly. An ear warmer is a small project, so it can be a satisfying choice between larger makes.
- It suits many styles. A ribbed headband looks at home in classic winter colors, bold shades, or soft neutrals.
Yarn and Hook Recommendations
- Choose a medium or bulky yarn. Worsted-weight yarn makes a comfortable, flexible band, while bulky yarn creates a thicker look and may work up faster.
- Consider wool or a wool blend. Wool is warm and resilient, while a blend may feel softer or be easier to care for.
- Try acrylic for easy care. Many acrylic yarns are widely available and machine washable, which can be helpful for a frequently worn accessory.
- Use soft yarn near the skin. Since the headband touches the forehead and ears, choose a yarn that feels pleasant against your skin.
- Match the hook to the yarn and your tension. A hook around 5 mm to 6.5 mm is a common starting range for worsted or bulky yarn, but check the yarn label and pattern guidance.
- Make a small test swatch. If the fabric feels too stiff, try a larger hook. If it feels loose and loses its shape, try a smaller one.
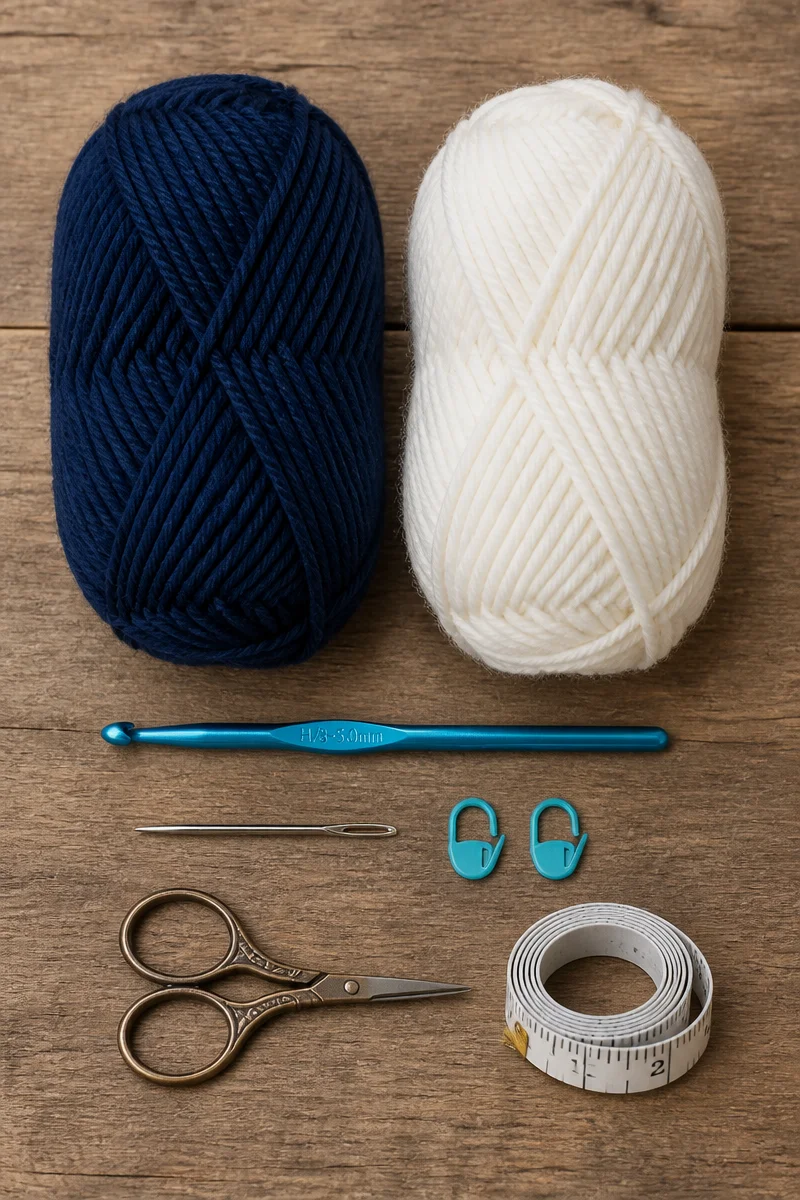
Tips for Half Double Crochet Rib Stitch Success
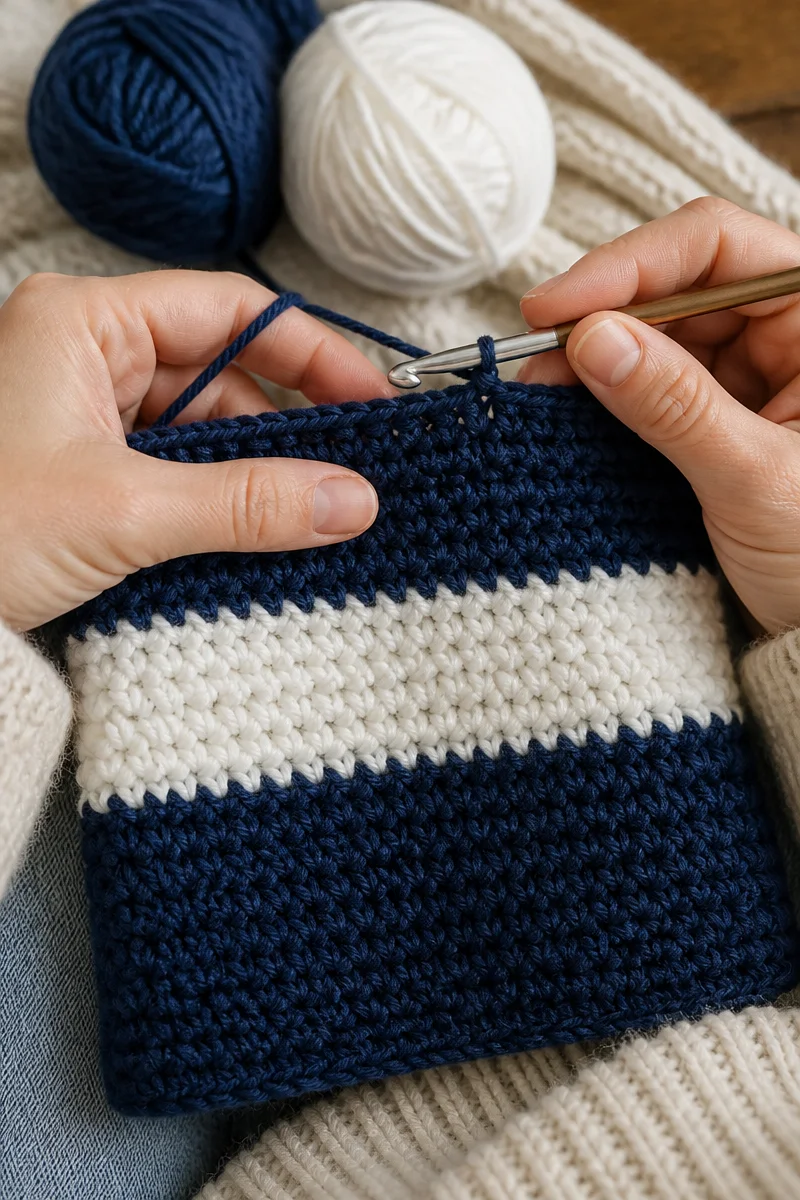
First, check where each stitch goes. For back-loop-only ribbing, the hook enters the loop farthest from you, not both top loops. That small detail creates the ridges and stretch that make the half double crochet rib stitch so useful for an ear warmer.
Next, keep your tension steady and count your stitches at the end of each row. Consistent edges make it easier to join or shape the band neatly. Also, take breaks if your hands feel tired, especially when working with bulky yarn. A short pause can help you keep an even rhythm and enjoy the project.
Common Mistakes to Avoid
One common mistake is working into both loops by habit. This creates a flatter fabric instead of the raised ribbing. Therefore, check the top of each stitch before inserting your hook, especially during the first few rows.
Another pitfall is changing tension as you go. Tight stitches can make the ear warmer feel small and firm, while loose stitches may leave it floppy. A test swatch can help you choose a hook that gives you a fabric that stretches but still holds its shape.
It is also easy to miscount stitches at row ends. If a stitch is skipped or added, the band may become narrower or wider as you work. Count each row, and use a stitch marker at the edge if that makes the repeat easier to follow.
Finally, think about the yarn’s thickness and feel before you begin. A yarn that is too bulky may create a band that feels heavy, while a scratchy fiber may irritate the forehead. Choose a comfortable yarn and check that the finished fabric covers the ears without feeling tight.
Care and Washing Instructions
Washing: Follow the care label for your yarn. Many acrylic and washable wool blends can go in the washing machine on a gentle cycle, while some wool yarns need hand washing in cool water. When in doubt, hand wash gently with a mild detergent.
Drying: Press out extra water with a towel rather than twisting the headband. Then lay it flat to dry and reshape it while damp. This helps the band keep its size and shape.
Blocking: A ribbed ear warmer usually needs little or no blocking. If the edges look uneven, gently shape the damp piece and let it dry flat. Avoid stretching it too far, since too much blocking can reduce the snug fit.
More Ideas to Try
If you enjoy making a Crochet Ski Lodge Ear Warmer Headband, try a twist-front headband, a ribbed cowl, or fingerless mitts in a coordinating yarn. You could also explore single crochet ribbing for a firmer fabric or the moss stitch for a flatter, gently textured accessory.
Conclusion
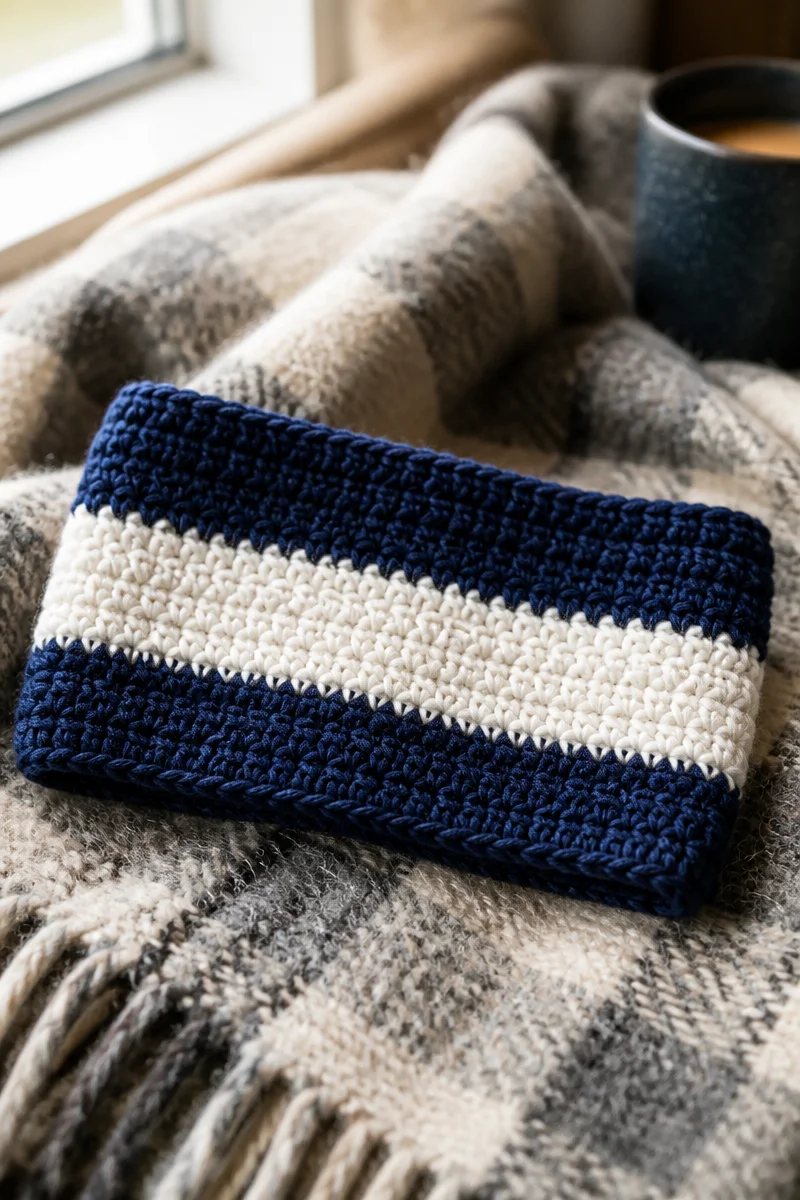
A Crochet Ski Lodge Ear Warmer Headband is a practical winter project with cozy texture and a comfortable stretch. The half double crochet rib stitch is a helpful technique to know, and a soft yarn, steady tension, and careful stitch counting can make the work smoother.
Choose a yarn you love, make a small swatch, and enjoy seeing the ridges take shape. When your headband is ready, wear it on your next chilly outing, share your finished project, or explore more crochet guides on the blog.