Crochet Ruby Red Hair Bandana

Affiliate disclosure: This post may contain affiliate links. I may earn a small commission at no extra cost to you. See our Privacy Policy for details HERE.
A Crochet Ruby Red Hair Bandana is a cheerful way to add color and a handmade touch to your everyday look. I love this kind of small crochet project because it can brighten a simple outfit without taking much time or yarn. Plus, you can make it your own by adjusting the red shade, size, and ties.
The bandana’s charm comes from its pointed shape, soft fabric, and bold ruby color. Many versions use basic crochet stitches, such as single crochet or double crochet, worked in rows or from the center outward. The project is generally approachable for beginners, and it can be worn as a head covering, hair accessory, or neck scarf.
In this guide, you’ll learn how the crochet bandana fabric is made, which yarn and hook choices work well, and how to get a comfortable fit. You’ll also find practical tips for neat edges, common mistakes to avoid, and simple care advice.
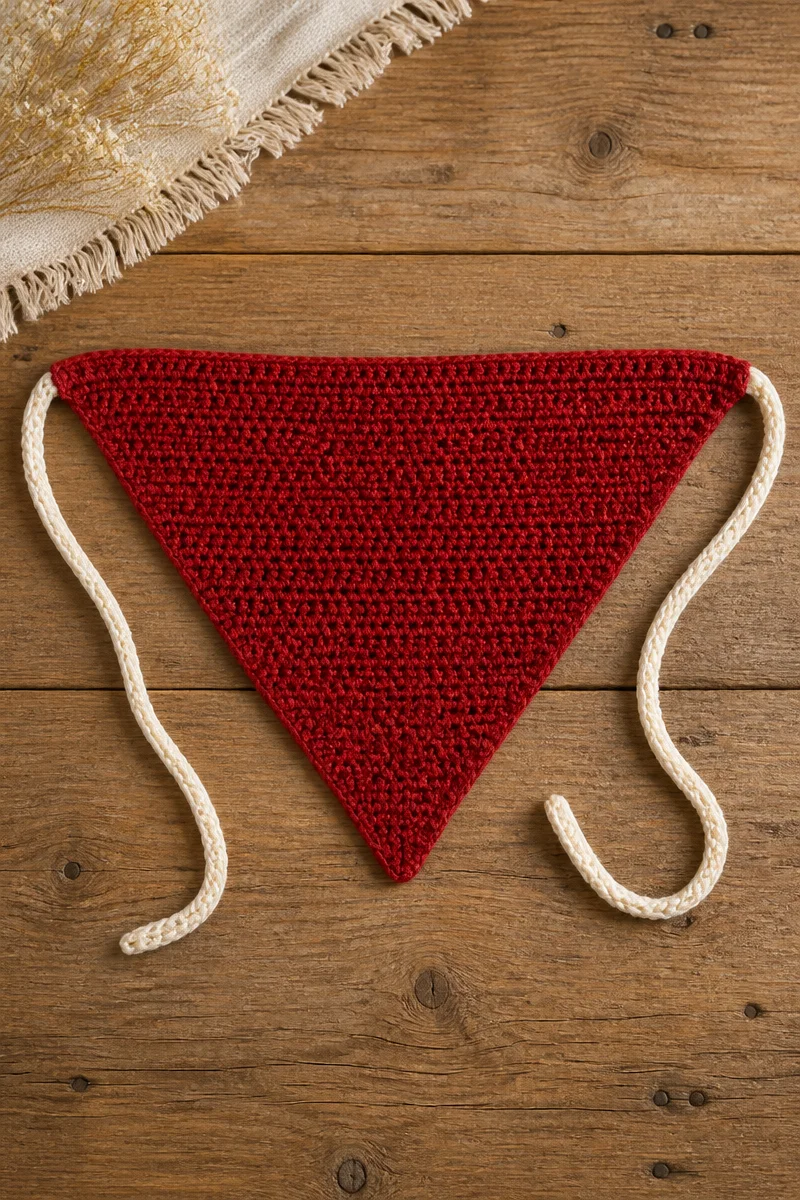
What Is the Crochet Hair Bandana Stitch?
A crochet hair bandana does not rely on one special stitch. Instead, it is a triangular crochet accessory made with familiar stitches, often single crochet, half double crochet, or double crochet. The shape usually grows row by row, with increases that widen the fabric toward the top edge.
For example, a maker may begin at the point and add stitches at the ends of each row. Alternatively, the bandana can start along the wide edge and decrease toward the point. Either way, the fabric forms a triangle that sits over the hair. Crocheters often like this construction because it is easy to adjust and works well with many yarn colors and stitch patterns.
Why This Is a Great Choice for Hair Accessories
- It is quick to make: A bandana is a small project, so you can often finish it faster than a larger accessory.
- It uses little yarn: One or two small skeins may be enough, depending on the size and yarn weight.
- It is easy to customize: You can change the width, length, edging, and tie style to suit your needs.
- It adds a bright accent: Ruby red stands out beautifully, while other shades can create a softer or more playful look.
- It suits different skill levels: Basic stitches and a simple triangle shape make this a friendly project for newer crocheters.
Yarn and Hook Recommendations
- DK or light-worsted yarn: These weights make a bandana that feels light but still holds its shape. They are good choices for everyday wear.
- Cotton yarn: Cotton feels breathable and works well in warm weather. However, it has less stretch than many acrylic yarns, so check the fit as you go.
- Cotton-acrylic blends: These combine some of cotton’s breathability with added softness and flexibility.
- Soft worsted-weight yarn: This can make a warmer, more substantial bandana. Choose a smooth yarn so the stitches remain easy to see.
- A hook that matches your yarn: Check the yarn label for a suggested hook size, then adjust if your fabric feels too stiff or too loose.
- A slightly larger hook for drape: If the bandana feels firm, try moving up one hook size. A softer fabric may sit more comfortably against the head.
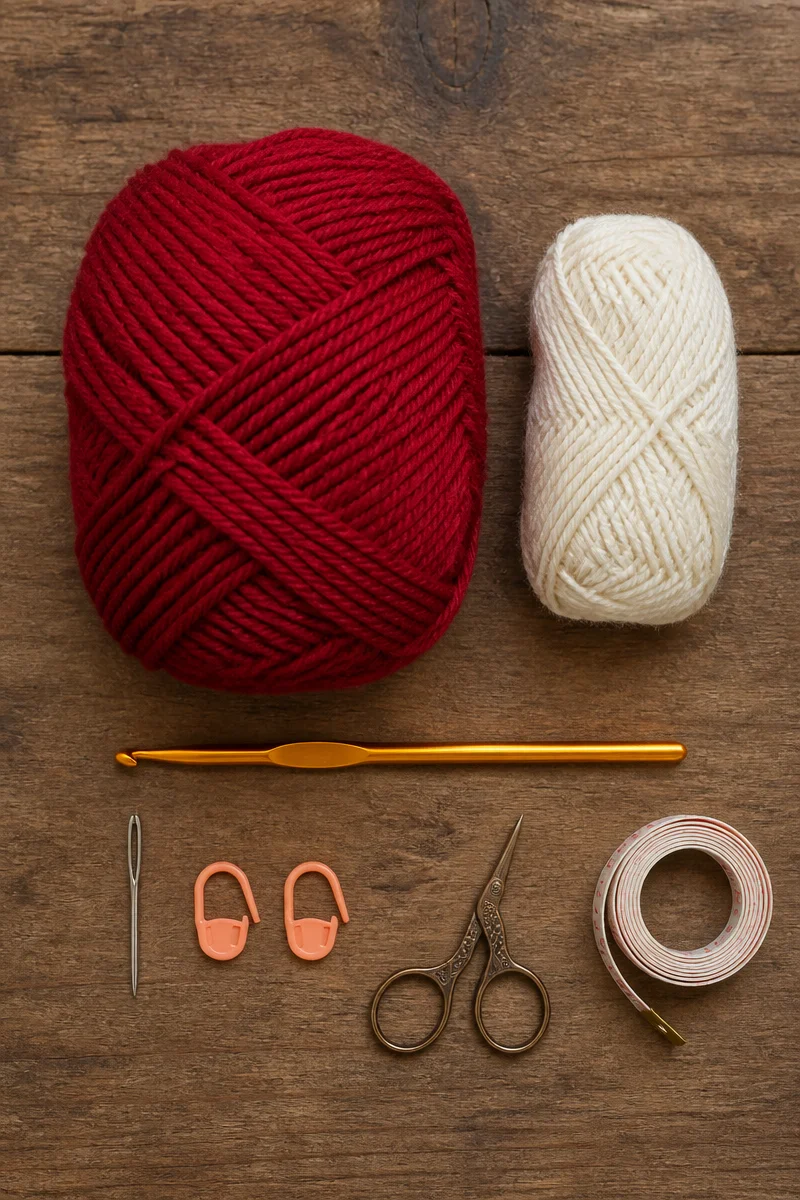
Tips for Crochet Hair Bandana Success
First, aim for even tension rather than tight stitches. A bandana should bend comfortably around the head, so a very firm fabric may feel stiff. Make a small swatch with your chosen yarn and hook. Then adjust the hook size if the fabric seems too dense or too open.
Next, keep track of increases and row counts. A stitch marker can help you mark the center point or the beginning of a row. Also, try the bandana against your head before adding the ties or finishing edge. That way, you can adjust the fit while changes are still easy.
Common Mistakes to Avoid
One common issue is miscounting increases. If you add too many stitches, the sides may flare unevenly. If you miss an increase, the triangle may look narrow or lopsided. Therefore, count each row before moving on, especially near the edges.
Another pitfall is choosing yarn that feels scratchy or too heavy. Since the bandana rests against your hair and skin, comfort matters. A soft, smooth yarn is usually a better choice than a stiff or bulky one.
Some bandanas curl at the edges. This can happen when the stitches are tight or the edging pulls the fabric inward. Try a looser tension, check that your edge stitches stay even, and use gentle blocking if the yarn allows it.
Finally, avoid making the ties too short or too narrow for your preferred fit. Check the bandana’s placement before finishing them. Longer ties can offer more flexibility, while a wider tie may feel more secure.
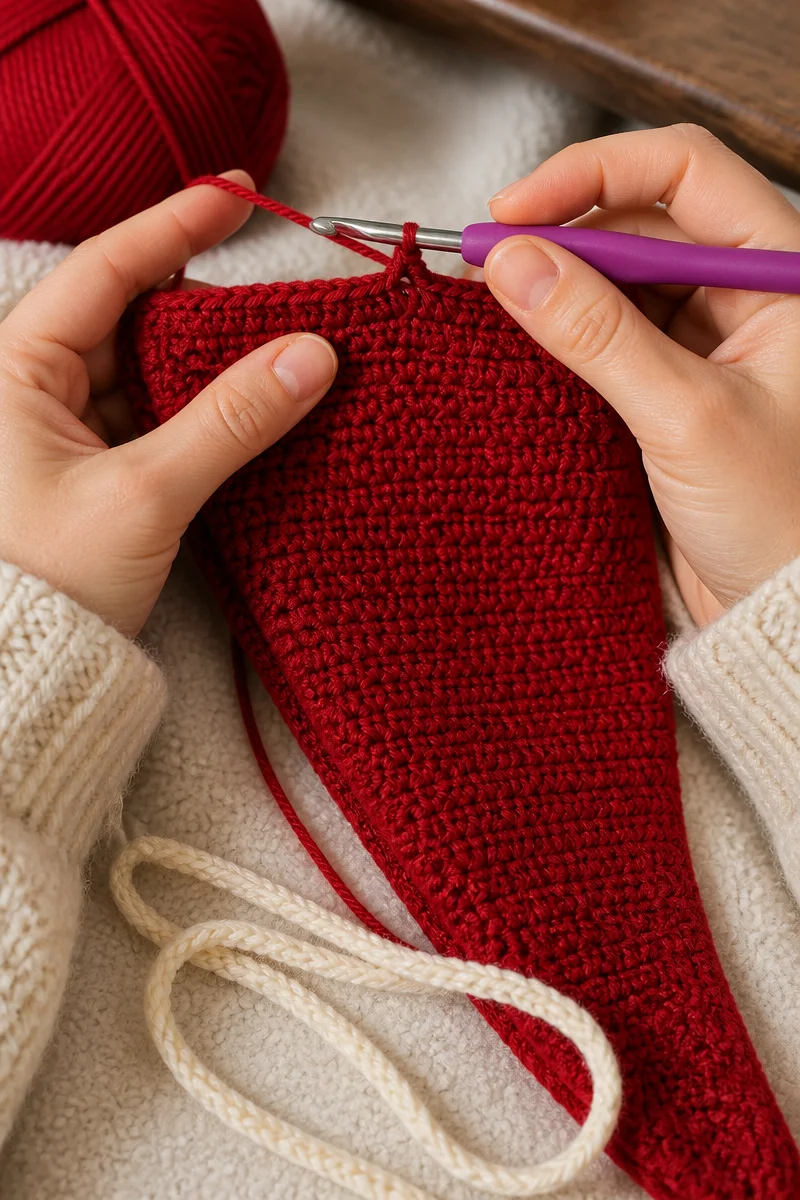
Care and Washing Instructions
Washing: Check the yarn label first. Cotton and many acrylic yarns can usually be hand-washed or machine-washed on a gentle cycle. Use cool water and mild detergent, and place the bandana in a mesh laundry bag if machine-washing.
Drying: Press out extra water gently with a towel. Then lay the bandana flat to dry, shaping the triangle and ties as needed. Avoid wringing it, since twisting can stretch the stitches.
Blocking: Light blocking can help smooth the edges and define the triangle. Pin the damp bandana to a clean surface in its natural shape, then let it dry fully. Use care with heat-sensitive fibers, and follow the yarn label.
More Ideas to Try
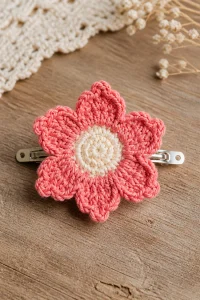
Once you’ve made a bandana, try a granny stitch triangle scarf, a single-crochet headband, or a lightweight kerchief in a cotton blend. You could also add a simple scalloped edge, stripes, or a small flower for a personal touch.
Conclusion
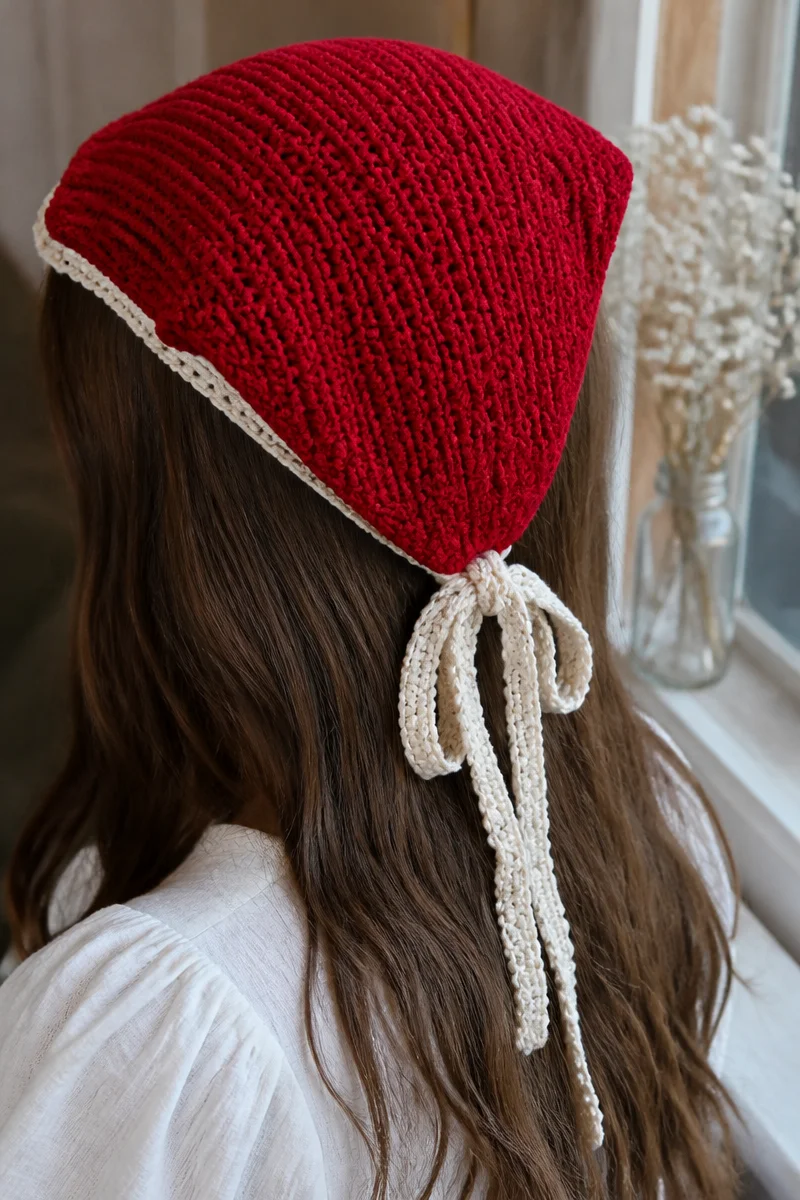
A Crochet Ruby Red Hair Bandana is a useful, colorful project that lets you practice basic stitches while making a wearable accessory. Choose a soft yarn, keep your increases even, and check the fit before finishing the ties. Most of all, enjoy making it your own. Try a ruby-red version, share how you styled it, and explore more crochet accessory guides on the blog.