Crochet Ladybug Baby Hat Beanie
Affiliate disclosure: This post may contain affiliate links. I may earn a small commission at no extra cost to you. See our Privacy Policy for details HERE.
Crochet baby hats have a special charm, and the Crochet Ladybug Baby Hat Beanie is one of the sweetest styles you can make. I love it because it feels playful, cozy, and full of personality. In addition, it is the kind of project that makes people smile right away.
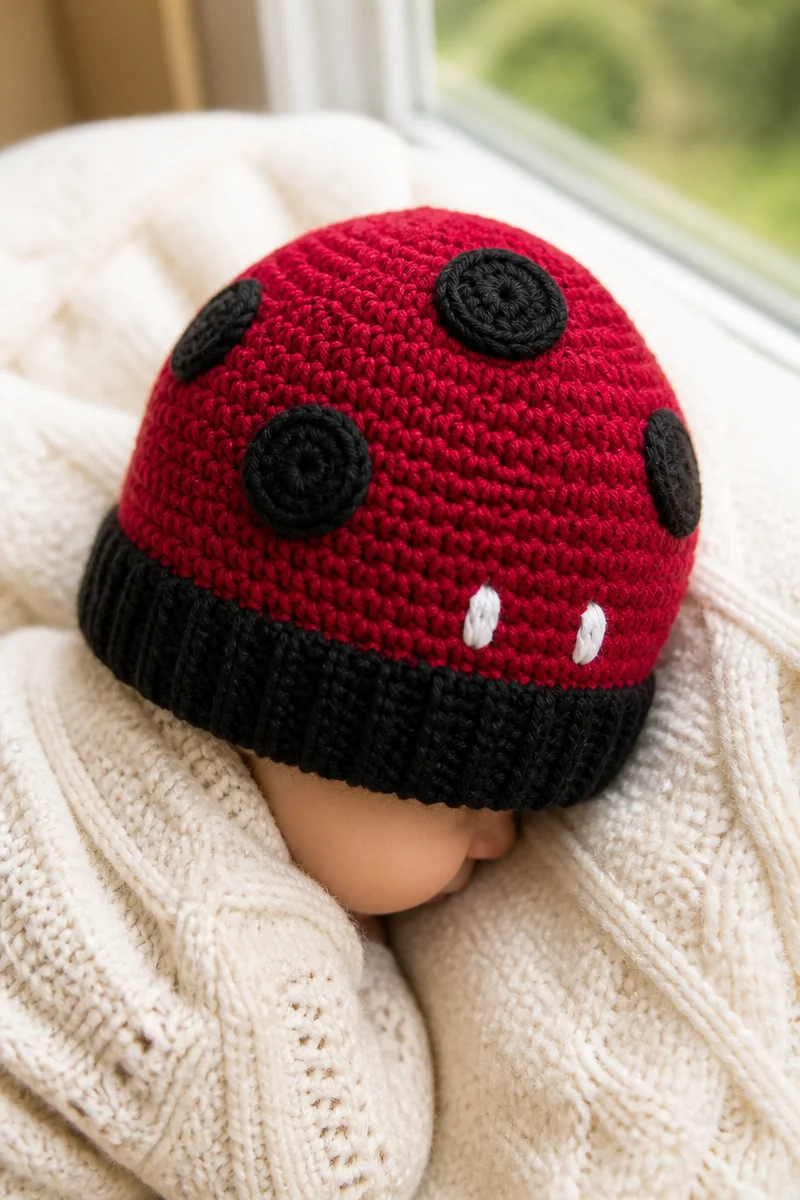
What makes this baby hat stand out is its bright, cheerful look and its soft, snug fit. Usually, a crochet ladybug baby hat beanie uses simple shaping with bold color changes, so it looks cute without being too hard to make. As a result, it is a favorite for baby gifts, photo props, and special keepsakes.
In this guide, you will learn what makes the ladybug-inspired crochet stitch and shaping so useful, how to choose the right yarn and hook, and how to work with it more easily. You will also find helpful tips, common mistakes to avoid, and care advice, so you can feel more confident before you begin.
What Is the Ladybug-Inspired Crochet Technique?
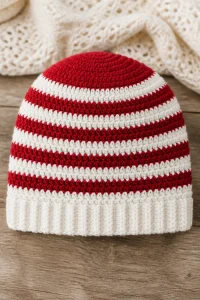
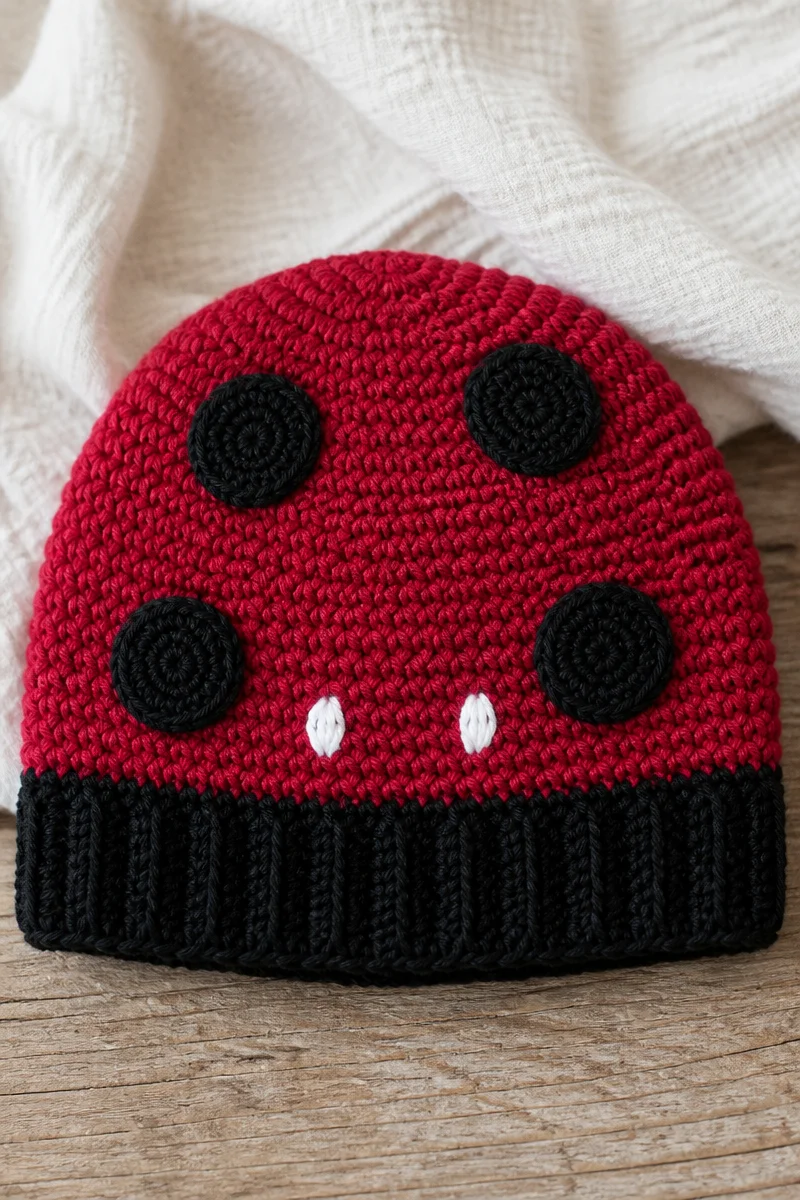
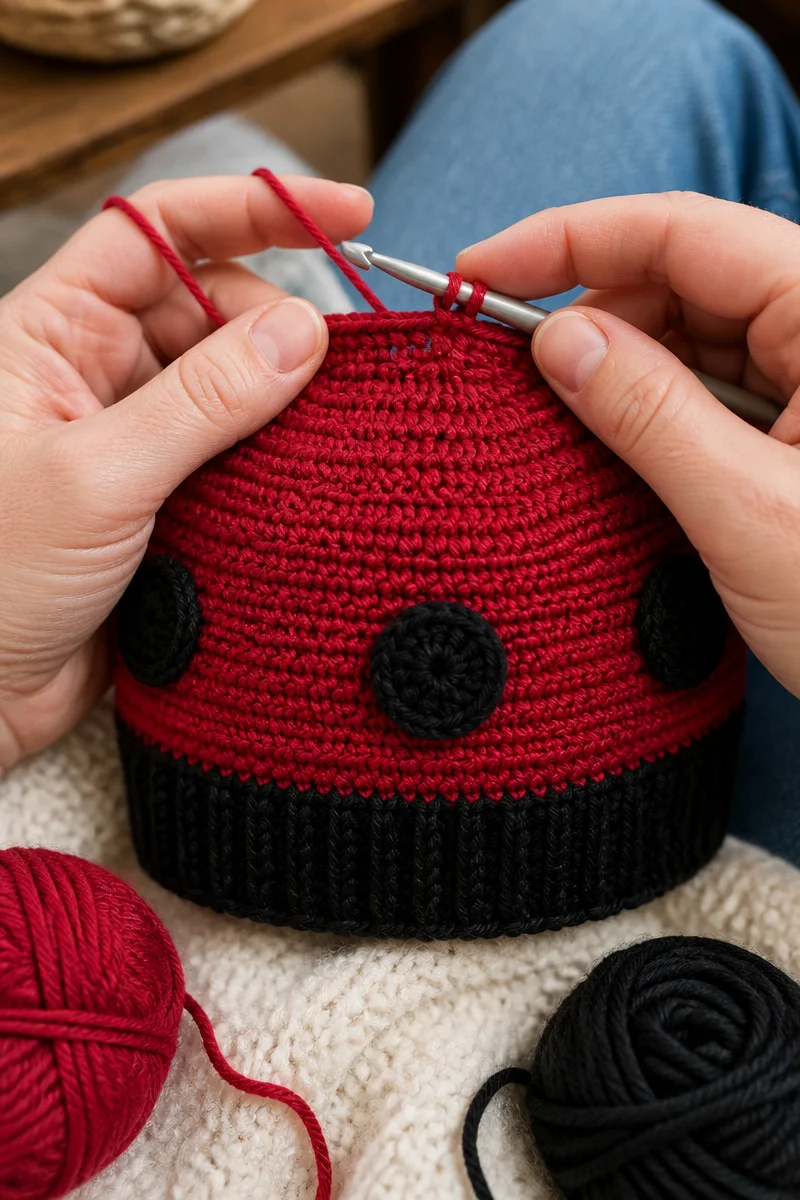
A ladybug baby hat beanie is usually built with basic crochet stitches, then shaped and decorated to suggest the look of a ladybug. Often, the main fabric uses simple rounds or rows, such as single crochet or half double crochet, because these stitches make a smooth, warm base. Then, color changes, spots, and small accents give the hat its ladybug look.
This technique is loved because it is simple, yet the finished result feels very special. Also, the fabric usually has a soft, neat texture that works well for babies. Since the design depends more on color and shaping than on advanced stitch work, many crocheters find it a friendly project.
Why This Is a Great Choice for Baby Hats
- Soft and cozy feel: A baby hat needs comfort first, and this style works well with gentle yarns that feel nice against the skin.
- Cute photo-ready look: The ladybug design adds charm, so it is a wonderful choice for baby pictures and gifts.
- Simple stitch base: Because the main fabric often uses easy stitches, many crocheters can make it with confidence.
- Snug and warm shape: A beanie style helps keep little heads warm, especially in cooler weather.
- Easy to personalize: You can change the colors, spot size, or edging, so each hat feels unique.
Yarn and Hook Recommendations
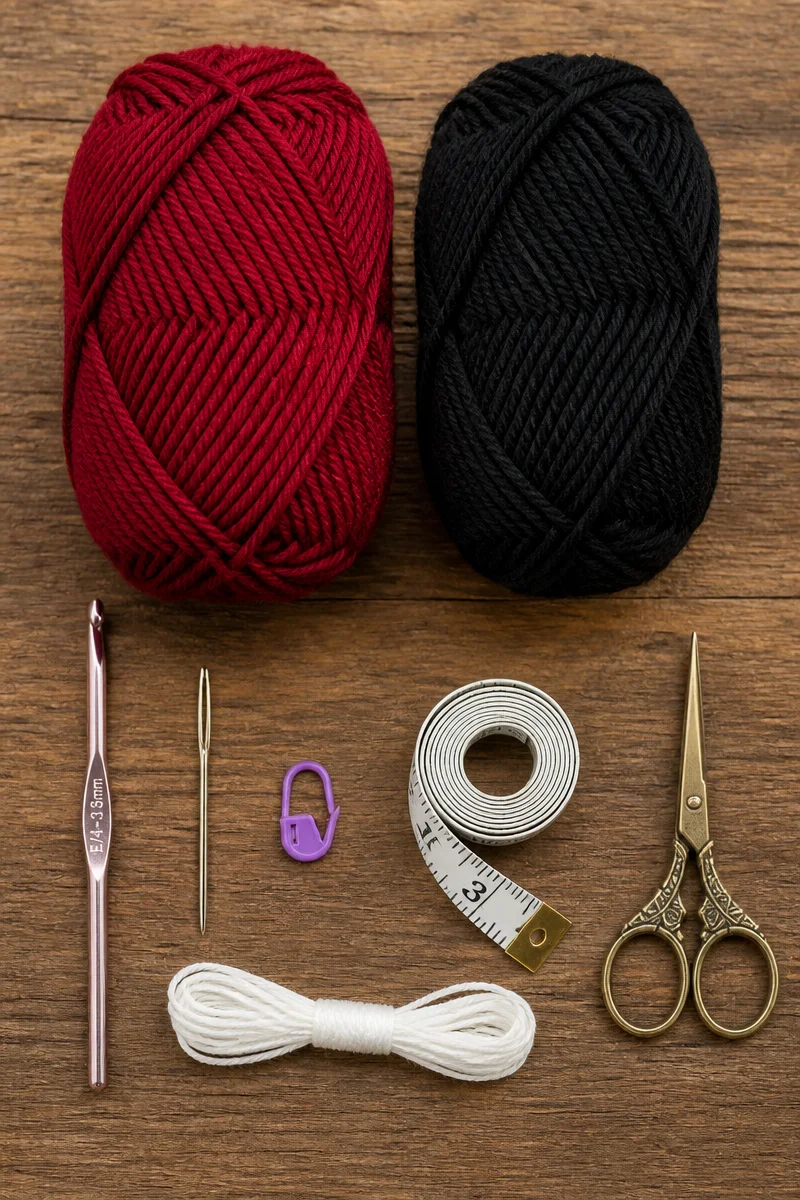
- Light worsted or DK yarn: These yarn weights often make a smooth, soft baby hat that is warm without feeling too heavy.
- 100% acrylic yarn: This is a practical choice because it is usually easy to wash, durable, and budget-friendly.
- Cotton blend yarn: If you want a softer, breathable hat, a cotton blend can be a nice option, especially for mild weather.
- Baby-safe soft yarn: Look for yarn labeled soft or baby-friendly, because comfort matters a lot for infant wear.
- Hook size that matches the yarn label: This helps keep the stitches even and the fabric neat, which is important for a beanie.
- Slightly smaller hook for a firmer hat: If you want a snug fit, a smaller hook can help reduce gaps and make the hat hold its shape better.
Tips for Ladybug-Inspired Crochet Success
First, keep your tension steady. This matters because even stitches help the hat look smooth and fit well. If your hands tend to tighten up, pause now and then, then relax your grip before continuing.
Next, count your stitches carefully, especially when shaping the crown or changing colors. Since baby hats often rely on rounds, it is easy to miss one stitch and throw off the fit. Therefore, use a stitch marker and check your work often.
Also, if you are adding spots or color sections, plan those changes before you start. That way, the design stays balanced and neat. In addition, it helps to keep your yarn tails tidy as you work, so finishing is much easier later.
Common Mistakes to Avoid
One common mistake is using yarn that is too thick. When that happens, the crochet ladybug baby hat beanie may feel stiff or too warm. Instead, choose a soft yarn weight that suits baby wear and the season.
Another issue is uneven tension. If some stitches are tight and others are loose, the hat may look bumpy or fit unevenly. So, try to keep your hands relaxed and work at a steady pace.
Miscounting rounds is also a frequent problem. Because baby hats are often shaped in circles, one missed increase can change the whole fit. Therefore, mark the beginning of each round and check your counts as you go.
Finally, do not make the hat too loose. A baby beanie should fit gently and stay in place, but it should not slide over the eyes. For that reason, always check your gauge if the pattern provides one, or measure against a hat size chart if you are designing your own.
Care and Washing Instructions
For washing, use the care advice that matches your yarn. In many cases, machine-washable acrylic yarn is the easiest choice for a crochet ladybug baby hat beanie. However, if you use wool or a delicate blend, gentle hand washing is usually safer.
For drying, lay the hat flat so it keeps its shape. This is especially helpful if the hat has spots, ears, or other small details. Also, avoid high heat unless your yarn label clearly says it is safe.
Blocking is usually optional for this type of project. Still, light blocking can help smooth the shape and settle the stitches, especially if the hat looks slightly uneven after finishing. In addition, blocking can help the hat sit better around the brim.
More Ideas to Try
If you enjoy this style, you may also like a ladybug baby blanket, a ladybug headband, a colorwork beanie, or a simple animal-themed baby hat. Each one uses the same idea of playful color and soft texture, so they make great next projects.
Conclusion
The crochet ladybug baby hat beanie is a sweet and practical project that combines comfort, charm, and simple technique. Because it often uses easy stitches and bold color details, it is a great choice for baby gifts and special keepsakes. Just remember to choose soft yarn, keep your tension steady, and watch your stitch count as you work.
If you are ready to make one, give this cheerful project a try and enjoy the process. Then, share your finished hat, or explore more baby crochet guides on the blog for your next lovely make.