Crochet Deep Plum Wide Headband

Affiliate disclosure: This post may contain affiliate links. I may earn a small commission at no extra cost to you. See our Privacy Policy for details HERE.
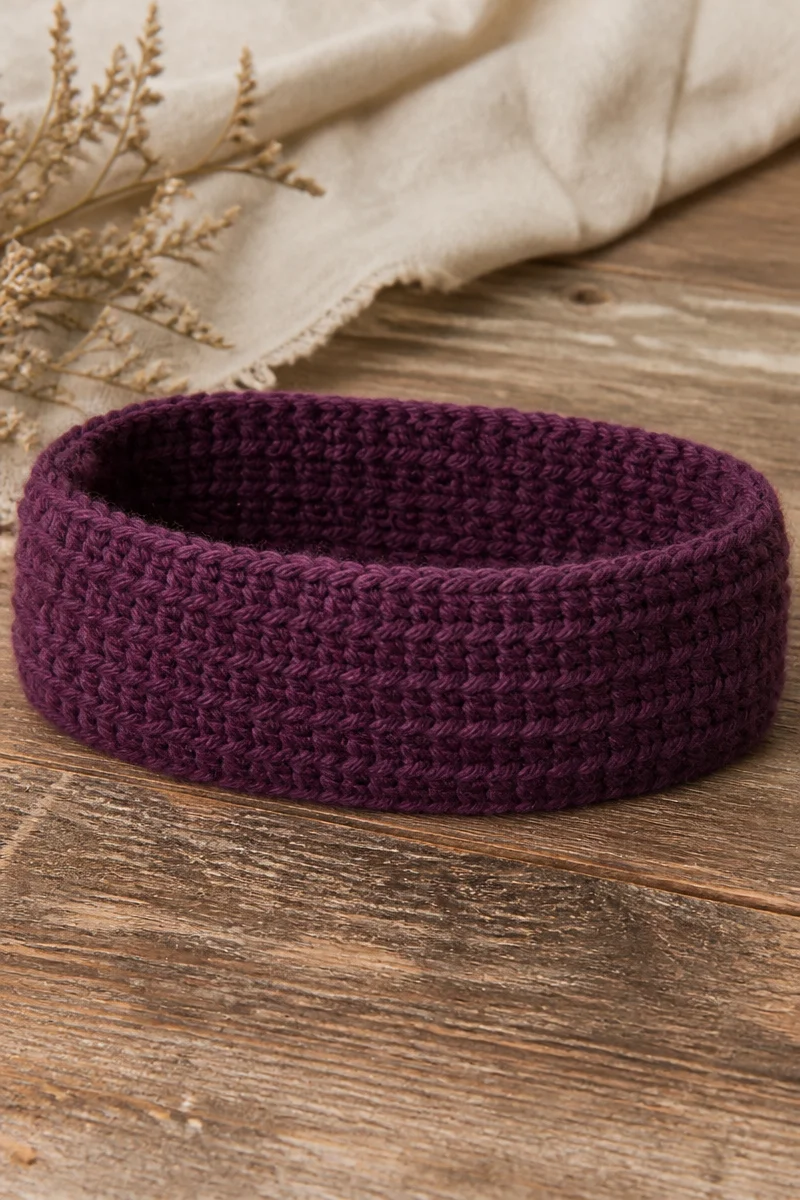
A crochet deep plum wide headband is a lovely way to add warmth and color without making a large project. I especially like how this style feels practical while still looking polished. The rich plum shade works well with everyday clothes, and the wide shape can cover more of the ears than a narrow band.
This headband is usually made with simple crochet stitches worked in rows, then joined into a band. The fabric can be smooth, ribbed, or softly textured, depending on the stitch and yarn you choose. As a small project, it suits many skill levels and is easy to customize for a comfortable fit.
In this guide, you’ll learn how the basic stitch approach works, which yarn and hook choices can help, and how to get neat edges. You’ll also find tips for avoiding common fit and finishing problems, along with care advice for keeping your headband looking its best.
What Is the Crochet Headband Stitch?
There is no single required stitch for a crochet wide headband. Many crocheters use half double crochet, single crochet, or a ribbed stitch made with front-loop-only or back-loop-only crochet. These stitches create a flexible strip that can be joined at the ends to form a band.
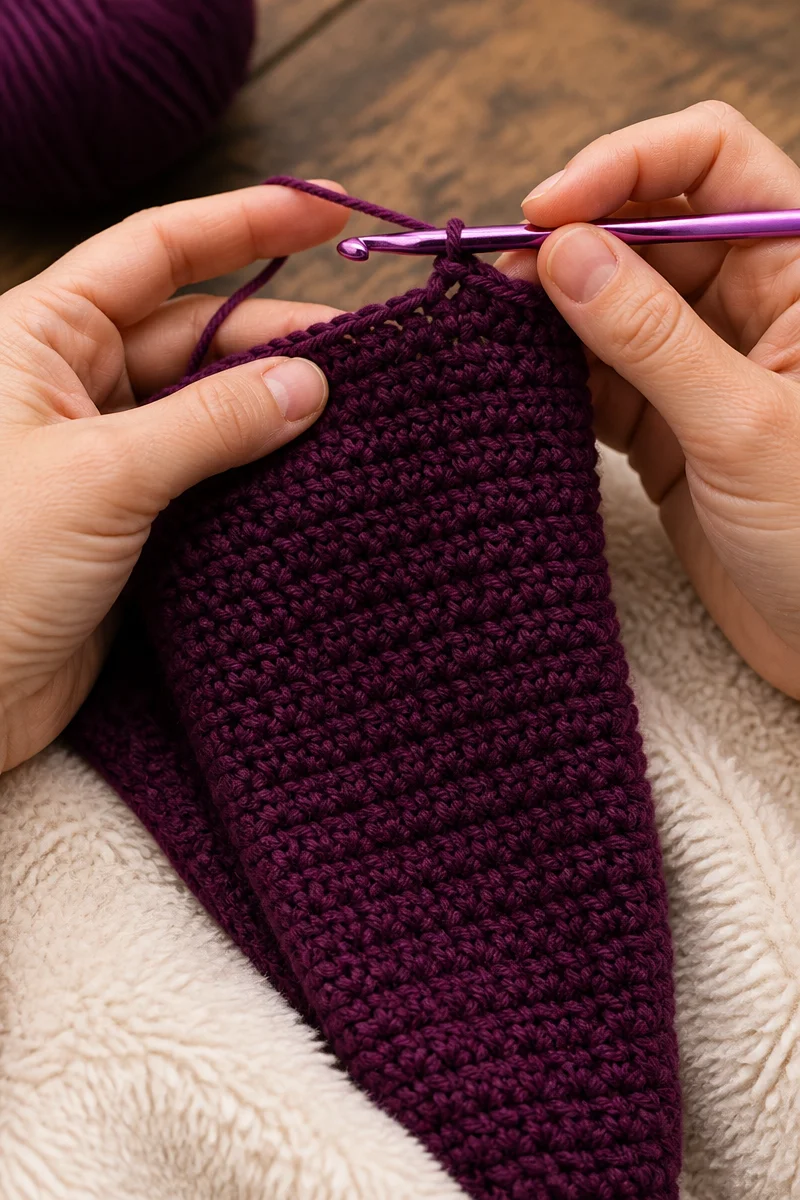
For a simple fabric, work stitches across a row, turn, and repeat until the piece is long enough to fit around the head. For a ribbed look, crochet into one loop of each stitch on the next row. This makes raised ridges that stretch across the band. The result can feel cozy and gently textured without needing a complicated stitch pattern.
Crocheters enjoy this approach because it is easy to adjust. You can change the width, length, yarn, or texture to suit the wearer. A crochet deep plum wide headband can be worked in a solid stitch for a clean look or in ribbing for extra stretch and a snug fit.
Why This Is a Great Choice for a Wide Headband
- It offers useful coverage. A wider band can cover more of the ears and forehead on cool days.
- It makes a quick project. Because a headband is small, you can often finish one without committing to a large garment.
- It allows easy sizing changes. Add or remove rows to adjust the width, and change the starting chain or row length to alter the fit.
- It shows off rich colors. Deep plum looks especially striking in simple stitches that let the yarn shade stand out.
- It welcomes beginners. Basic crochet stitches and a few finishing steps are enough to make a practical accessory.
Yarn and Hook Recommendations
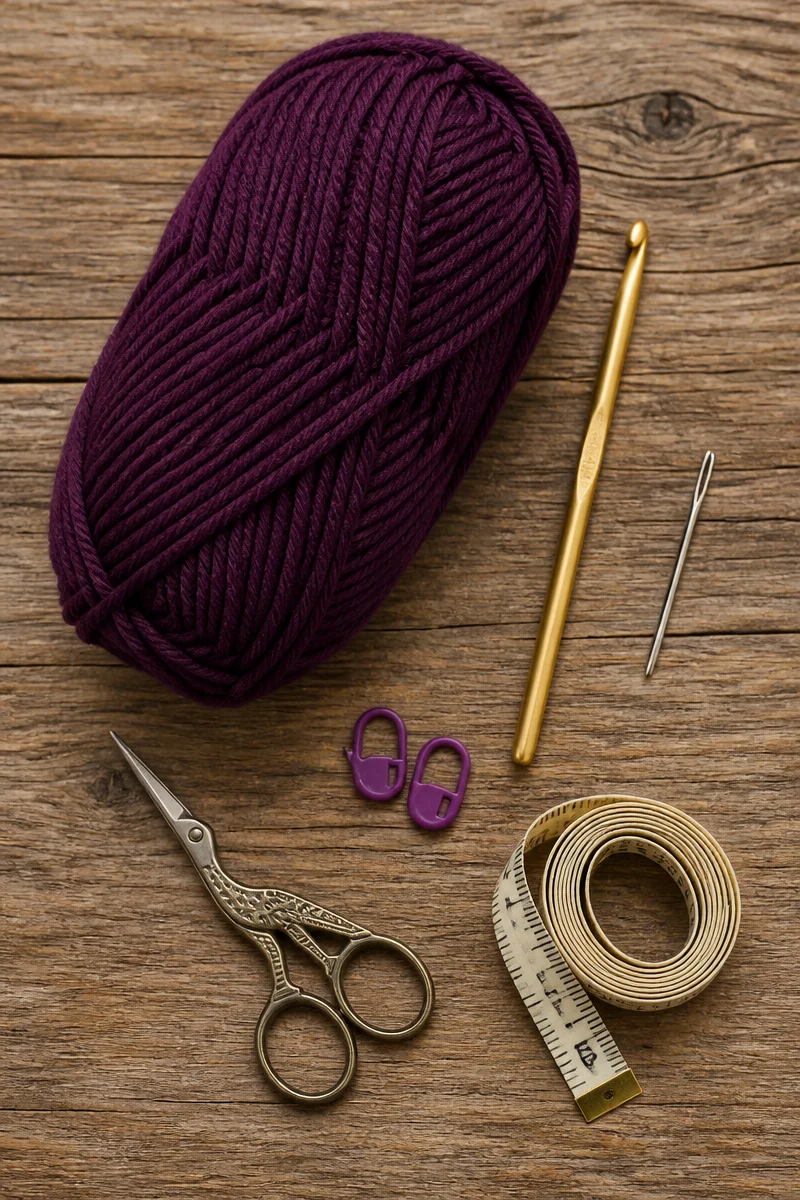
- Worsted-weight yarn is a popular choice because it makes a warm, sturdy band without taking too long to work. It also gives deep plum a full, clear appearance.
- DK-weight yarn creates a lighter headband with a softer drape. Use it when you want less bulk around the ears.
- Soft acrylic yarn is easy to find and often machine washable. Check the yarn label, however, because care instructions vary by brand.
- Wool or a wool blend can add warmth and natural stretch. If the wearer has sensitive skin, choose a soft blend and test a small swatch first.
- Cotton or a cotton blend can feel breathable, though it may have less spring than wool or acrylic. Consider a blend if you want both comfort and some stretch.
- Choose a hook that suits your yarn and tension. A hook near the size suggested on the yarn label is a useful starting point. If your fabric feels stiff, try a larger hook; if it feels loose and floppy, try a smaller one.
Tips for Crochet Headband Success
First, make a small swatch in your chosen stitch. This helps you see how the yarn feels and whether the fabric stretches enough. It also gives you a chance to check whether your hook creates a comfortable fabric before you make the full band. For a ribbed headband, stretch the swatch gently, since ribbing often looks narrower when relaxed.
Next, measure the intended wearer’s head or compare the strip with a headband that fits well. Crochet fabric can stretch, so avoid making the band too long. Count your stitches at the end of each row, and use a stitch marker to mark the first or last stitch if the edges are hard to see. Take breaks as needed, because steady, relaxed tension usually creates a more even result.
Common Mistakes to Avoid
A common issue is making the band too tight or too loose. Since yarn and stitch patterns vary in stretch, do not rely only on the number of rows or stitches in an example. Instead, check the fabric against the wearer’s head measurement, and allow for the stretch of your chosen stitch.
Uneven tension can make one side of the headband wider than the other. Try to keep your hands relaxed, and avoid pulling the yarn tight after every stitch. Also, count stitches regularly. Missing a stitch at the edge can gradually narrow the strip, while adding an extra stitch can make it flare.
The wrong yarn can affect comfort and shape. A stiff yarn may make the band feel firm, while a very drapey yarn may not stay in place. Before finishing, check that the fabric feels soft against the skin and has enough stretch for a comfortable fit.
Finally, take care when joining the ends. A bulky or twisted seam can feel uncomfortable at the back of the head. Lay the strip flat before sewing or slip stitching the ends together, and make sure the band is not twisted.
Care and Washing Instructions
Washing: Follow the yarn label first. Many acrylic yarns can be washed in cool or lukewarm water, while wool may need gentle hand washing. If you are unsure, hand wash the headband with mild soap and avoid strong rubbing.
Drying: Press out extra water gently with a towel, but do not wring the fabric. Then lay the headband flat to dry and shape it by hand. Hanging it may stretch the band out of shape.
Blocking: Light blocking can help even the edges and smooth the fabric. However, avoid stretching the headband too much, especially if the stitch is already elastic. For wool or other natural fibers, use a method suitable for the yarn and test your approach gently.
More Ideas to Try
Once you have made a crochet deep plum wide headband, try a ribbed ear warmer, a narrow hairband, or a twisted-front version for a different finish. You could also explore moss stitch for a pebbled texture or a simple crochet cowl in a matching color. These small projects are a pleasant way to practice new stitches and use leftover yarn.
Conclusion
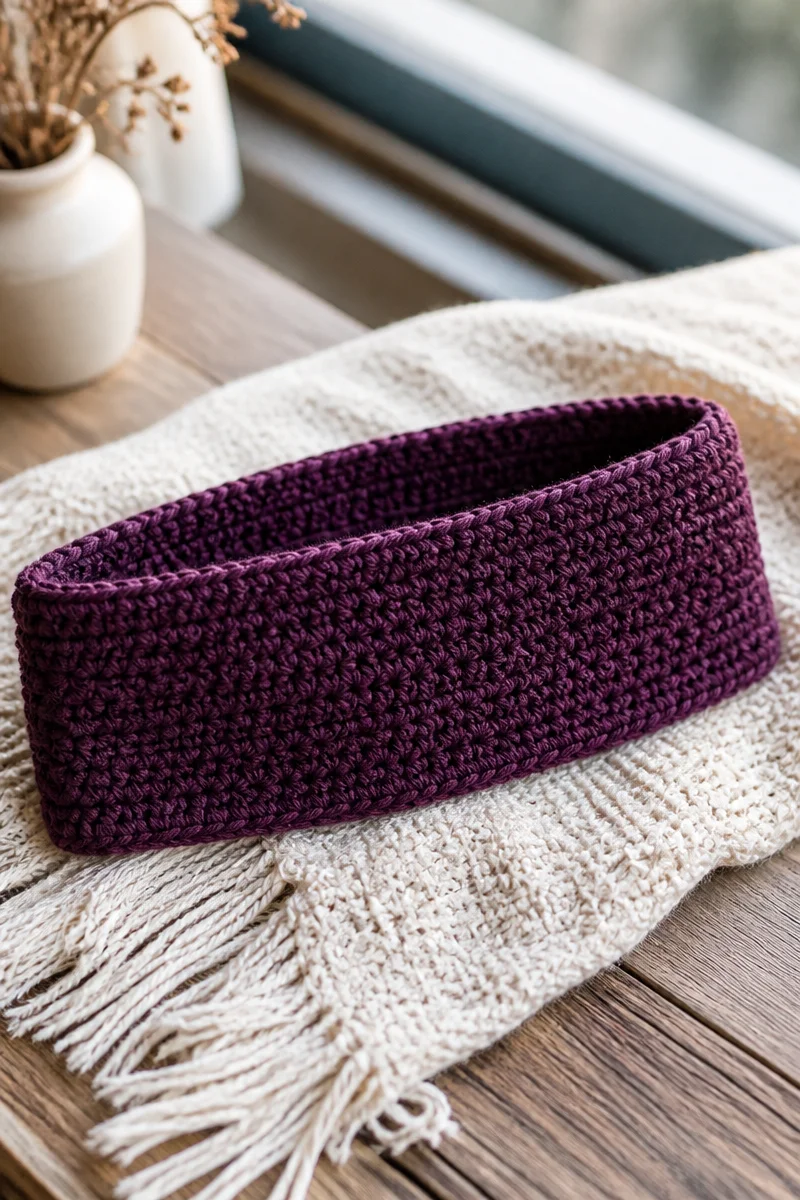
A crochet deep plum wide headband is a useful, customizable project that can be made with basic stitches and a comfortable yarn. Choose a soft fiber, check the fit as you work, and keep your tension even for a neat finish. Above all, make it in a width and style you will enjoy wearing.
Pick your favorite plum yarn and give this headband a try. Then share your finished piece or explore more crochet accessory guides on the blog for your next cozy project.